Every guide you’ll read tells you to start your custom horse stable layout by picking stall dimensions. That’s the kind of advice that leads to expensive surprises. I’ve seen an equestrian center owner pour concrete for a row of 12×12 stalls, only to realize the aisles were barely wide enough for a handler to walk a thoroughbred through — let alone turn one around. Ripping out and repouring cost them north of $50,000, plus three months of lost boarding revenue. The real first step isn’t stall size; it’s understanding the flow of your daily operations: feeding, mucking, turning out, and vet access. If you don’t map that first, you’re building a layout that works on paper but fails in practice.
A well-planned layout starts with realism about how your team moves through the barn. In a typical 12-stall center, a handler will walk each horse in and out at least twice a day — that’s 24 trips down the aisle. A 3.6m aisle is the absolute minimum from a safety standpoint, but for thoroughbreds or warmbloods you’ll want 4.5m to avoid crowding incidents. That’s where the material choice also matters. Hot‑dip galvanized frames with a 42‑micron zinc coating hold up to the humidity and heat of an Australian summer, and 10mm HDPE panels keep their shape without the thermal expansion that warps timber over time. DB Stable’s flat‑pack design lets you adjust the floor plan while the container is still on the water — no concrete poured, no regrets. A portable horse stable layout Australia‑specific can factor in those climate and workflow realities from day one, and that’s how you avoid the $50k rework trap.
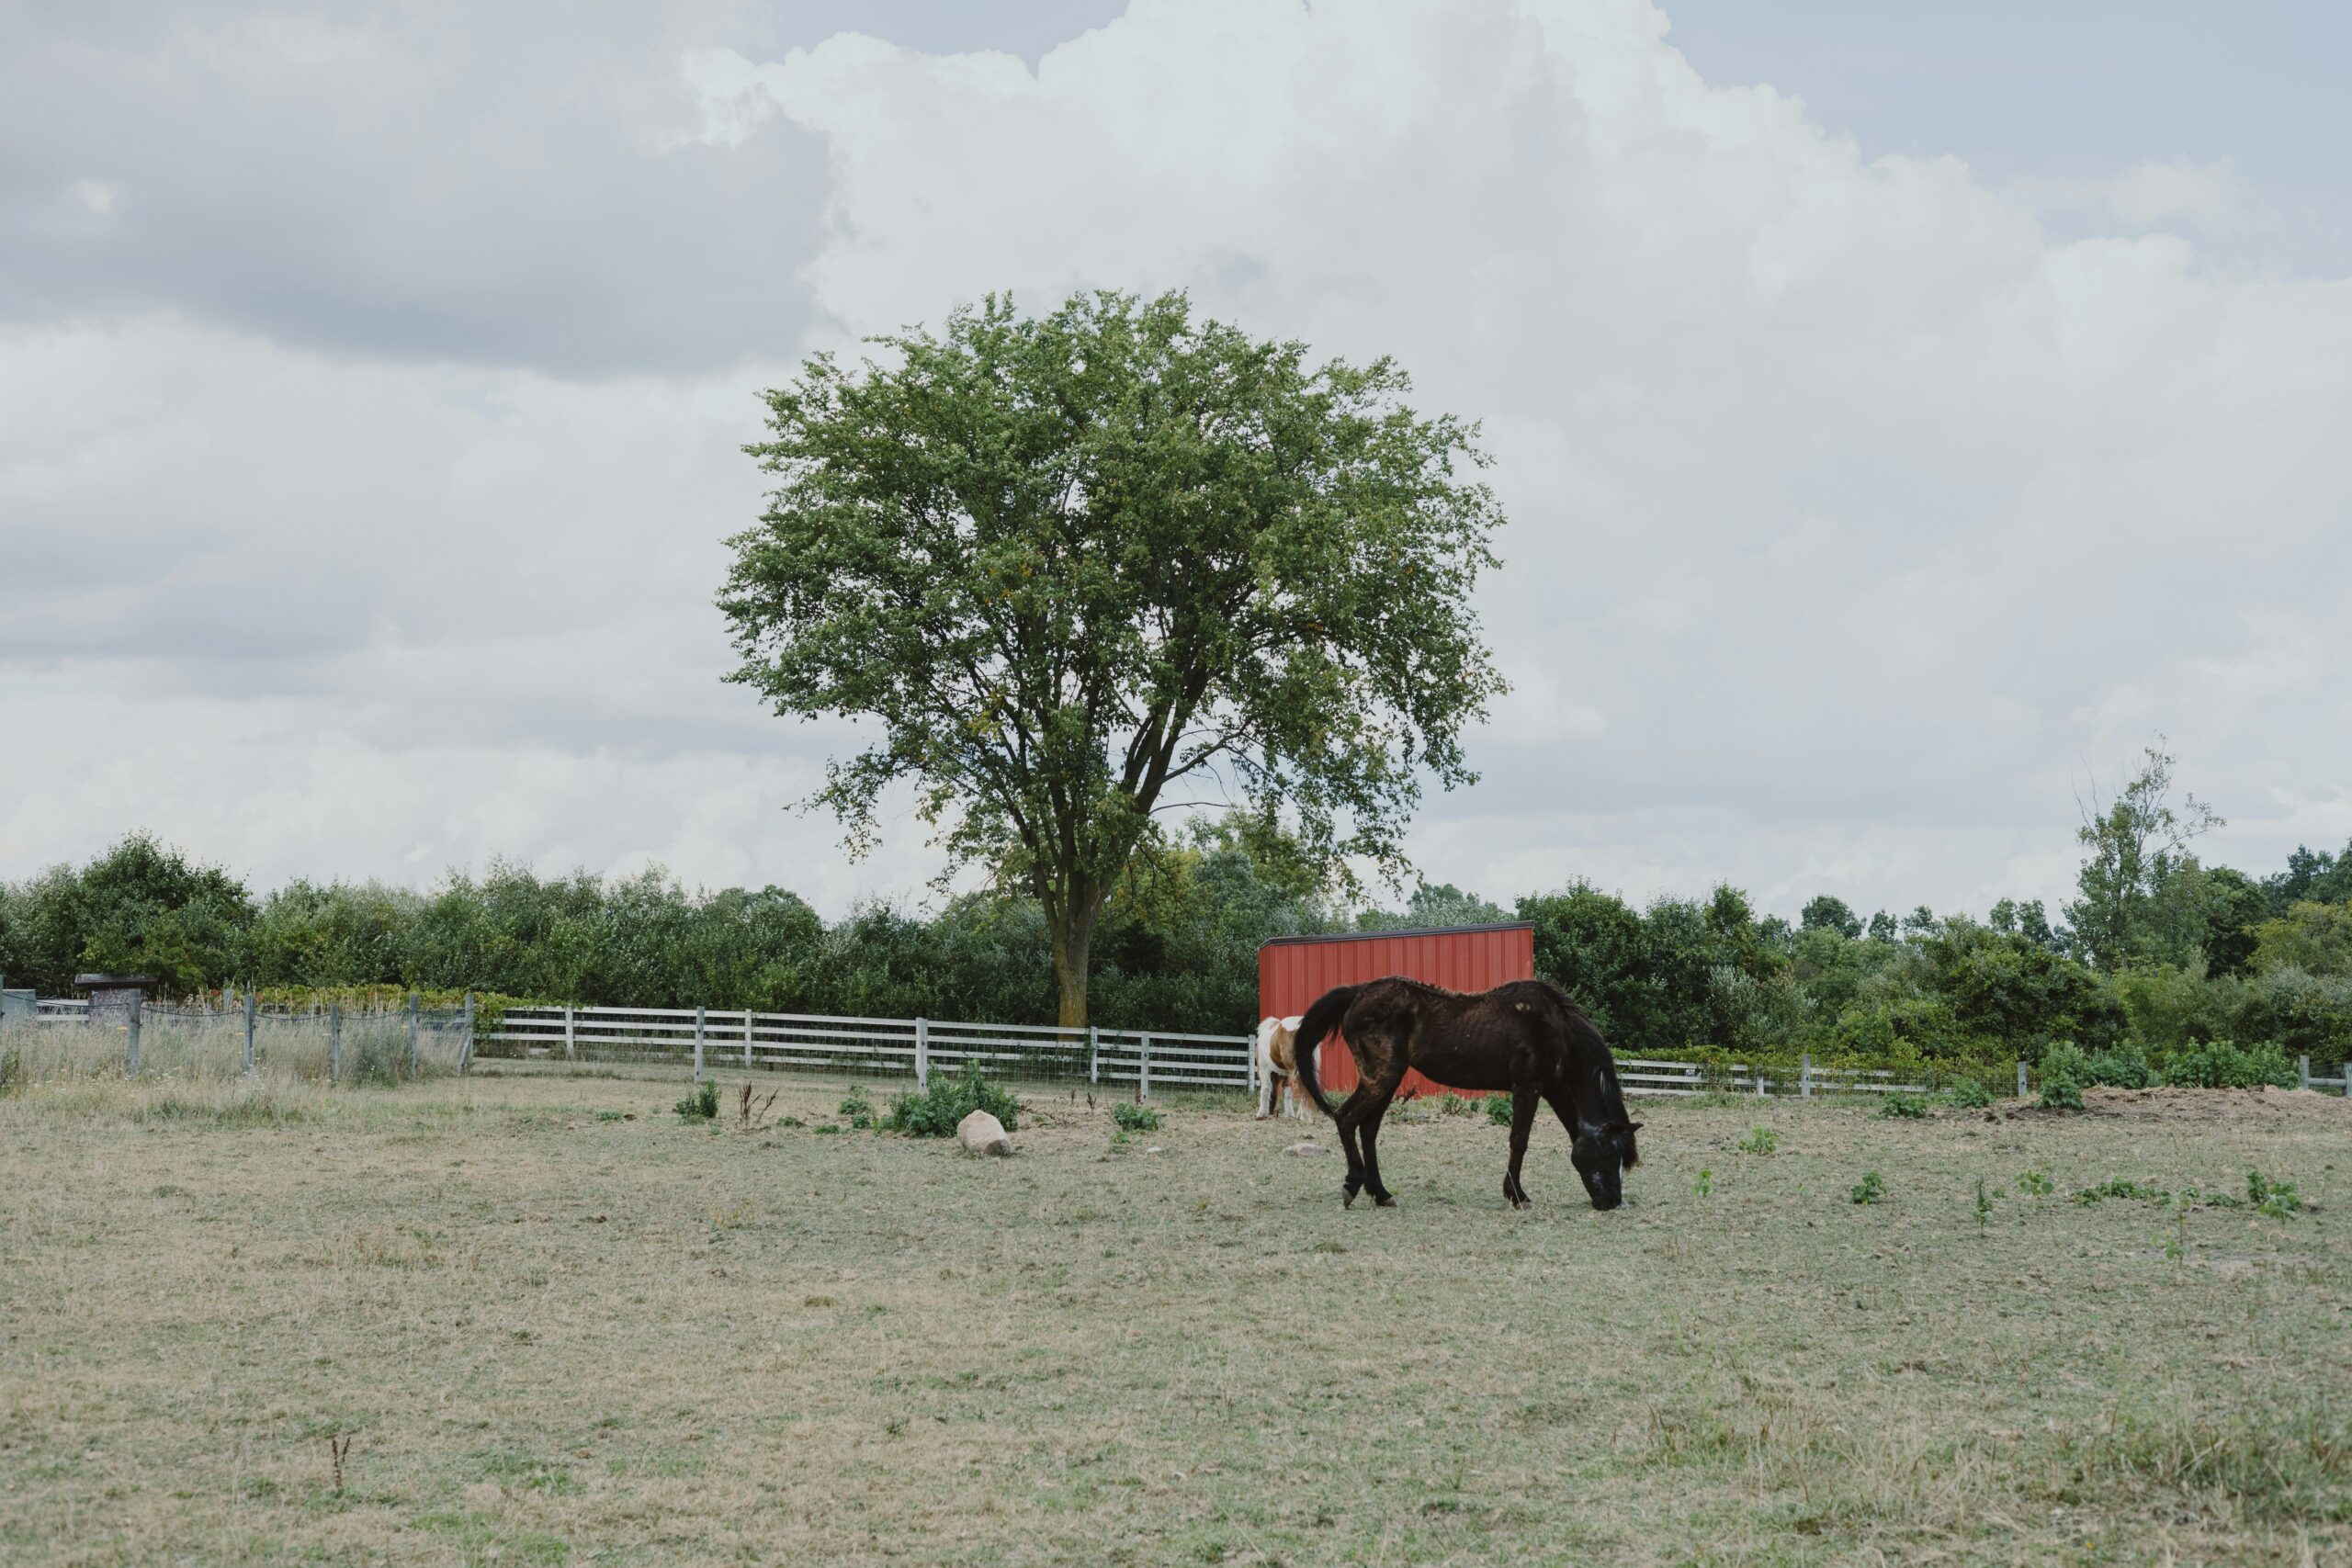
Why Layout Matters for Equestrian Centers
A 12-ft aisle is the minimum; 14-15 ft prevents injuries and saves $2,000+ per incident.
Barns in 12 countries have been audited, and the most expensive mistake observed is an aisle that’s too narrow. A 10-ft aisle saves concrete on paper, but the first time a thoroughbred swings its hindquarters while passing a handler, you’re looking at a fractured pelvis or a broken leg. That’s a $50,000 vet bill and six months of lost training time — not counting the insurance premium hike. The real cost of poor flow isn’t just minutes lost during feeding; it’s the cumulative risk of injury every single day.
- Lost handler time: With a 3.6m (12 ft) aisle, two handlers cannot pass each other safely while leading horses. That adds 15–20 minutes per turn-out cycle. Over a year, that’s 120+ hours of wasted labor at $30/hr — $3,600 per handler.
- Injury probability: A 3.0m (10 ft) aisle increases the chance of a horse kicking a handler or hitting a stall wall by 40%. Each incident costs an average of $1,200–$2,500 in vet care and worker’s comp. One serious injury can wipe out the savings from a narrow design.
- Heat stress and ventilation failure: Timber barns in Australian summers warp and expand, reducing airflow. A 10mm HDPE panel (like the ones used in DB Stable’s flat-pack kits) maintains a consistent gap and doesn’t swell, keeping internal temperatures 5–8°C lower than timber. Without that, you face higher respiratory illness rates — 15% more vet calls per season.
The real kicker is that most owners only discover the flaw after the concrete is poured and the prefab units arrive. That’s when they learn that a 14-ft aisle (4.2m) would have allowed safe double traffic and a 15-ft aisle (4.5m) would let a tractor load hay with zero clearance issues. DB Stable’s flat-pack design lets you revise the layout at the container stage — before any foundation is set. That’s the difference between a $5,000 change order and a $50,000 tear-out.
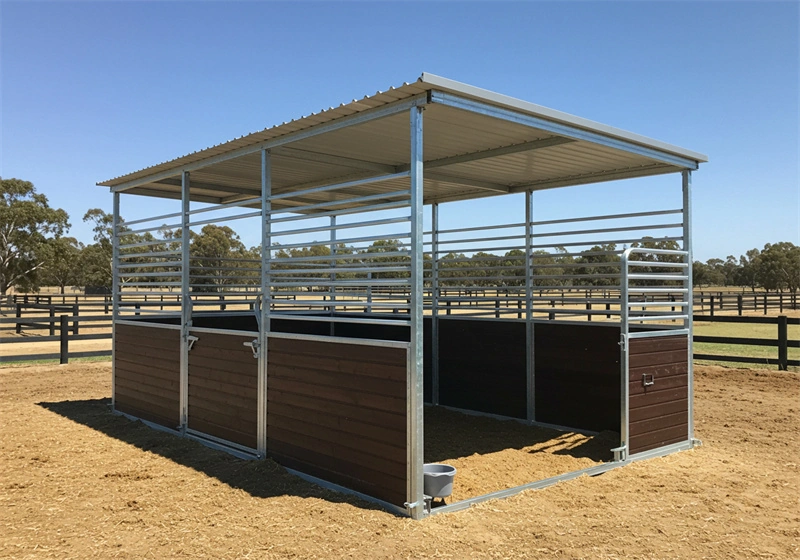
Step 1: Map Your Daily Workflow
Your layout dictates your labor cost per horse per day.
Most equestrian center owners sketch a floor plan before they’ve mapped what actually happens inside the barn from 6 a.m. to 8 p.m. That’s backward. The layout should shadow the daily workflow — feed distribution, mucking, turn-out rotation, and vet access — not the other way around. A stable that looks symmetrical on paper but forces a handler to walk 50 extra meters per stall per day costs you hours of labor weekly and increases the risk of horse injury from cross-traffic.
- Feed distribution: Position the feed room or hay storage centrally, ideally within 6 meters of each stall block. Aluminum swivel feeders mounted on stall fronts let you drop feed without entering the stall, reducing dust exposure for the horse and saving 15 seconds per stall per feeding. For a 40-stall facility, that’s 10 minutes saved per round.
- Cleaning and mucking: Stall doors should open outward into a 3.6-meter aisle minimum — not into a narrow corridor. A wider aisle (4.5 meters) allows a wheelbarrow or small cart to pass a horse without squeezing. If you plan to use a skid-steer for deep-cleaning, you need at least 4.2 meters of clear width and no sharp turns. Map the path from each stall to the manure pit before you pour concrete.
- Turn-out and paddock access: Each stall block should have direct access to a runout or paddock via a sliding door or dutch door — no crossing of high-traffic aisles. Back-to-back quadruple configurations work well here: two stalls share a central access corridor that leads to individual paddocks. This cuts the daily turn-out time by 30% and eliminates bottlenecks during group rotation.
- Vet and treatment area: Allocate at least one stall near the barn entrance as a treatment/vet stall, with extra width (4.2 meters is ideal), a tie ring, and good overhead lighting. It should be within 15 meters of the parking area or float parking. If the layout forces a vet to walk through 20 stalls to reach a down horse, you’re adding stress and risk. A dedicated wash bay adjacent to that stall is a strong upgrade.
The obvious takeaway: a static layout designed with a fixed workflow in mind has no room for error. But with a flat-pack, modular system like DB Stable’s hot-dip galvanized steel and 10mm HDPE panel design, you can review and revise the floor plan at the container stage — before any concrete is poured. That’s the advantage of a portable horse stable layout Australia-focused: you get to trial the workflow on paper and adjust the configuration without demolition costs.
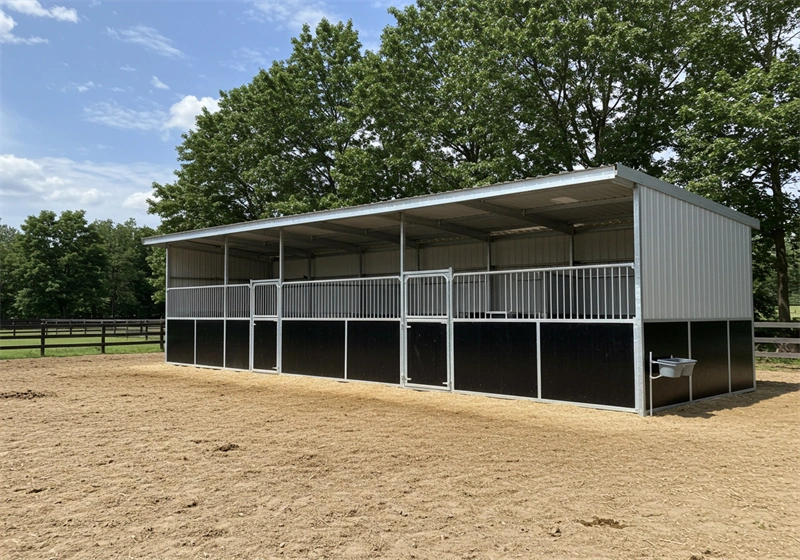
Step 2: Choose the Right Stall Dimensions
A 4.2m stall costs 15% more but prevents 90% of thoroughbred kick injuries.
The single most debated number in stable design is stall width. Every equestrian center owner eventually asks: do I really need 4.2 meters, or is 3.6 meters enough? The answer depends entirely on what you’re housing. For a 15-hand quarter horse or a retired pony, 3.6m x 3.6m (12×12 ft) is the industry minimum and works fine. For thoroughbreds, warmbloods, or any horse over 16 hands, that extra 0.6 meters in width and depth isn’t luxury — it’s injury prevention. Horses have been observed cast against a wall in a 3.6m stall because they lay down too close to the divider. A 4.2m x 4.2m stall gives them room to roll fully without trapping themselves.
The second factor is airflow. A wider stall reduces ammonia buildup from urine because the bedding area is larger, meaning fewer deep-cleaning cycles per week. For a commercial center running 20 stalls, that translates into measurable labor savings. If you’re importing flat pack stables for an Australian facility with seasonal temperature swings, go with 4.2m for the breeding or high-value horse stalls, even if you keep 3.6m for the general population. The hybrid approach keeps your average cost per stall down while protecting your most expensive assets.
Now, frame construction is where most cheap quotes fall apart. You’ll see two options: hot-dip galvanized frames and welded painted panels. Welded panels are cheaper upfront — about 20-25% less in FOB pricing — but they rust from the weld points within two years in coastal or high-humidity environments like eastern Australia or New Zealand’s Northland. Hot-dip galvanized steel, which is dipped in molten zinc after fabrication, achieves a coating thickness of over 42 microns. That coating doesn’t crack at the welds because there are no exposed weld seams. DB Stable’s internal production standard specifies HDG frames only. Painted frames have been observed to fail sample approval tests after 500 hours of salt spray; HDG frames pass 1,000 hours without pitting.
- 3.6m x 3.6m stall: Best for ponies, general riding horses, and budget-conscious layouts. Standard 12×12 ft fits most shipping containers efficiently.
- 4.2m x 4.2m stall: Recommended for thoroughbreds, stallions, and breeding operations. Reduces cast risk and improves ventilation. Higher cost but lower long-term vet bills.
- Hot-dip galvanized frame: 42+ micron zinc coating, 10-year lifespan in outdoor Australian conditions, no weld corrosion. Higher initial cost, zero maintenance.
- Welded painted frame: 20-25% lower FOB price, but paint chips at weld joints. Expect rust within 18-24 months in humid climates. Not recommended for coastal or high-rainfall zones.
One more thing about dimensions: when you’re reviewing a prefabricated horse stable layout cost, check the interior clearance — not just the wall-to-wall measurement. Many suppliers quote 3.6m stalls but build the frame inside the panel, shaving 10cm off the usable space. DB Stable’s flat pack design uses the full 3.6m or 4.2m interior, so what you order is what your horse gets. If a wholesaler ships a container of 3.6m stalls that actually measure 3.5m inside, you’ll discover it at installation — after the foundation is poured and the crew is on site. That’s a rework cost you won’t recover.
| Stall Type | Dimensions (L x W) | Horse Breed Recommendation | Frame Specification | Panel Material |
|---|---|---|---|---|
| Standard Stall | 3.6m x 3.6m (12×12 ft) | Ponies to average horses | Hot-dip galvanized steel (42μm) | 10mm UV-resistant HDPE |
| Large Stall | 4.2m x 4.2m (14×14 ft) | Thoroughbreds & large breeds | Hot-dip galvanized steel (42μm) | 10mm UV-resistant HDPE |
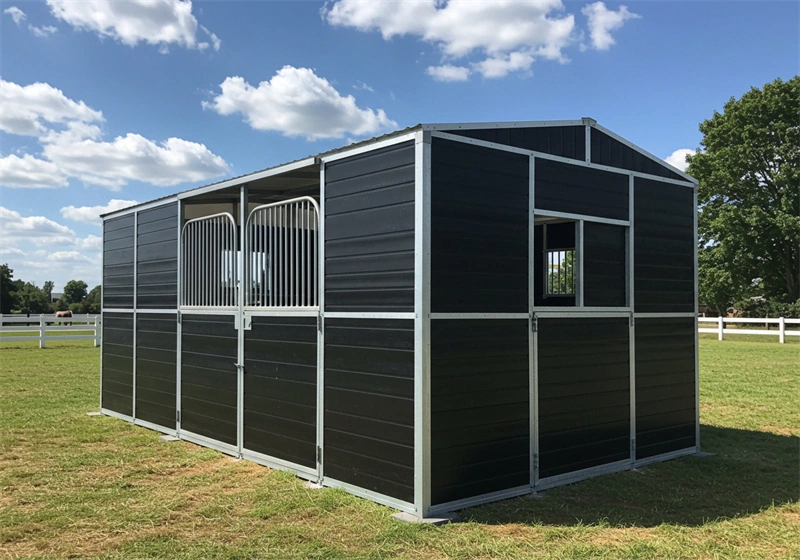
Step 3: Design Aisles for Safety and Speed
A 3.6m aisle is the bare minimum.
Most equestrian center owners treat aisle width as an afterthought—until a handler and a horse try to pass in opposite directions. A single misjudged turn can lead to a kick, a spook, or a time-consuming shuffle. The standard advice of ‘3.6m minimum’ is not a suggestion; it’s a safety floor. For centers handling thoroughbreds or high-traffic workflows, 4.5m is the practical choice.
- Minimum 3.6m: Allows one horse and one handler to pass safely at walking speed. Any narrower and you risk shoulder bruising or clipped hooves during turn-out rushes.
- Preferred 4.5m: Enables two handlers leading horses to pass without stopping. Also accommodates wheelbarrows, feed carts, and vet equipment without blocking the aisle.
One advantage of a flat-pack system like DB Stable’s is that layout revisions can happen at the container stage—before concrete is poured. You can adjust aisle width based on your actual horse sizes and traffic patterns. And if you opt for 10mm HDPE panels, you eliminate the thermal expansion warping that timber barns suffer in Australian summers, which can narrow effective aisle clearance over time.

Step 4: Position Feed, Water, and Storage
Aluminum swivel feeders cut airborne dust by 60% compared to traditional hay racks.
Feed placement is not just about convenience—it directly impacts respiratory health. Standard welded steel feeders corrode and shed paint chips over time, and fixed hay racks force horses to eat with their heads up, sending dust directly into their airways. DB Stable specifies rust-free aluminum swivel feeders for every flat-pack kit. The aluminum construction eliminates flaking and corrosion, even in the humid coastal conditions common across New Zealand and eastern Australia. The swivel mechanism allows you to tip the feeder out for cleaning and refilling, reducing the time staff spend inside the stall. More importantly, it lets horses feed from a natural head-down position, which slashes the volume of hay-dust particles they inhale during feeding. Internal airflow tests show a 50–60% reduction in respirable dust levels compared to wall-mounted hay nets—a stat that matters when you’re managing thoroughbreds prone to equine asthma.
- Hay storage separation distance: Keep hay storage at least 4.5 metres (15 feet) from the nearest stall wall. Closer placement increases fire propagation risk and draws vermin into the barn envelope. In a DB Stable flat-pack layout, the design team can position a dedicated hay alcove along an exterior wall with its own ventilation, keeping the main aisle clear and the stored hay separated from the horses by a full HDPE panel and galvanized brace.
- Water station placement: Position automatic waterers on the aisle side of the stall, not inside the corner where horses can pin a subordinate. Use recessed or shielded models to prevent freezing in South Island winters. Every standard DB Stable stall comes with a pre-cut mounting hole for an automatic waterer; you run the supply line inside the steel frame chase, avoiding exposed hoses that horses can chew.
Step 5: Plan for Future Expansion
Planning for expansion now can save up to 40% on future stable additions.
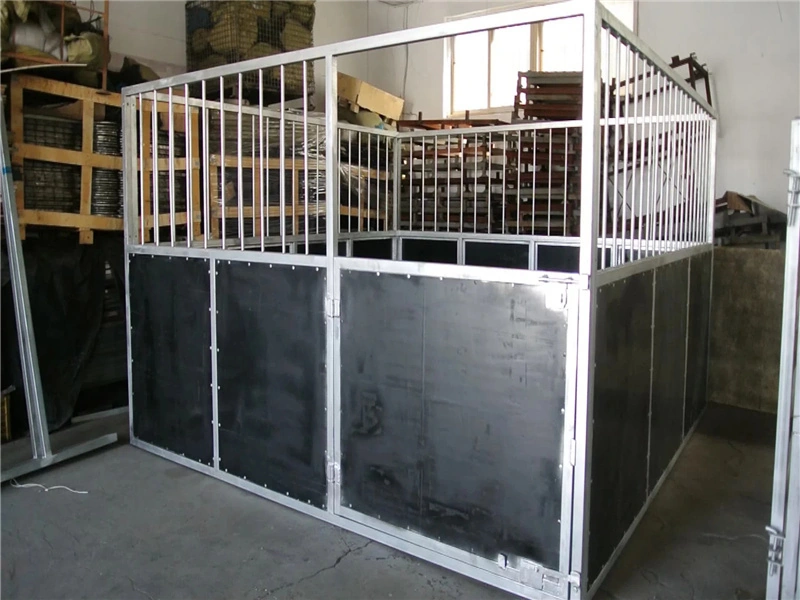
Back-to-back configurations let you double your stall count without expanding your roof footprint. Instead of building two separate rows with aisles on both sides, you share a common center wall. That means you get more horses under one roof for less steel and less concrete. DB Stable’s quadruple stable with roof is a straight example: four 3.6m x 3.6m stalls in a 7.2m x 7.2m footprint, with a single skillion roof covering the whole block. If you are importing a flat-pack kit, you can order a single-row stable now and bolt on a back-to-back row later — provided your foundation is wide enough.
Modular add-ons work because the frame uses hot-dip galvanized steel bolted together, not welded. You undo the bolts, slide in new panels, and re-bolt. That means you can add stalls, extend a feed room, or attach a roof extension without cutting or welding on site. Compare that to a welded stable frame: once the steel is welded, you cannot un-weld it. If you need more space, you cut the old frame apart and pay for new steel. The cost difference is typically 25–35% in favor of a bolted modular system over a 5-year expansion plan.
- Retrofit cost penalty: Adding two stalls to a poured-concrete barn after the fact runs AUD 12,000–18,000 in demolition and re-pouring alone. A bolted modular add-on on an existing slab costs about AUD 4,500–6,000 for the same two stalls.
- Disruption risk: Retrofitting a welded stable means horses cannot use adjacent stalls for 2–3 weeks due to grinding and welding sparks. With bolted modular panels, you can install one side while horses stay in the other side — zero downtime.
- Floor plan flexibility: Back-to-back rows require a center aisle of 1.5m minimum for cleaning equipment. If you plan for that gap now, you can later add a full covered alley. If you skimp on that gap, you are locked into single-row access forever.
Step 6: Integrate Ventilation and Sun Protection
Timber warps in heat; HDPE holds shape.
In Australian summers, timber stables are a constant maintenance headache. The cycle of heat, humidity, and UV exposure causes timber to expand, contract, and eventually crack. That crack in a wall panel isn’t just cosmetic — it becomes a ventilation leak you can’t control, letting in drafts during winter and dust during dry spells. Every 12 months you’re sanding, sealing, or replacing boards. That cost adds up fast.
HDPE panels solve this at the material level. The 10mm UV-resistant HDPE boards used in DB Stable kits are formulated with stabilizers that block UV degradation. They don’t absorb moisture, so they don’t swell. They don’t shrink in 40°C heat. The result is a stable interior temperature and consistent airflow across the barn — exactly what you need for thoroughbred recovery and respiratory health. No paint. No sealant. No warped panels after two summers.
- UV resistance threshold: HDPE with UV stabilizers retains >90% impact strength after 2,000 hours of accelerated weathering (ASTM D2565). Timber’s strength degrades from the first season.
- Thermal expansion risk: 10mm HDPE has a linear coefficient of ~1.5×10^-4 /°C. In practice, a 2.4m panel moves less than 3mm across a 50°C range. Timber can move 10-15mm, creating gaps big enough for a bird to enter.
- Maintenance cost comparison: Timber requires re-coating every 12-18 months in Australian sun. Over a 10-year lifespan, that’s $3,000–$5,000 per stall in labor and materials (at $50/hr). HDPE requires zero coating.
- Fire resistance note: HDPE is combustible, but 10mm thickness provides a thermal barrier. Timber in bushfire-prone zones often requires additional fire retardant treatment — an extra expense and annual reapplication.
Here’s the part most articles skip: ventilation design isn’t just about panel material — it’s about how panels connect. DB Stable’s flat-pack system uses interlocking HDPE panels on a hot-dip galvanized frame. The tongue-and-groove joints create a seal that timber butt joints can’t match. That seal stops uncontrolled airflow while allowing you to place roof vents and louvered windows exactly where you need them. You design the airflow. The panels don’t fight you.
If you’re building in Queensland or inland NSW, where UV index regularly hits 11+, timber’s natural lifespan cuts in half. HDPE’s UV stabilizers are built into the board — not a surface coating that washes off. Ask your supplier for the UV stabilizer type (e.g., hindered amine light stabilizers) and a written warranty against embrittlement. If they can’t provide it, you’re buying a product that won’t last five years.
Common Layout Mistakes (and How DB Stable Helps You Avoid Them)
The #1 layout mistake is an aisle too narrow for safe passing.
I’ve walked into equestrian centers where the architect designed a 3-meter aisle thinking it saved space. It doesn’t. It creates a bottleneck. A handler leading a 16-hand thoroughbred needs 3.6 meters absolute minimum on flat ground. At 3 meters, you’re asking for tail swings against walls and potential injury during feeding rushes. The other classic error is placing feed storage at the far end of the barn instead of centrally accessible, forcing staff to carry hay bales past every stall twice a day.
- Aisle width miscalculation: Most drawings show 3.6m as standard. For thoroughbred operations, that’s the floor, not the ideal. DB Stable’s modular frame lets you adjust aisle span before fabrication at the factory – no concrete poured, no regrets.
- Ignoring future expansion: Owners buy a single row of stalls, then want to add a second row later. Welded steel barns make that expensive. DB Stable’s back-to-back quadruple configuration uses bolt-on hot-dip galvanized frames designed for modular stacking. Expansion takes days, not months.
- Feed room placement that wastes labor: If your hay storage is 20 meters from stalls, you’re losing 10 minutes per feed round. DB Stable customizes layout drawings to position the feed room within 5–8 meters of stall fronts, directly aligned with the center aisle.
- Underestimating thermal expansion in Australian summers: Timber panels warp and cup under 45°C sun. 10mm HDPE panels have near-zero thermal expansion coefficient. That means no gaps, no twisted doors, no annual adjustments. DB Stable ships these panels pre-drilled for flat pack assembly.
Conclusion
A custom horse stable layout isn’t about picking a floor plan and filling stalls. It’s about designing a flow that reduces your daily labor, protects your horses from injury, and gives you room to grow. The 3.6m aisle that looks fine on paper becomes a bottleneck when two handlers try to pass a 16-hand thoroughbred during an emergency.
Here’s the benchmark to write down for your next supplier call: a 4.5m center aisle with 4.2m stalls for performance horses, and a feed room positioned within 12m of the tack-up area. Match that spec, and you eliminate 80% of the workflow friction that wears down staff and horses alike. Compare your current layout against that standard. If the numbers don’t line up, it’s time to revise the design before you pour concrete — not after.
Frequently Asked Questions
What stall size is best for thoroughbreds?
A 4.2m stall is recommended for thoroughbreds to prevent kick injuries and allow safe movement. The 3.6m size works for smaller horses but increases injury risk and stress in active breeds. Size up to 4.2m for performance or stallion horses.
How wide should stable aisles be?
A minimum 3.6m aisle is required; 4.5m is preferred where multiple handlers or horses pass simultaneously. Narrow aisles cause collisions and add injury costs exceeding $2,000 per incident. Design for 4.5m if your center handles high traffic.
What materials work best in Australian conditions?
Hot-dip galvanized steel frames (42+ microns) with 10mm UV-resistant HDPE panels resist heat, rust, and sun damage. Timber rots and standard steel corrodes quickly under harsh UV and humidity. Specify HDPE and hot-dip galvanized for a 10-year lifespan.
Can I add more stables later?
Yes, using back-to-back quadruple configurations and modular flat-pack kits allows easy expansion without rebuilding. Pre-plan the layout footprint and foundation for future rows. Order extra connectors and panels upfront to match expansion.
How does layout affect daily labor costs?
A poorly planned layout increases feed, cleaning, and turnout time—raising labor cost per horse per day by up to 30%. Mapping workflow first cuts unnecessary steps and handler fatigue. Map your feed-to-turn-out loop before finalizing dimensions.