flat pack horse stable assembly is the first checkpoint buyers should lock before they approve a supplier, budget, or production slot. How hard can assembling a flat pack horse stable really be? That’s the question I hear most often from stable builders and equestrian center owners in Australia and New Zealand who’ve just unloaded a kit from a container. The standard answer from most suppliers is something like “it’s straightforward — two people can do it in a weekend.” But if you’ve ever tried to force an out-of-sequence wall panel into place or watched a freshly installed door bind because the foundation moved 3 mm after a summer storm, you know the real answer is more nuanced. The most common flat pack horse stable assembly mistakes aren’t about missing parts or poor instructions — they’re about small engineering details that compound fast when ignored.
I’ve seen a $50,000 order of ten stables go sideways because the buyer assumed all HDPE panels could be tightened down hard — the same way you’d bolt a steel frame. Thirty percent of panel returns in our foundry data come from over-tightening. In Australian conditions, HDPE expands 1–2 mm per meter in direct sun. That means a 3-meter panel on a 40°C day needs roughly 3–6 mm of movement at every joint. If you’ve cranked those bolts to 40 Nm instead of the 25 Nm spec, the panel will crack within the first summer thermal cycle. That’s the kind of mistake no supplier’s standard answer warns you about. This article covers the five errors that cost time and money — and how to dodge them before the first screw turns.
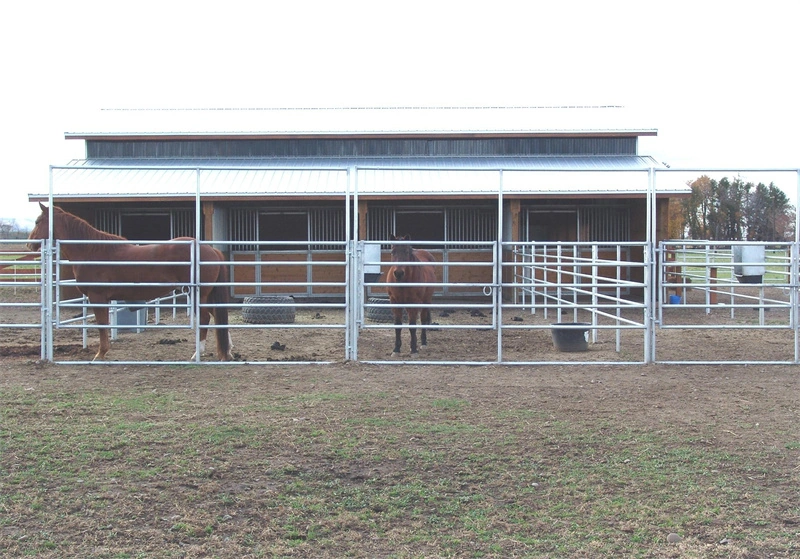
Mistake 1: Ignoring Foundation Leveling
A 5 mm/m slope is the minimum; ignore it and doors will bind.
An unlevel foundation warps the hot-dip galvanized frame. In Australia and New Zealand, seasonal soil movement amplifies the problem. You need a slope no steeper than 1:200 — that’s 5 mm per meter measured with a 2 m level. Exceed that and doors drag, roof panels gap, and the entire structure loses its rigidity.
- Base material: Use 100 mm of compacted Class 2 road base (crushed rock). Do not rely on sand or topsoil.
- Compaction: Compact with a plate compactor until the surface is hard and doesn’t show footprints. Water the base lightly before final compaction to achieve maximum density.
- Clay soils: Add geotextile fabric between the soil and the road base. Clay expands when wet and can lift the foundation by 15–20 mm.
- Concrete slab warning: Pouring concrete directly under the frame traps moisture against the galvanized steel. This accelerates corrosion. If you must use concrete, raise the frame on 50 mm HDPE spacers.
Foundation cost ranges from $200–$400 AUD for compacted road base (most sites) to $500–$1,500 for a concrete slab (wet areas) or $300–$600 for timber sleepers on pads (temporary setups). The extra $100 for proper leveling saves 2–4 hours of rework and prevents door misalignment — the leading cause of post-installation service calls.
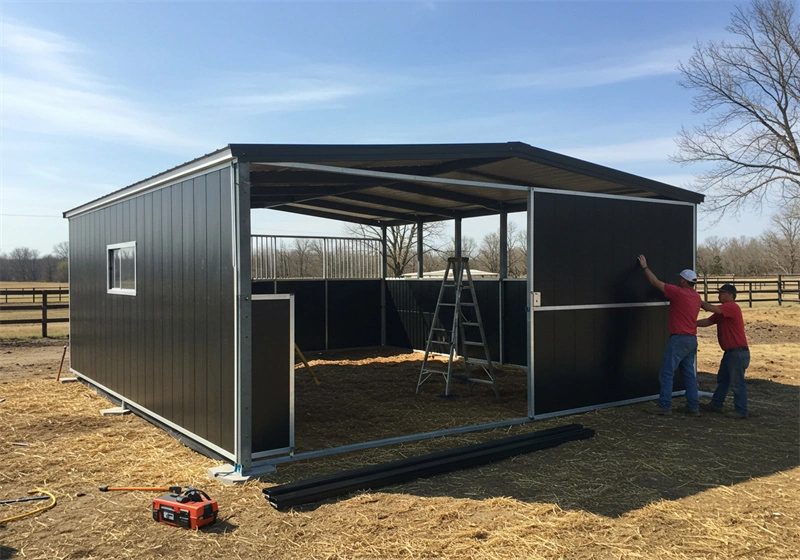
Mistake 2: Over-tightening Bolts on HDPE
30% of HDPE panel returns are due to over-tightening – a torque wrench is mandatory, not optional.
HDPE panels expand and contract up to 1–2mm per meter in the Australian sun. When you crank bolts beyond 25 Nm, you’re stressing the plastic at the contact point. That creates micro-cracks around the bolt hole. Those cracks propagate with every temperature cycle, and within a few months the panel starts splitting at the fastener. It’s not a material defect; it’s an assembly error that’s completely preventable.
- Correctly tightened: The panel sits snug against the frame with no visible distortion around the washer. The washer itself remains flat with no dimpling in the HDPE surface.
- Over-tightened: A starburst crack pattern radiates from the bolt head, or the washer edge leaves a permanent ring pressed into the panel. You might also see the washer begin to cup inward as the plastic yields.
Prevention is straightforward. Use a torque wrench set to exactly 25 Nm – no guessing, no “hand tight plus half a turn.” Pre-drill all bolt holes to the exact bolt diameter (typically 6mm for M6 bolts) so the fastener seats cleanly. Finally, leave a 1mm gap at every panel joint during assembly. That gap accommodates thermal expansion without putting lateral stress on the bolt holes. Skip these steps, and you’ll be replacing panels inside a year.
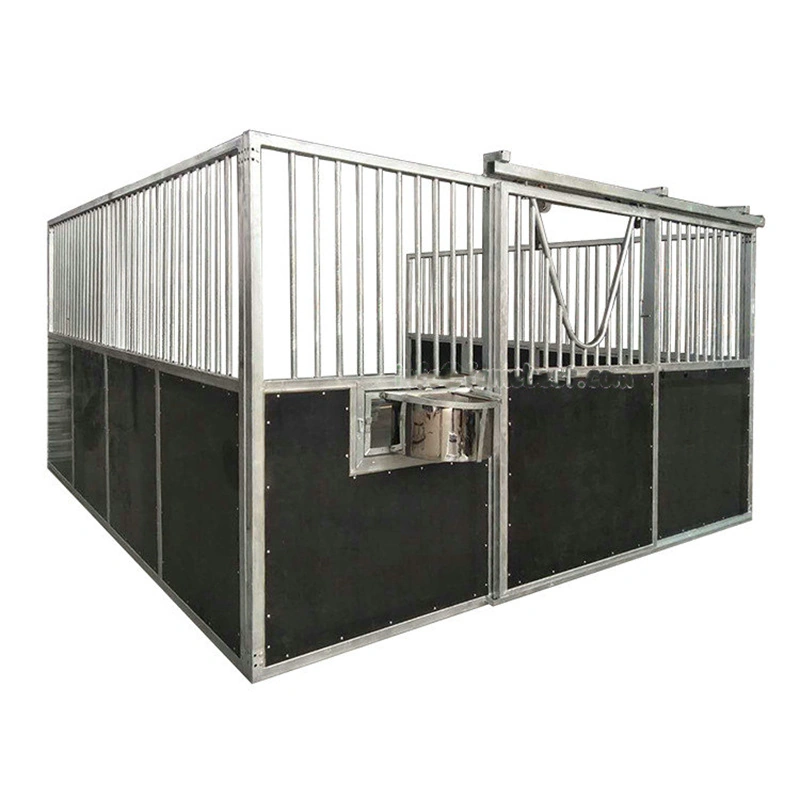
Mistake 3: Wrong Panel Sequence
Installing roof panels before squaring the walls adds 50% more adjustment time.
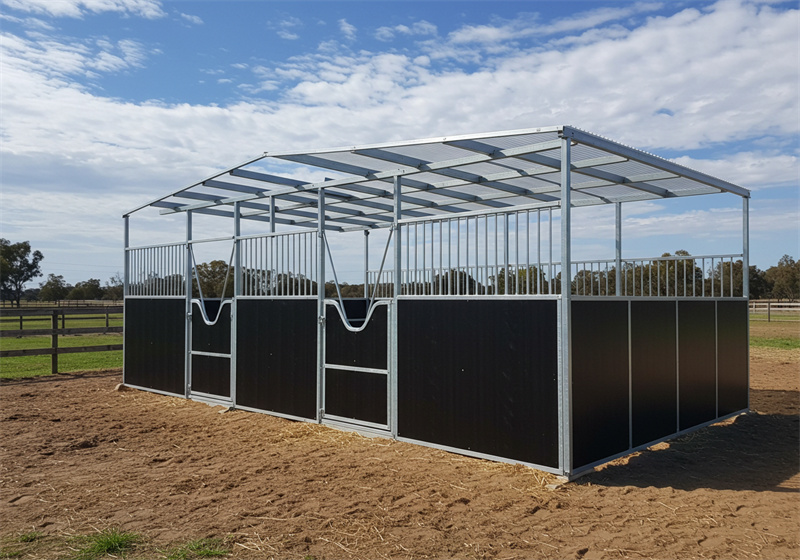
The panels in a flat pack horse stable are designed with interlocking edges that only align in one sequence. The correct order is bottom to top: back wall first, then side walls, then the front wall with door frame, and finally the roof. Each panel overlaps the one below by 10mm to shed water. Reverse the order and you’ll be fighting misaligned bolt holes and gaps in the structure.
- Correct Order: Back wall → side walls → front wall with door frame → roof. Each panel overlaps 10mm below it.
- Common Error: Installing roof panels before walls are square forces the frame out of plumb, creating gaps and structural weakness. Fixing this adds up to 50% more adjustment time.
- Troubleshooting: If you realize the sequence is wrong after partial assembly, remove all bolts and re-panel. Never force panels into place — use a rubber mallet for gentle alignment only.
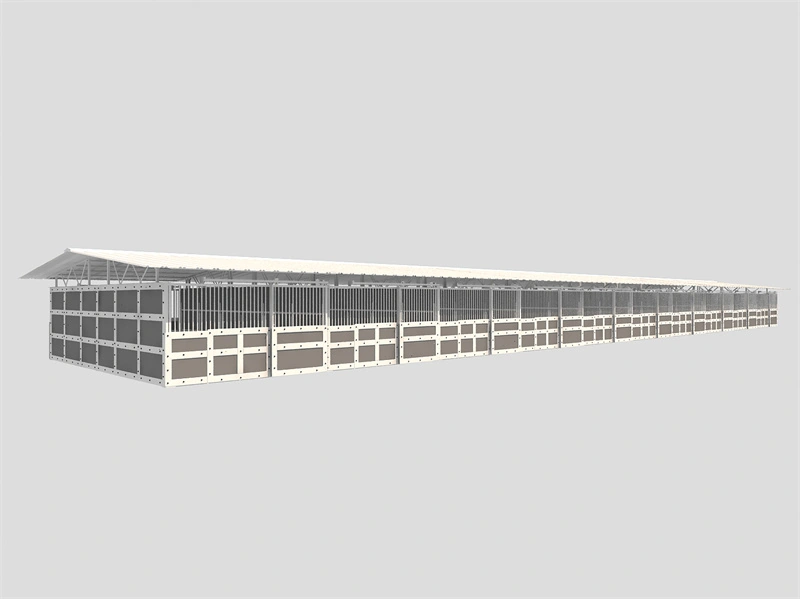
Mistake 4: Door Frame Misalignment
A 2mm diagonal difference causes 15% of post-installation service calls.
Doors that stick or drag are almost always the result of a door frame that has shifted out of square during assembly. Measure the diagonals from corner to corner — if the difference exceeds 2mm, you have misalignment. The frame must be corrected before the panels are fully tightened.
- Cross-Bracing: Install temporary cross-bracing on the door frame before final bolt tightening. This locks the frame square while you secure the surrounding panels. Remove the bracing only after all adjacent panels are fixed and the frame is stable.
- Post-Installation Adjustment: After full assembly, test the door swing. If binding persists, loosen the hinge bolts slightly and use 1mm stainless steel washers as shims. Tighten hinge bolts to the standard 25 Nm torque — over-tightening here can distort the frame again.
Mistake 5: Roof Panel Sealing
The roof is the only part of the stable that sees full sun exposure, heavy rain, and wind lift every single day. Most flat pack manuals treat it like a garden shed roof—and that’s where the problems start.
- Overlap requirement: 150mm minimum at every roof panel seam. Less than that and wind-driven rain will wick through capillary action. Butyl tape must be applied along every overlap—do not substitute with cheap foam tape or silicone.
- Fastener spacing: Screws every 200mm along the overlap, not the common 300mm. The closer pattern prevents panel lift during gusts and stops the seal from breaking. Edge flashing on the outside is non-negotiable for high-wind areas.
Testing is simple but often skipped. After full assembly, run a garden hose over the entire roof for a solid 10 minutes. Check inside for drips at every screw head and overlap seam. If you find a leak, peel back the overlapping panel, reapply butyl tape, and tighten. Do not rely on silicone—it degrades under UV in 12 months and leaves a mess.
Thermal expansion is the hidden killer. Australian summer can heat black roof panels to 70°C. HDPE expands 1–2 mm per metre under those conditions. If you butt the roof panels tight at the ridge line, they will buckle. Leave a 2 mm gap where panels meet at the ridge. If your kit includes slotted screw holes, use them—they allow the panel to slide without stressing the fasteners or cracking the HDPE.
Get the overlap, sealant, and expansion gap right and your roof will stay watertight through its first summer and beyond. Skip any of these steps and you’ll be back on the roof during a 40°C day chasing a leak that’s already staining the walls.
Conclusion
Benchmark your next setup against the 8-12 hour build time for a two-person crew. If your assembly plan deviates from that window, run through the five mistakes again before you break ground. That number — 8 hours on a concrete slab, 12 on compacted road base — is the industry pace you can write into your quote.
Frequently Asked Questions
How long does it take to assemble a flat pack horse stable?
Assembly typically takes two days for a single stall with two experienced people. Following the correct panel sequence and foundation prep cuts that time by up to 40%. Plan for at least two full days with a helper.
What tools are needed for flat pack stable assembly?
Essential tools include a torque wrench set to 25 Nm, a 2m spirit level, and a plate compactor for the foundation. Without a torque wrench, HDPE panels are at high risk of cracking from. Ensure you have these tools before starting assembly.
Can I assemble a stable on an existing concrete slab?
Yes, but only if the slab is perfectly level to within 5 mm per meter and has adequate drainage. Direct contact with concrete can trap moisture against the galvanized frame, so always use a. Check level and drainage before placing the stable.
What warranty covers DIY assembly errors?
Most warranties exclude damage caused by assembly errors, such as over-tightening bolts or improper foundation leveling. The manufacturer typically covers only material defects, not installation mistakes. Follow the torque specs and foundation guide to keep warranty valid.
Do roof panels need special treatment for Australian bushfire areas?
Standard HDPE and galvanized steel panels may not meet higher BAL ratings without additional fireproofing. Check your local BAL zone requirement and consult your supplier for compliant options. Always verify BAL compliance with local authorities.