Flat pack stable assembly alignment tips become relevant about three weeks after you finish a job. The owner calls to say the door is binding. You drive back out, measure the diagonal – it’s 12mm off. That’s not a tool problem. That’s a sequence problem. And it’s a call-back nobody budgets for when they quoted the FOB pricing on that container.
DB Stable’s internal warranty data shows that 90% of alignment complaints trace back to an unlevel base. Only 2% are manufacturing tolerance issues. That means the solution is in your preparation, not in the steel. So if you’re a professional builder looking to finish a double stable in 6 hours without rework, these five tips will cut the guesswork. Start with the foundation spec: ±3mm over any 3m length. That’s the anchor for every bolt hole.
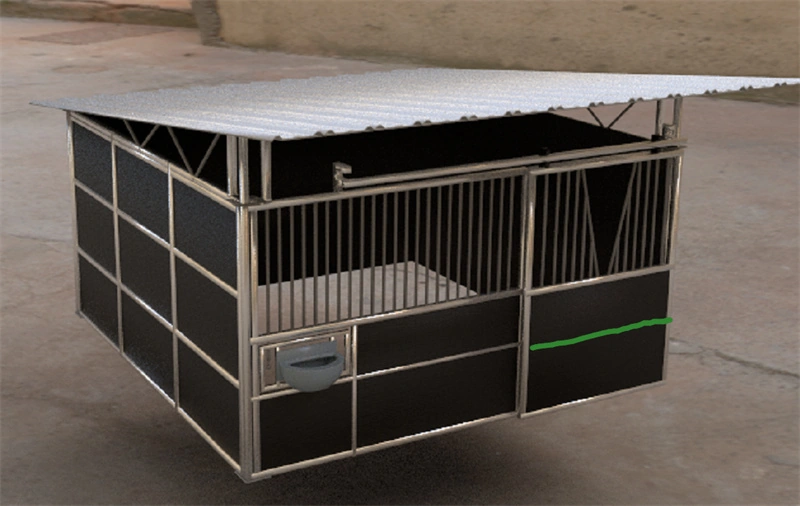
Tip #1 – Prepare a Dead-Level Base (The #1 Mistake)
An unlevel base is the root cause of 90% of alignment issues – not the kit.
DB Stable’s engineering team specifies a base tolerance of ±3mm over any 3m length. Use a laser level or water level to verify before placing the first panel. Internal warranty data shows that 90% of customer complaints about holes not lining up trace back to an out-of-spec foundation, not the kit itself. All DB Stable parts are CNC-punched to ±0.5mm accuracy, so if your base is within tolerance, the panels self-align.
- Concrete slab (~$80/m² installed, 100mm reinforced): Meets the ±3mm tolerance reliably. Expect 20+ years with zero maintenance. Recommended for permanent commercial or equestrian centre builds where long-term stability matters.
- Compacted crusher dust (~$25/m², 95% Proctor compaction required): Acceptable for temporary or budget installations, but expect annual re-leveling. Heavy horse impact can cause settling over time. Always add a geotextile layer under the gravel to reduce shifting.
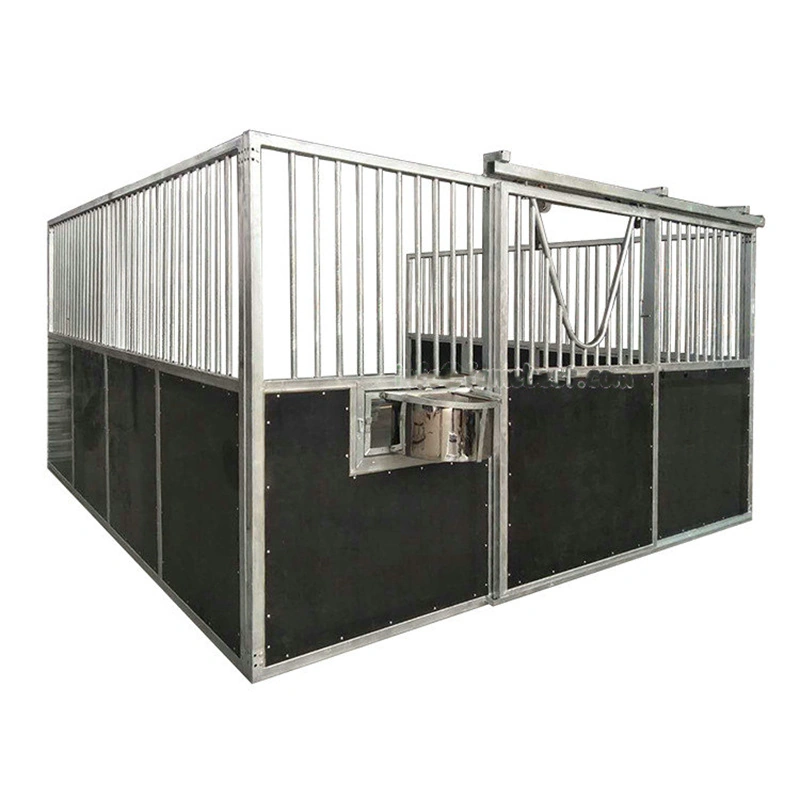
Tip #2 – Dry-Fit the First Corner with the Alignment Jig
The alignment jig is the difference between a 6-hour build and a day of frustration.
Every DB Stable kit ships with a laser-cut steel alignment jig specifically for the first corner. You bolt the first corner post into the jig, then bolt the first horizontal rail into the jig’s pre-positioned slot. That single action locks a perfect 90° angle. Because all parts are CNC-punched to ±0.5mm accuracy, once that first corner is square, every subsequent post and rail aligns automatically. No measuring, no guessing.
- With the Alignment Jig: Bolt post to jig, bolt rail into jig. Takes 2 minutes. First corner is guaranteed 90° ±0.5°. Move on to the next corner – no adjustment needed.
- Without the Jig (DIY Alternative): You need a 4-foot framing square, two temporary timber braces, and a level. Getting the first corner exactly 90° takes 15–20 minutes of trial and error. A 1° error at the corner translates to roughly 7mm misalignment across a 4m stable wall – enough to make hole alignment impossible later.
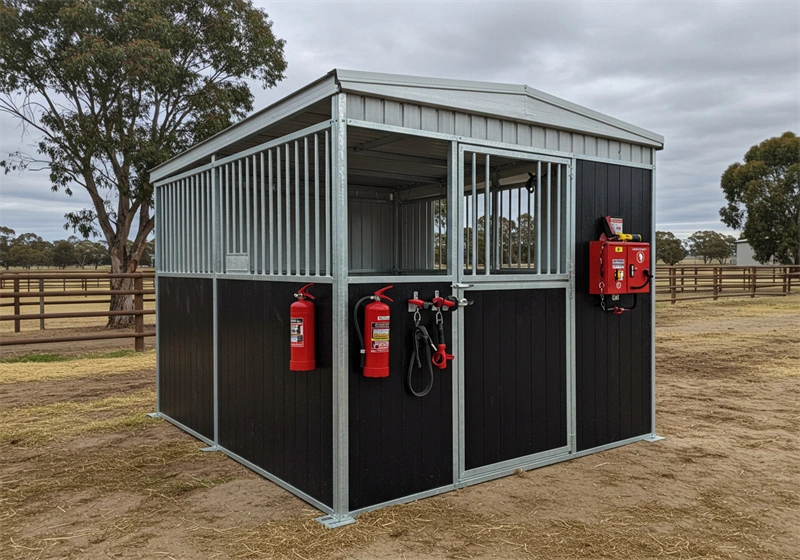
Tip #3 – Work in Sequence: Rails First, Then Panels, Then Roof
Rails set the grid; panels are just infill.
The mistake most often seen: builders attach a panel to the first post and rail, then move to the next section. By the time they reach the far end, the frame is out of square and holes don’t line up. The correct sequence is simple: bolt all bottom rails loosely to the posts, then all top rails loosely. This creates the complete rectangular skeleton. Only then do you slide the HDPE panels into the pre‑punched slots and insert the bolts through panel and rail.
Why this works: DB Stable’s CNC‑punched holes are ±0.5mm accurate, so if the base is level (within ±3mm over 3m) and the rails are installed first, every panel will drop into place without force. Premature panel attachment locks the frame in whatever position it happens to be, making it impossible to shift the rails later to correct diagonal errors.
- Torque specification: All M10 structural bolts must be tightened to 45 Nm (±2 Nm). Use a torque wrench — never trust the clutch setting on an impact driver. Overtightening strips the threads inside the HDPE panels; undertightening leaves the frame loose and doors will bind. A printed torque guide is included in every DB Stable kit.
After all panels are hung and bolts are still loose (finger‑tight), check both diagonals. The difference must be ≤5mm. Only then proceed to final tightening: corner bolts first, then intermediate rail bolts, then door hinges. This sequence ensures the structure stays square for the life of the stable.
Tip #4 – Use the Right Tools – Including a Torque Wrench
Overtightening HDPE with an impact driver strips threads permanently.
You don’t need a full workshop, but skimping on three tools will cost you time and materials. Here’s what you actually need for a smooth build.
- Impact driver with a 17 mm socket: Speeds up bolt running but never use it for final torque. Use it only to seat bolts, then switch to the torque wrench.
- Torque wrench (40–50 Nm range): The only tool that prevents overtightening. Set it to 45 Nm for every M10 structural bolt. Don’t trust the clutch on an impact driver.
- Silicone spray lubricant: Spray bolt threads before insertion. Reduces friction, prevents galling between galvanised steel and HDPE, and keeps torque readings accurate.
- Rubber mallet: For gently tapping HDPE panels into position. Never use a steel hammer — it cracks the board face and voids the warranty.
- Spirit level (1.2 m minimum) and sawhorses: Verify horizontal rails as you go. Sawhorses keep panels off the ground and prevent contamination of the tongue-and-groove edges.
- What happens at 60 Nm: The HDPE thread deforms permanently. The bolt spins freely but never tightens. You feel the loss of resistance — by then the damage is done.
- What happens at 80 Nm: The thread shatters. The bolt falls out. The panel loses all structural connection to the frame. On a door panel, this creates a safety hazard.
- How to know your torque is correct: Watch the panel face. At 45 Nm the 10 mm board compresses about 0.5 mm at the bolting point — a light dimple appears. Stop exactly there. If you see the dimple deepen or the board surface cracks, you went too far.
The warning about HDPE overtightening isn’t theoretical. Each 10 mm HDPE panel has molded threads that accept a bolt. Exceed 45 Nm and the plastic strips internally. Once stripped, the bolt can’t clamp the panel against the frame. The panel will rattle, the seal gaps open, and you have no repair — the entire board must be replaced.
Every DB Stable kit ships with a printed torque guide. Keep it in your back pocket. And use the torque wrench — not the impact driver’s “low” setting. The clutch on those tools drifts by ±15 Nm depending on battery voltage and temperature. That’s the difference between a tight panel and a ruined panel.
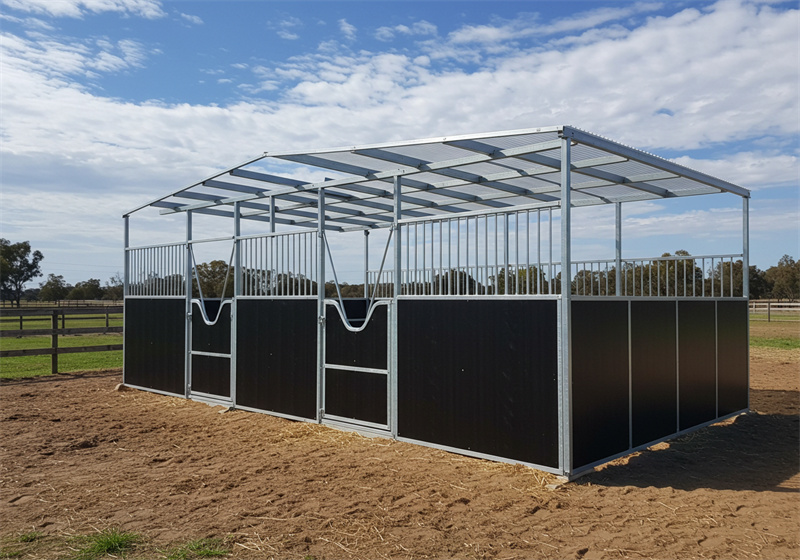
Tip #5 – Check Diagonals Before Final Tightening
Diagonals within 5mm before tightening saves you call-backs.
After all panels are hung and bolts are loose, measure both diagonals from top-left to bottom-right and top-right to bottom-left. The difference must be 5mm or less. If it’s greater than 5mm, your frame is parallelogrammed — doors will bind and gaps open at the roof line. Loosen the corner bolts, shift the frame toward the longer diagonal, and remeasure. DB Stable’s engineering team treats this as a mandatory QC step before any final torque is applied.
- Tighten sequence: Start with all four corner bolts, then intermediate rail bolts, then door hinge bolts. This locks the square geometry first, then secures the rest.
- Torque spec: 45 Nm on each M10 bolt — no more, no less. Use a calibrated torque wrench, not an impact driver on ‘guess’ setting.
Conclusion
Alignment issues in flat pack stable assembly almost always trace back to foundation preparation, not the kit itself. Once the base is level within 3 mm over 3 m, the rest of the process follows a repeatable sequence: dry-fit the first corner with the alignment jig, work rails before panels, torque to 45 Nm, and verify diagonals within 5 mm. These five steps eliminate the guesswork.
Before you commit to a supplier, ask these three questions: 1) Does your kit include a laser-cut alignment jig for the first corner? 2) What is the recommended base tolerance, and do you provide a written spec? 3) Do you supply a torque specification for structural bolts and include it in the assembly guide? If the answer to any is unclear, the supplier may expect you to solve alignment problems on site — not a position you want to be in. Review the kit specifications on the product page to confirm these features are included in the shipment.
Frequently Asked Questions
Can I assemble a flat pack stable alone?
No, you need at least two people—the rails and panels are heavy and require a second set of hands for alignment. Even with DB Stable’s alignment jig, one person cannot hold the first corner square. Plan for a helper before you start.
My pre-drilled holes are 1mm off. What should I do?
First check your base level—90% of misalignment comes from a slab that’s out of the ±3mm over 3m tolerance. If the base is true, the 1mm offset. If the base is level, proceed with bolt-up; contact DB Stable if it’s still off.
How long does it take to assemble a double stable?
With a level base and the alignment jig, two experienced people can finish a double stable in 6–8 hours. Without proper base prep or a jig, expect the job to take a. Time varies with crew size, base prep, and tool readiness.
What torque should I use for the bolts?
Use the torque values specified in the kit’s manual—typically 40–50 Nm for M12 bolts on hot-dip galvanized frames. Over-tightening can strip threads or distort the frame; under-tightening risks loose joints. Always follow the torque chart included with your kit.
Do I need a concrete slab? Can I use gravel?
Concrete slab is recommended for permanent installations; it costs about $80/m² and lasts 20+ years with no maintenance. Compacted road base at $25/m² is acceptable for temporary or budget builds. Use concrete for long-term stability; gravel only if you accept annual maintenance.