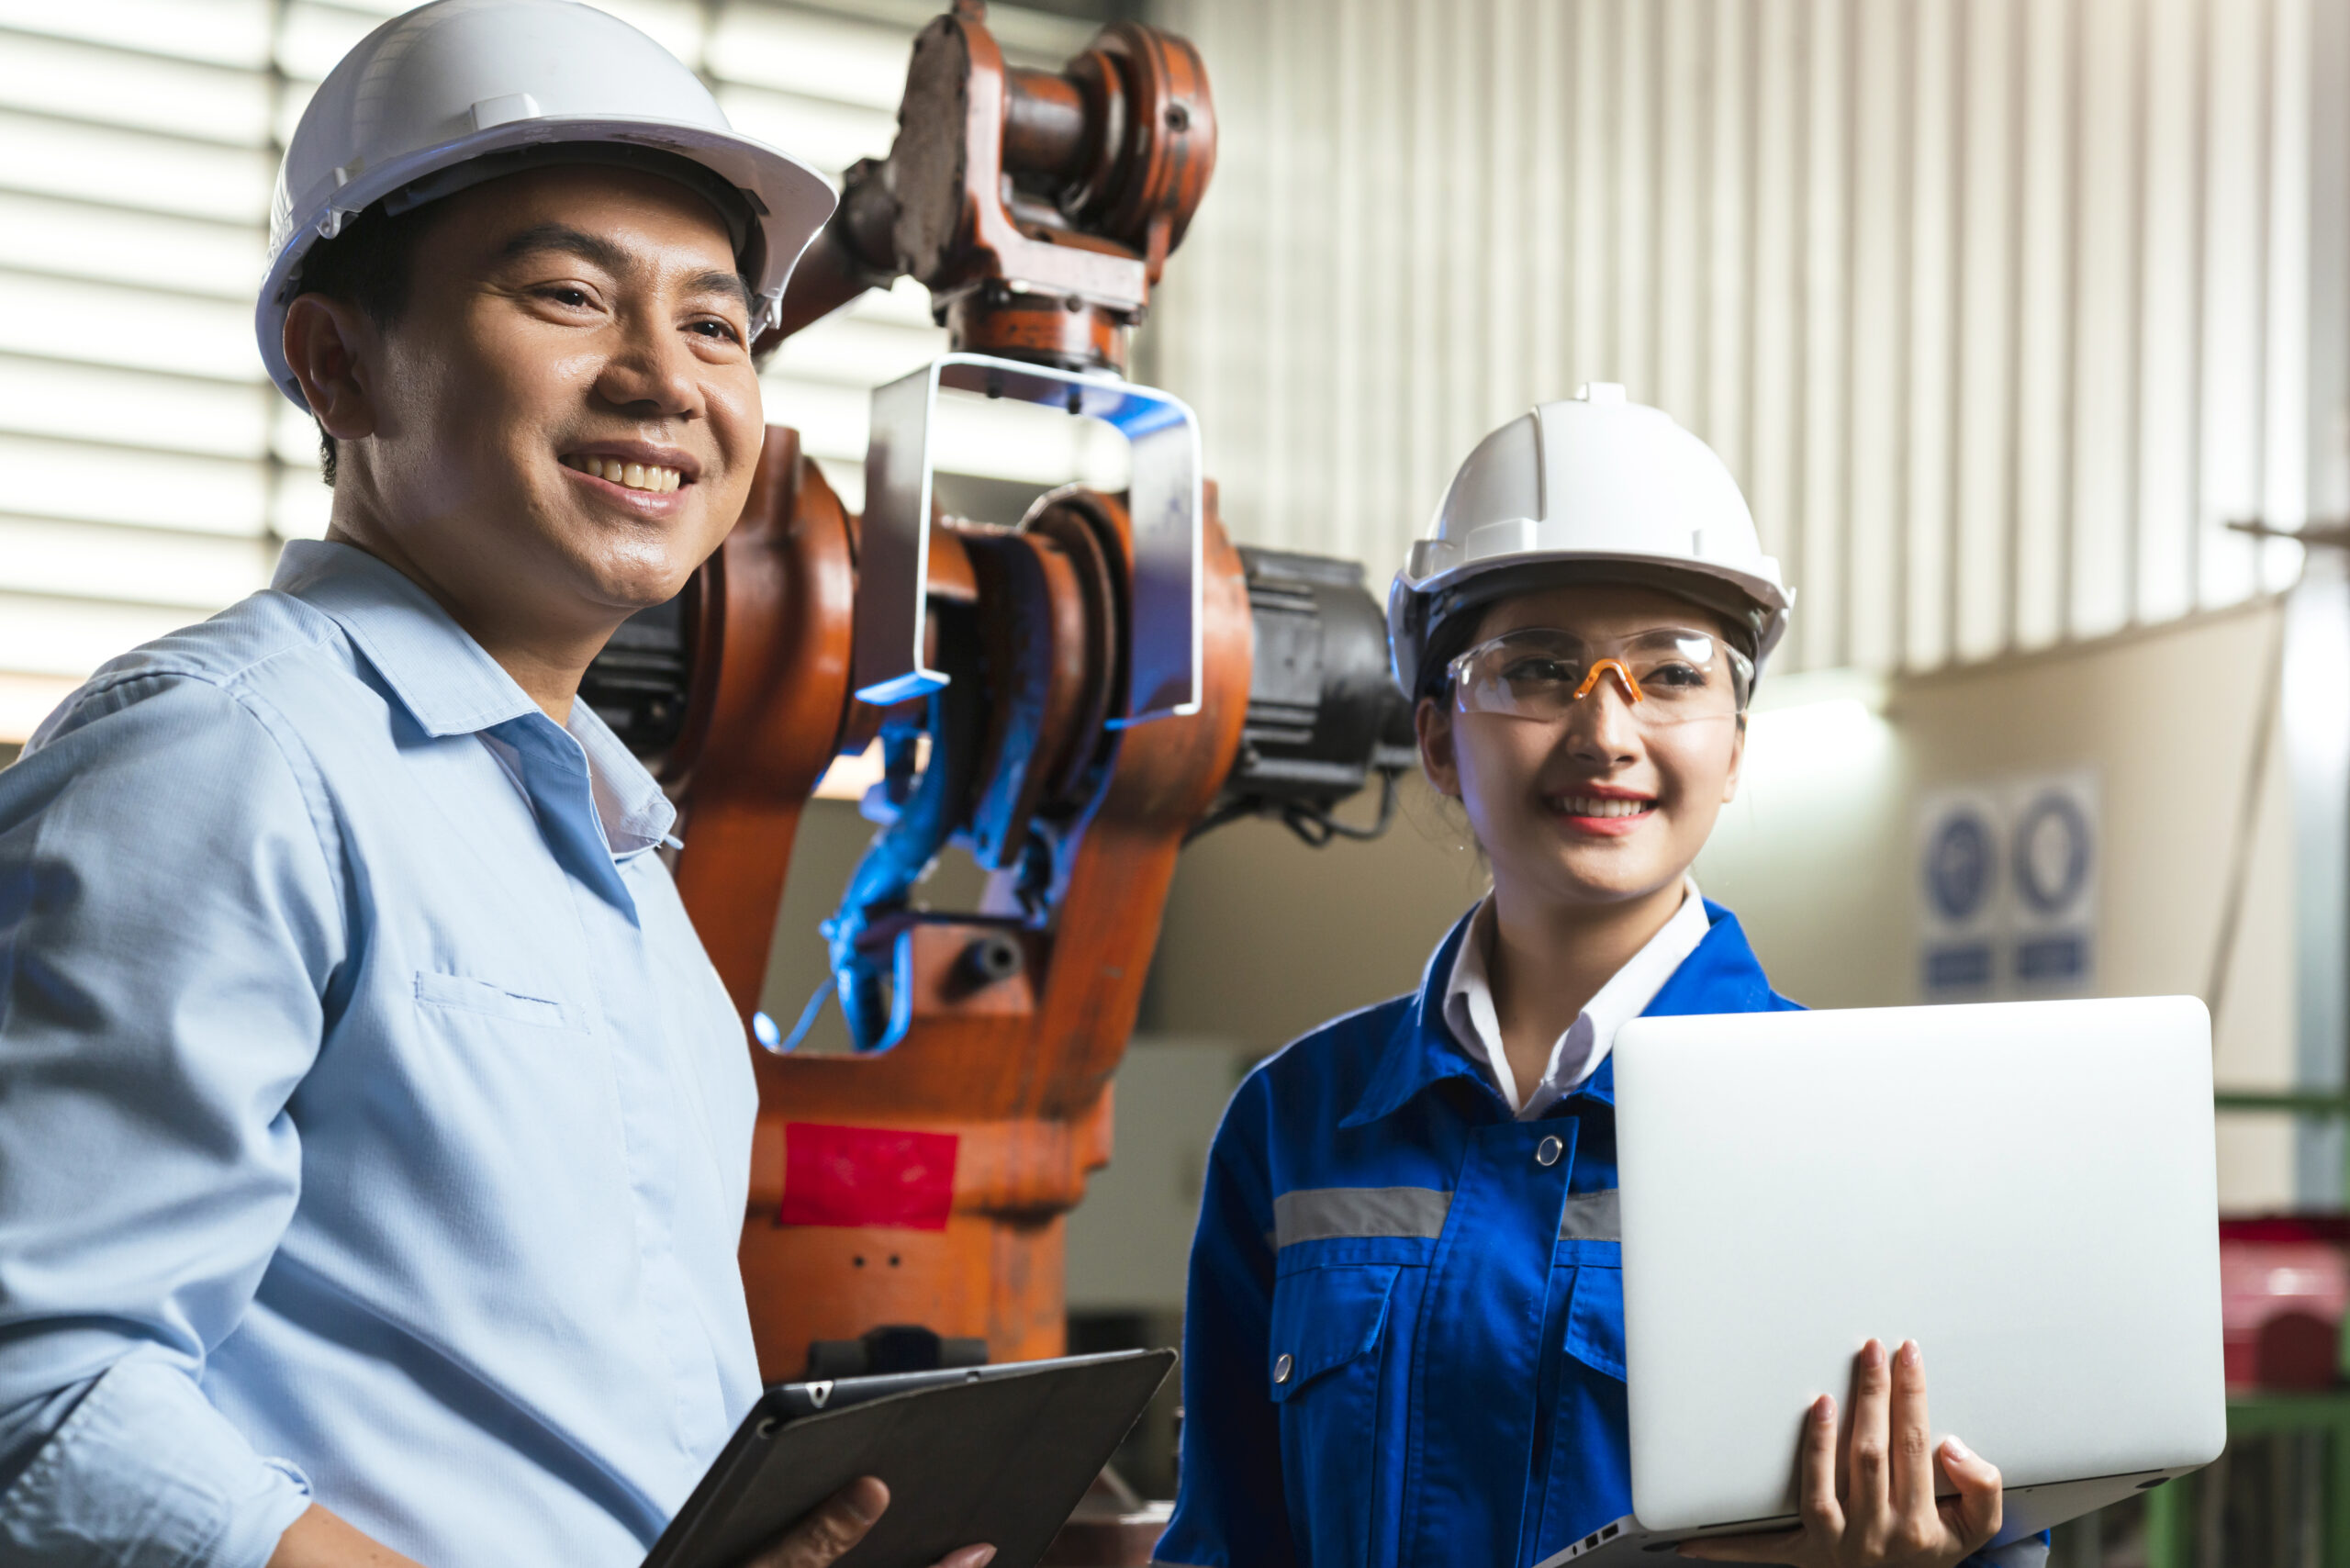
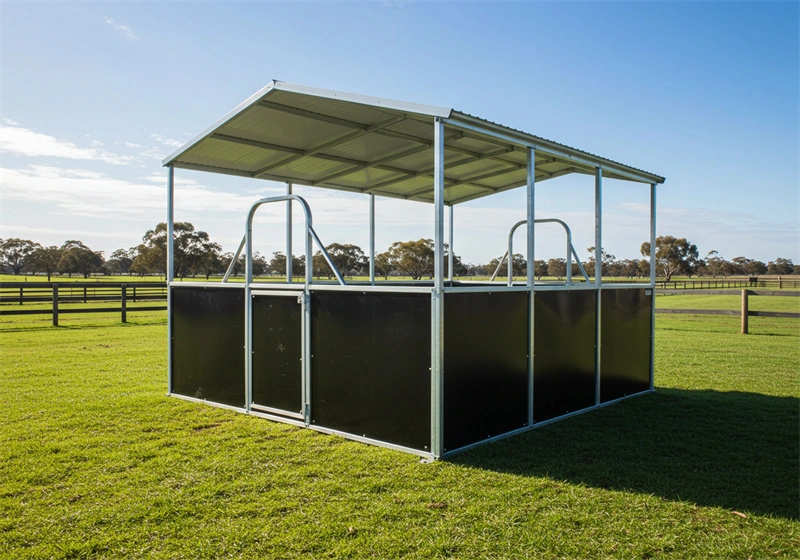
Managing a facility with over 20 horses demands infrastructure that can handle extreme forces without compromising safety. The reality of operating a professional equestrian center is that stable kit assembly errors are the primary cause of preventable structural failures and voided warranties. When a 500kg thoroughbred kicks with 1,200 lbs of force, the difference between a safe stall and a dangerous hazard often comes down to a few millimeters of panel gapping or a single under-anchored rail.
Most generic flat-pack guides completely miss the specific engineering required for high-ammonia environments and coastal climates. It has been observed that skipping a proper concrete haunch or using standard zinc bolts instead of stainless steel leads to progressive racking within 12 months. A single callback to fix a kicked-through HDPE panel or a sagging roof costs three to five times more than the initial installation labor, not to mention the risk of horse injury.
You need to look beyond the price tag and demand a kit designed to eliminate these specific failure points. DB Stable engineers every component—from pre-drilled frames to color-coded panels—to ensure that your installation is robust, compliant, and built to last. The following analysis breaks down the five critical errors that undermine portable stables and shows exactly how to avoid them.
Why Your Flat Pack Stable Fails: The Hidden Risks
Skipping perimeter concrete haunches causes progressive racking, leading to kicked-through panels and voided warranties.
Most equestrian center owners assume a flat-pack kit is impossible to mess up. The reality: skipping a treated-pine sleeper or concrete haunch around the stable’s perimeter allows the bottom rail to splay under horse weight and ammonia-soaked ground. This progressive racking misaligns doors, loosens roof panels, and creates sharp metal edges—directly threatening the welfare of high-value thoroughbreds.
Bottom rail anchor failure is the #1 detected cause of stable structural racking within 12 months, according to industry failure analysis data. Without a solid foundation, the entire stall racks. This misalignment puts uneven stress on the HDPE panels, which are designed to handle direct impact, not lateral shear forces.
- The Kick-Through Risk: Horse kick force can exceed 1,200 lbs (5.3 kN). If the frame racks, the 10mm HDPE panel loses its structural backing and can shatter or deform, creating dangerous exposed edges.
- Thermal Warping: Over-tightening HDPE panels (beyond 5 Nm) reduces impact resistance by 40% and accelerates thermal warping in 40°C+ Australian heat. This warping pulls the frame out of square.
- Corrosion Acceleration: Using standard zinc-plated bolts instead of 304/316 stainless steel prevents galvanic corrosion in coastal environments, but also leads to bolt shearing under racking stress, extending frame life by 5+ years.
A single ‘call-back’ to fix a kicked-through HDPE panel or re-set a sagging roof due to poor assembly costs 3-5x more than the initial installation labor budget. Add potential veterinary bills from horse injury, and the margin evaporates. The best stable kit for a professional equestrian center is one that comes with a pre-drilled frame (no field drilling) and a color-coded packing list matching the installation sequence.
Real Cost of Installation Mistakes in 2026
A single installation callback costs 3-5x more than initial labor, plus potential veterinary bills.
In 2026, the financial reality of a ‘DIY’ flat-pack installation is defined by the cost of correction. A 5-conjoined back-to-back stable kit costs between AUD $15,000 and $25,000 landed in Oceania. Replacing a single kicked-through HDPE panel due to poor anchoring or lack of expansion gapping costs over AUD $800 per panel, including freight. But the real cost is the labor ‘call-back’ to fix a sagging roof or racking frame, which easily exceeds the initial installation budget by 300%.
The most expensive mistakes are those that compromise horse welfare. Industry failure analysis data identifies bottom rail anchor failure as the primary cause of structural racking within 12 months. When a stall racks, it creates sharp, exposed metal edges. A single veterinary call-out for a horse with a cut leg from these edges runs AUD $500 to $1,500, not including the severe reputation damage to your equestrian center.
Prevention is a matter of engineering foresight. Pouring a proper concrete strip footing per stable bay costs only AUD $200 to $400. This is a fraction of the cost of a warranty void or a structural rebuild. Installers who neglect the footing data sheet lose their entire margin on the first callback. The following technical specs are the absolute minimum requirements to prevent these catastrophic failures.
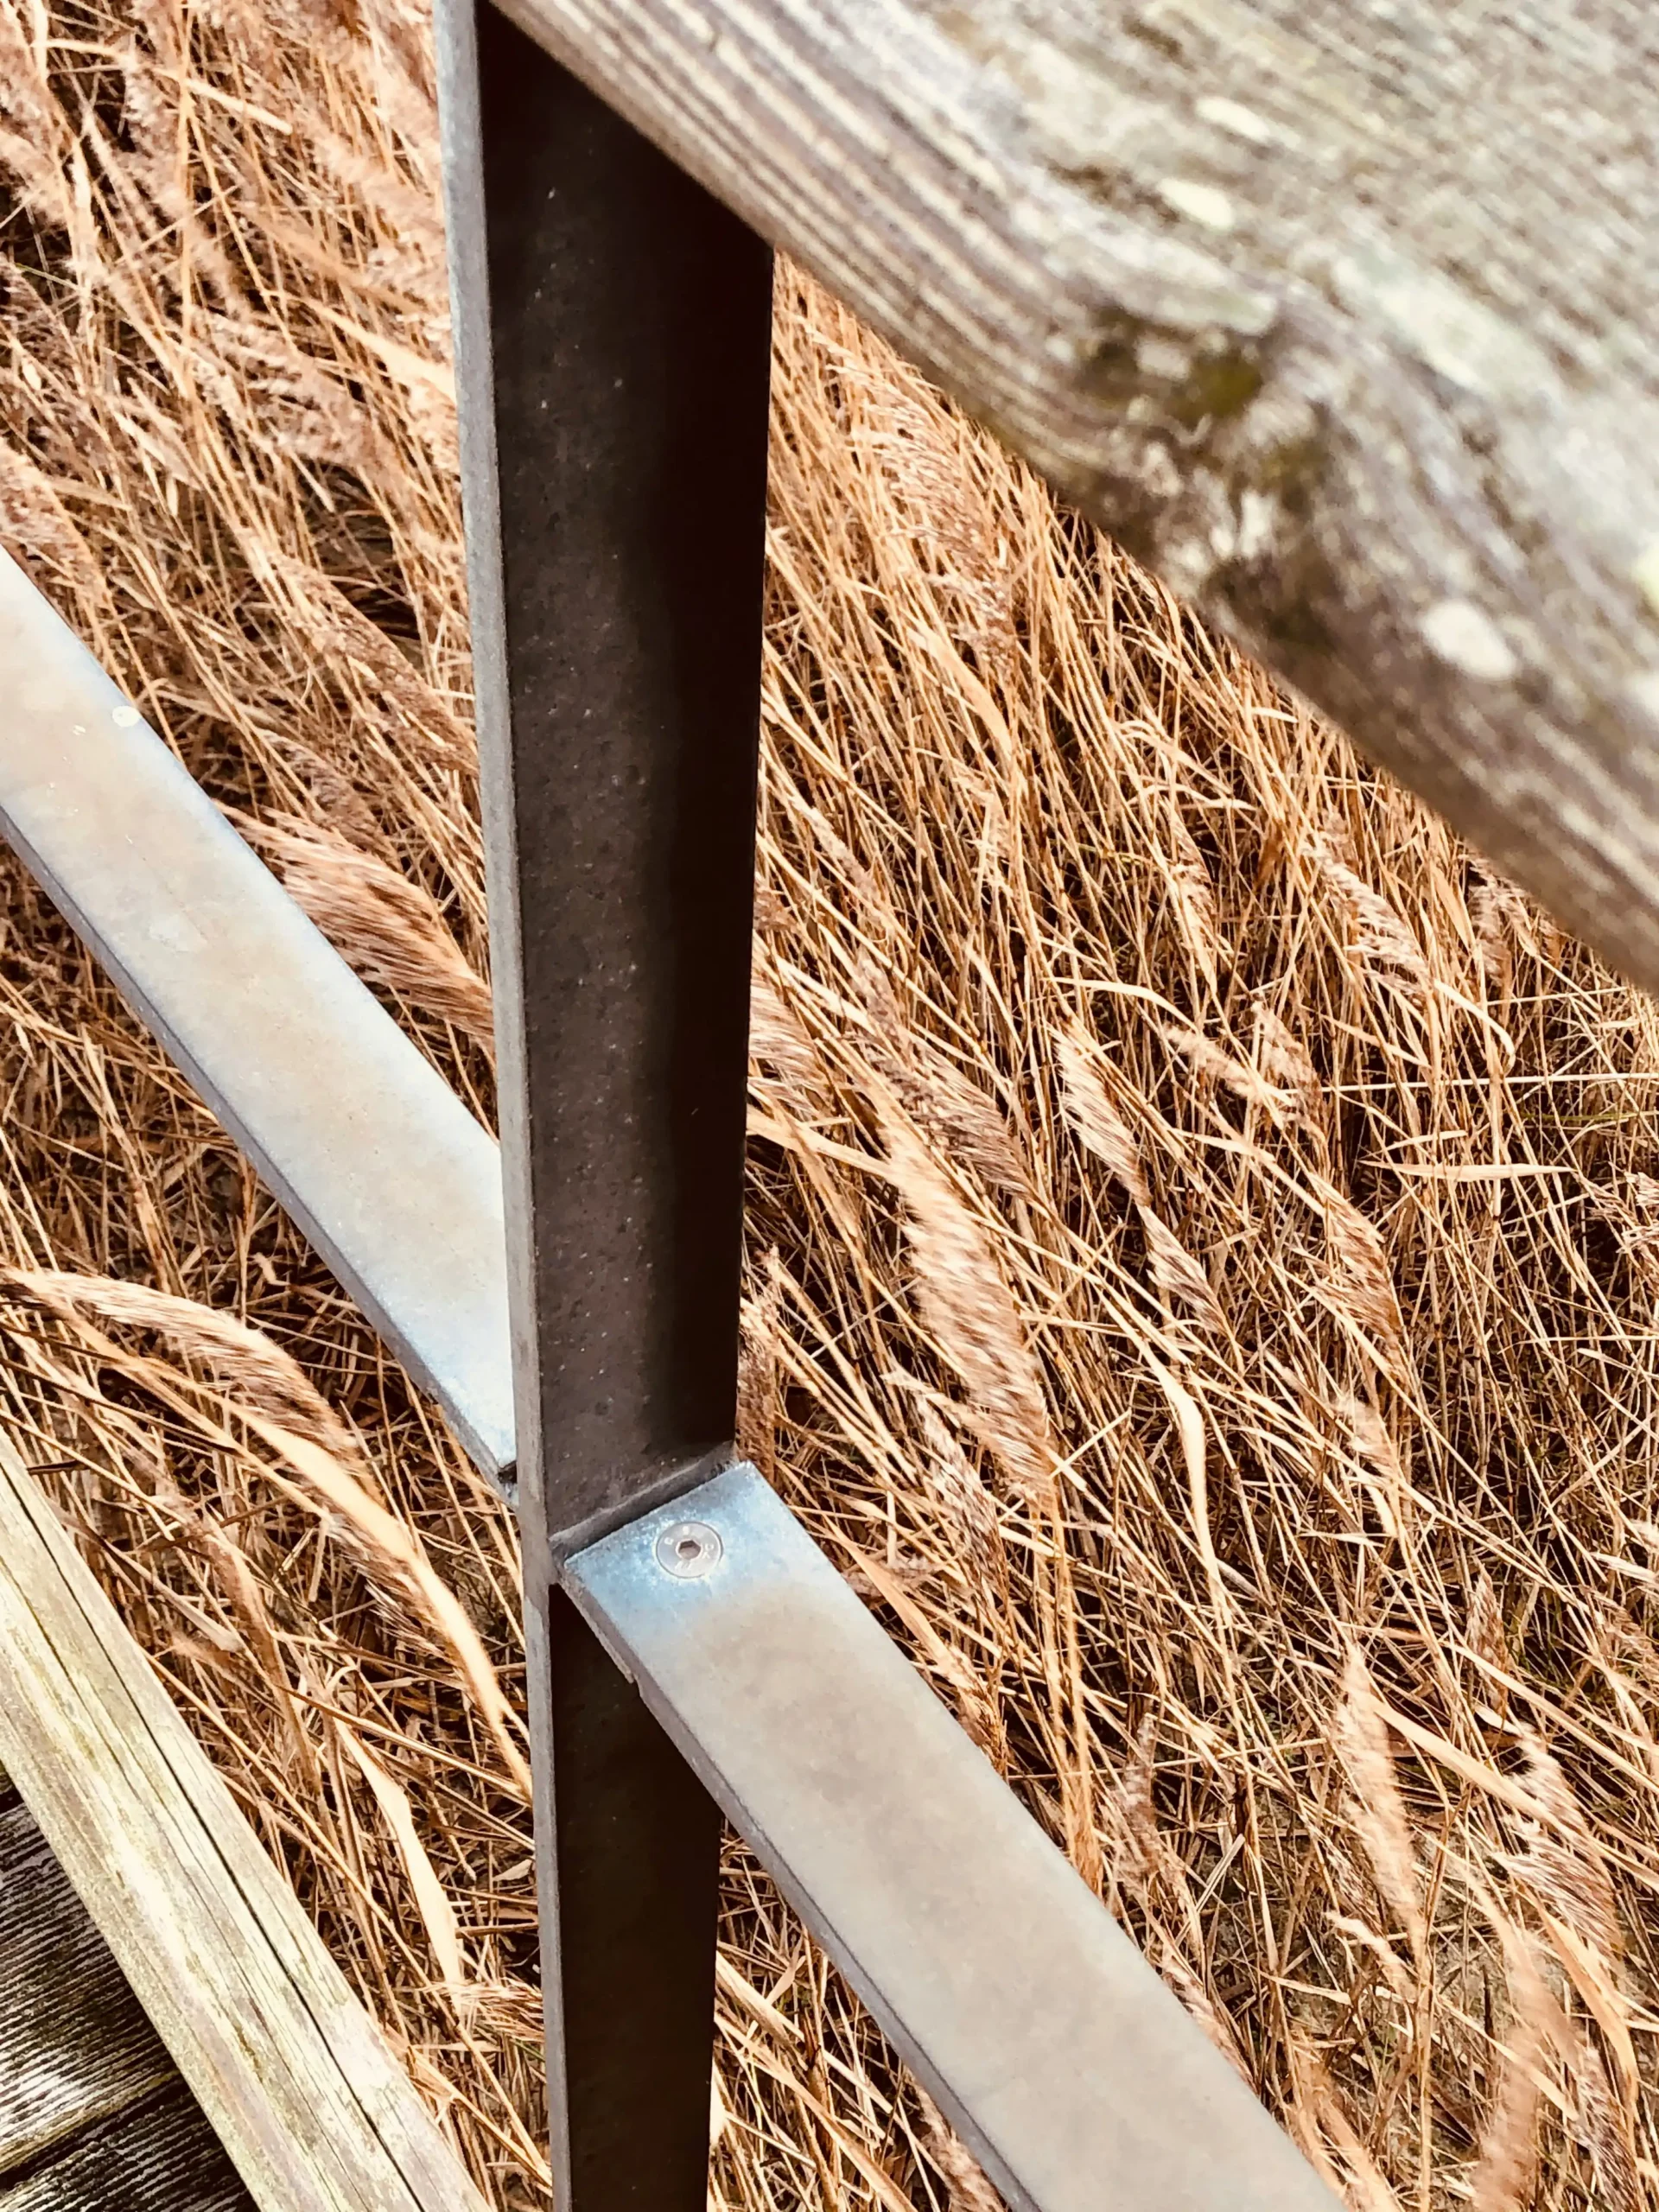
- HDPE Thermal Gapping: 10mm UV-resistant HDPE panels require a specific 5mm expansion gap at every joint in Australia’s 40°C+ summers. Over-tightening bolts crushes the HDPE, reducing impact resistance by 40% and accelerating thermal warping.
- Frame Torque Specs: Frame bolts must be tightened to 25-35 Nm. HDPE panels have a maximum torque of 5 Nm. Using an impact gun instead of a calibrated torque wrench strips the galvanized coating, leading to localized rust.
- Corrosion Prevention: Use 304 or 316 stainless steel bolts for frame connections. Standard zinc-plated bolts fail rapidly in coastal environments, causing galvanic corrosion that voids structural warranties within 2-3 years.
- Footing Requirements: The minimum concrete footing spec for portable stables is a 100mm x 300mm continuous strip. Gravel bases settle unevenly under horse weight, causing the frame to rack and fail.
| Error Type | Direct Cost (AUD) | Hidden Cost (AUD) | Impact on Horse Welfare | Warranty Status |
|---|---|---|---|---|
| Bottom Rail Anchor Failure | $800 – $1,200 | $500 – $1,500 (Vet Bill) | Structural racking, sharp edges, door misalignment | Voided |
| Over-Tightened HDPE Panels | $400 – $600 | $200 – $400 (Labor Callback) | Reduced impact resistance, panel kick-through | Voided |
| Zinc-Plated Bolts (Galvanic Corrosion) | $150 – $300 | $1,500 – $3,000 (Frame Replacement) | Structural collapse risk, sharp rust edges | Voided |
| Incorrect HDPE Expansion Gap | $300 – $500 | $600 – $900 (Panel Warping) | Panel pop-out, exposed fasteners | Voided |
| Improper Concrete Footing | $200 – $400 | $2,000 – $4,000 (Re-leveling) | Progressive racking, roof sag, door jamming | Voided |
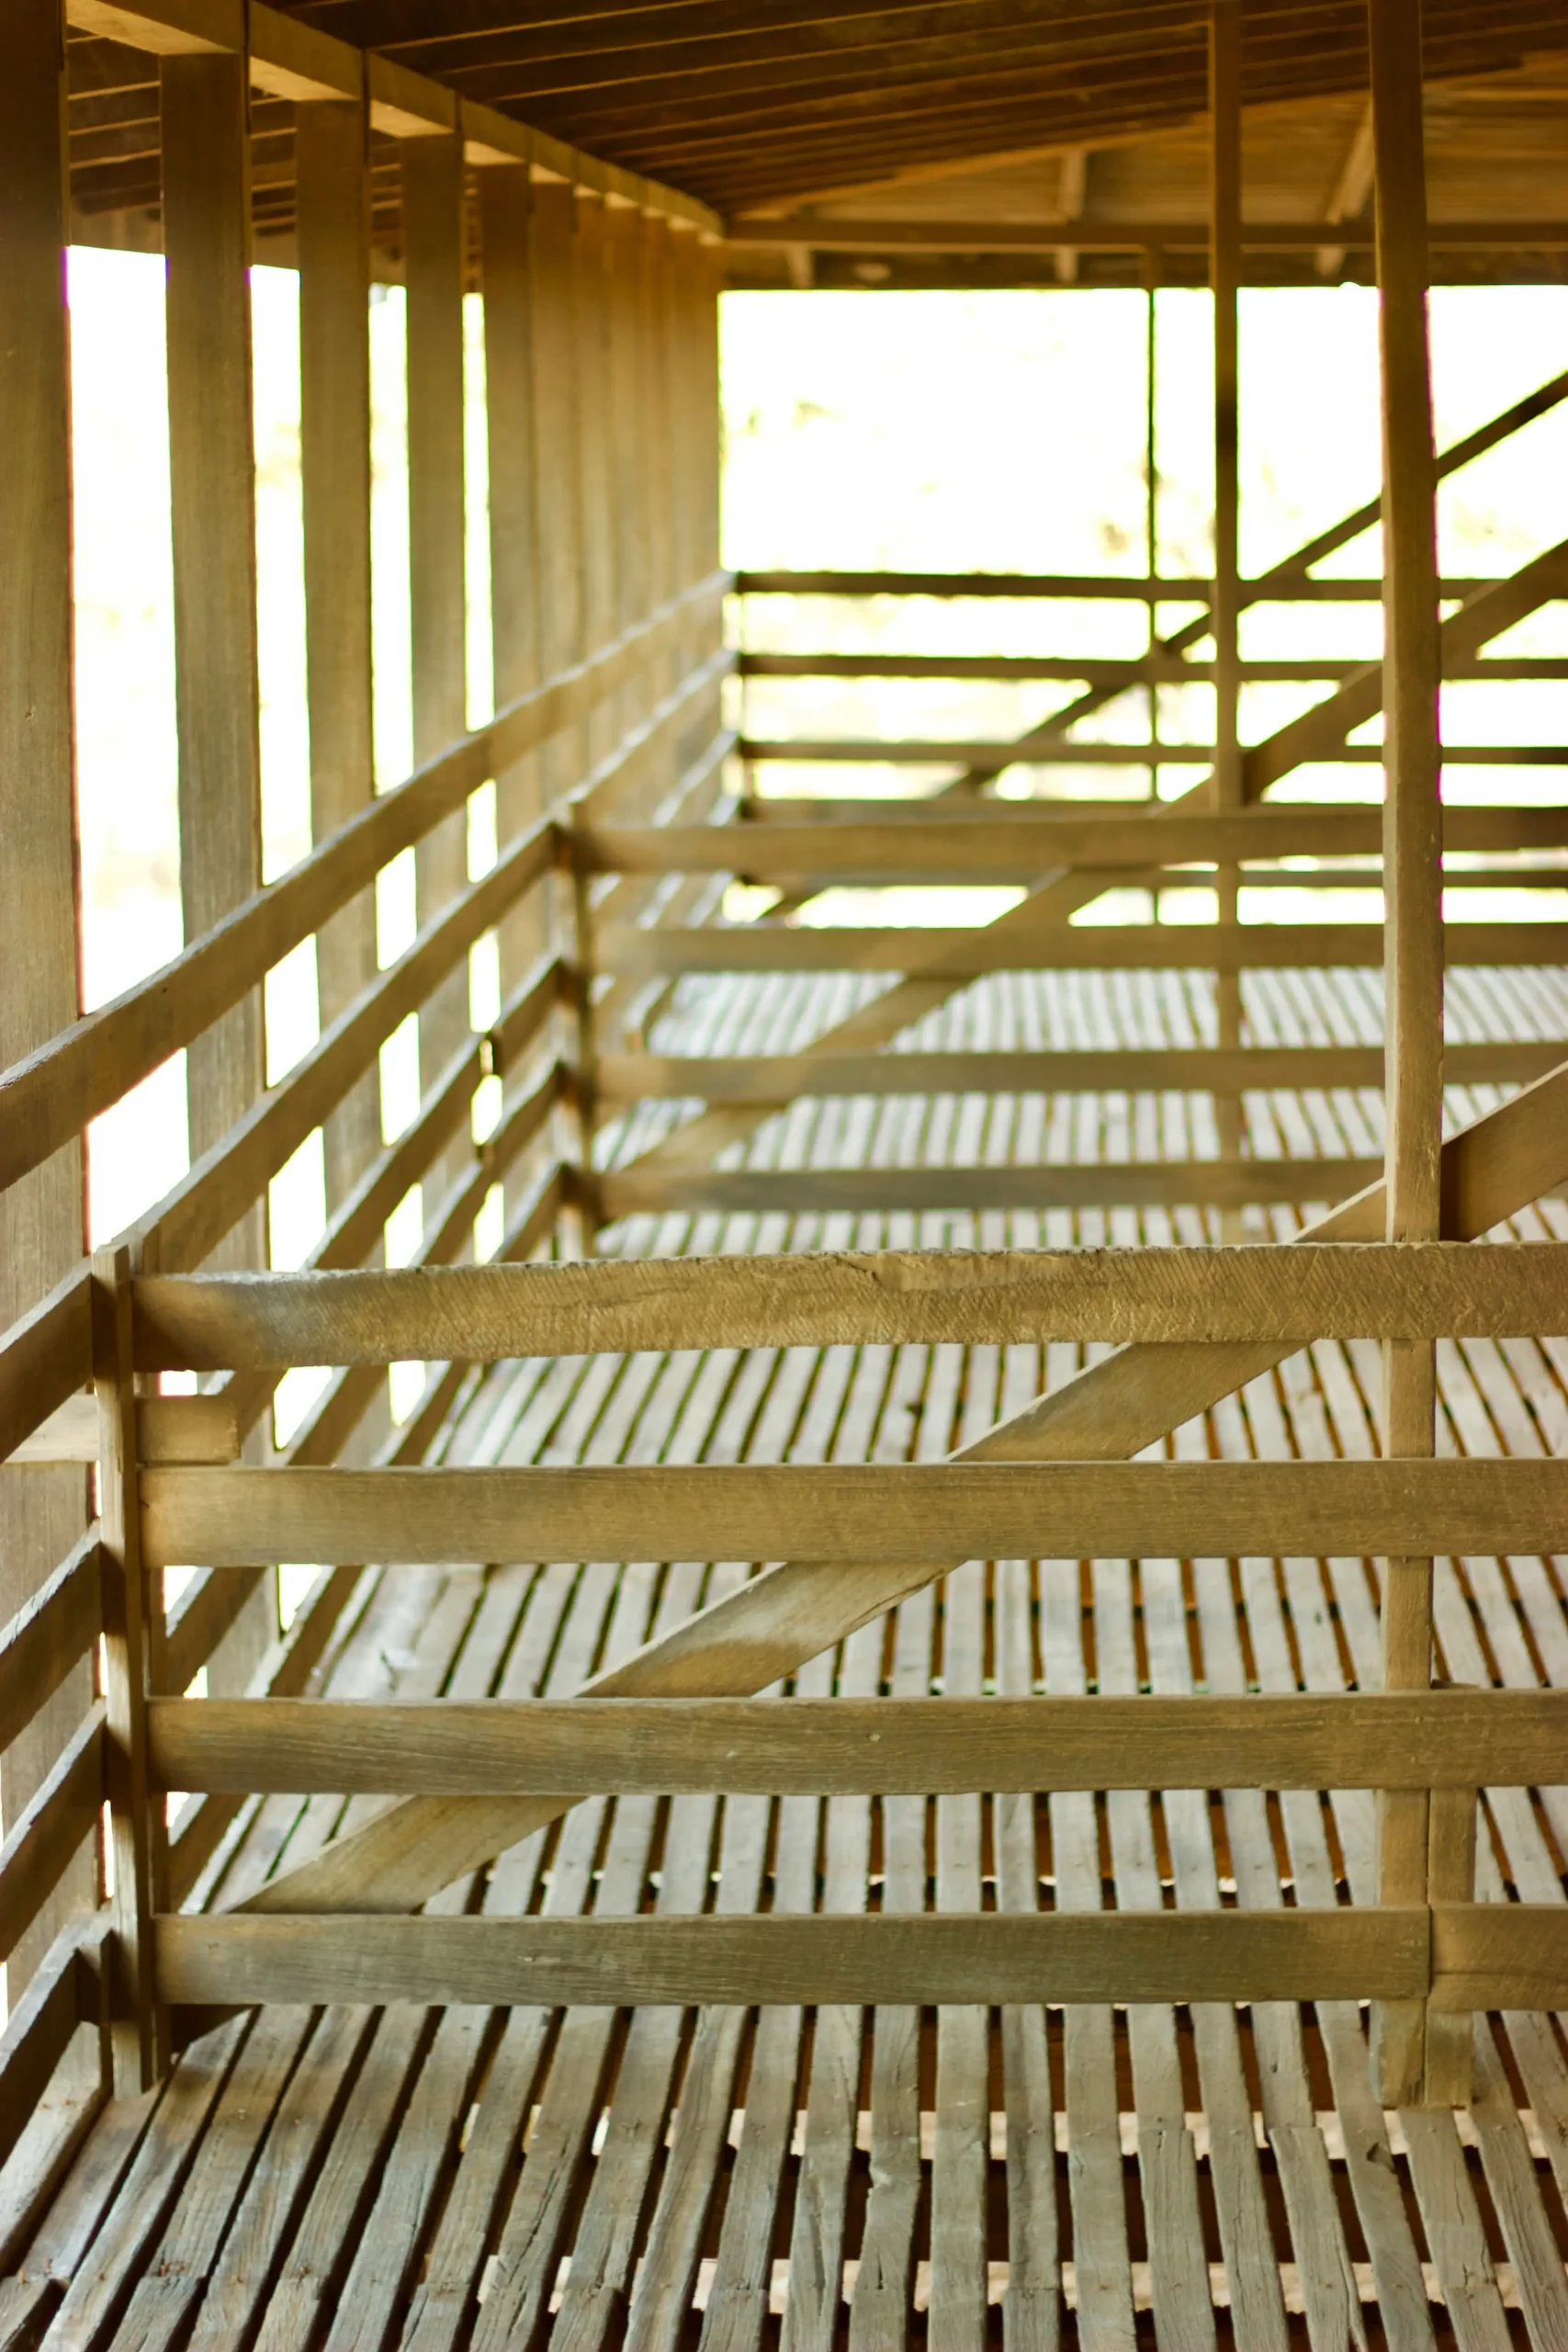
HDPE vs Steel vs Concrete: Material Assembly Secrets
HDPE requires 5mm expansion gaps and stainless steel hardware to prevent thermal warping and galvanic corrosion.
Material assembly failures are not caused by the product quality, but by ignoring the physical properties of the components during installation. Most generic flat-pack guides treat HDPE and steel as interchangeable with timber or concrete, leading to catastrophic structural racking within 12 months.
The primary failure mode is thermal expansion in HDPE panels. Unlike concrete, 10mm UV-stabilized HDPE expands significantly under Australia’s 40°C+ heat. If you do not leave a 5mm expansion gap at every joint, the panels will bow, pop out of their tracks, or crack upon impact.
Over-tightening fasteners is the second most common error. Using a high-torque impact gun on HDPE panels crushes the material, reducing its impact resistance by 40%. The approved internal production standard for HDPE panel fasteners is a maximum of 5 Nm. Exceeding this torque accelerates thermal warping and voids the structural warranty.
Galvanic corrosion is a silent killer in coastal New Zealand and Australian environments. Connecting hot-dip galvanized steel (over 42 microns thick) to standard zinc-plated bolts creates an electrolytic reaction. This accelerates rust in high-ammonia stable environments, reducing a 10-year lifespan to just 2 years.
- HDPE Panel Gapping: Leave a minimum 5mm expansion gap at all joints to accommodate thermal movement in high-heat climates.
- Torque Specifications: Use a calibrated torque wrench: 25-35 Nm for frame bolts, and strictly 5 Nm maximum for HDPE panels.
- Hardware Material: Use Grade 304 or 316 stainless steel bolts exclusively to prevent galvanic corrosion on galvanized frames.
- Kick-Through Resistance: Horse kick force exceeds 1,200 lbs (5.3 kN). Proper gapping and correct torque are required to maintain the 10mm panel’s structural integrity.
| Material | Spec | Assembly Rule | Risk | Benefit |
|---|---|---|---|---|
| HDPE Panels | 10mm UV-stabilized, 5mm expansion gap required | Max torque 5 Nm; over-tightening reduces impact resistance by 40% | Thermal warping in 40°C+ heat; kick-through if gaps ignored | Zero maintenance, safe for horses, no rust |
| Steel Frame | >42 microns hot-dip galvanized (AS/NZS 4680) | Use 304/316 stainless steel bolts only; never zinc-plated | Galvanic corrosion in coastal NZ; rust voids warranty | 10-year lifespan in high-ammonia environments |
| Anchoring System | 100mm x 300mm continuous concrete strip footing | Secure bottom rails to footing; treat pine sleepers if used | Structural racking within 12 months; door misalignment | Prevents progressive failure and costly callbacks |

How to Source a DIY Kit That Prevents Errors
Pre-drilled frames eliminate the #1 cause of misalignment: field-drilled holes that drift 3-5mm off spec.
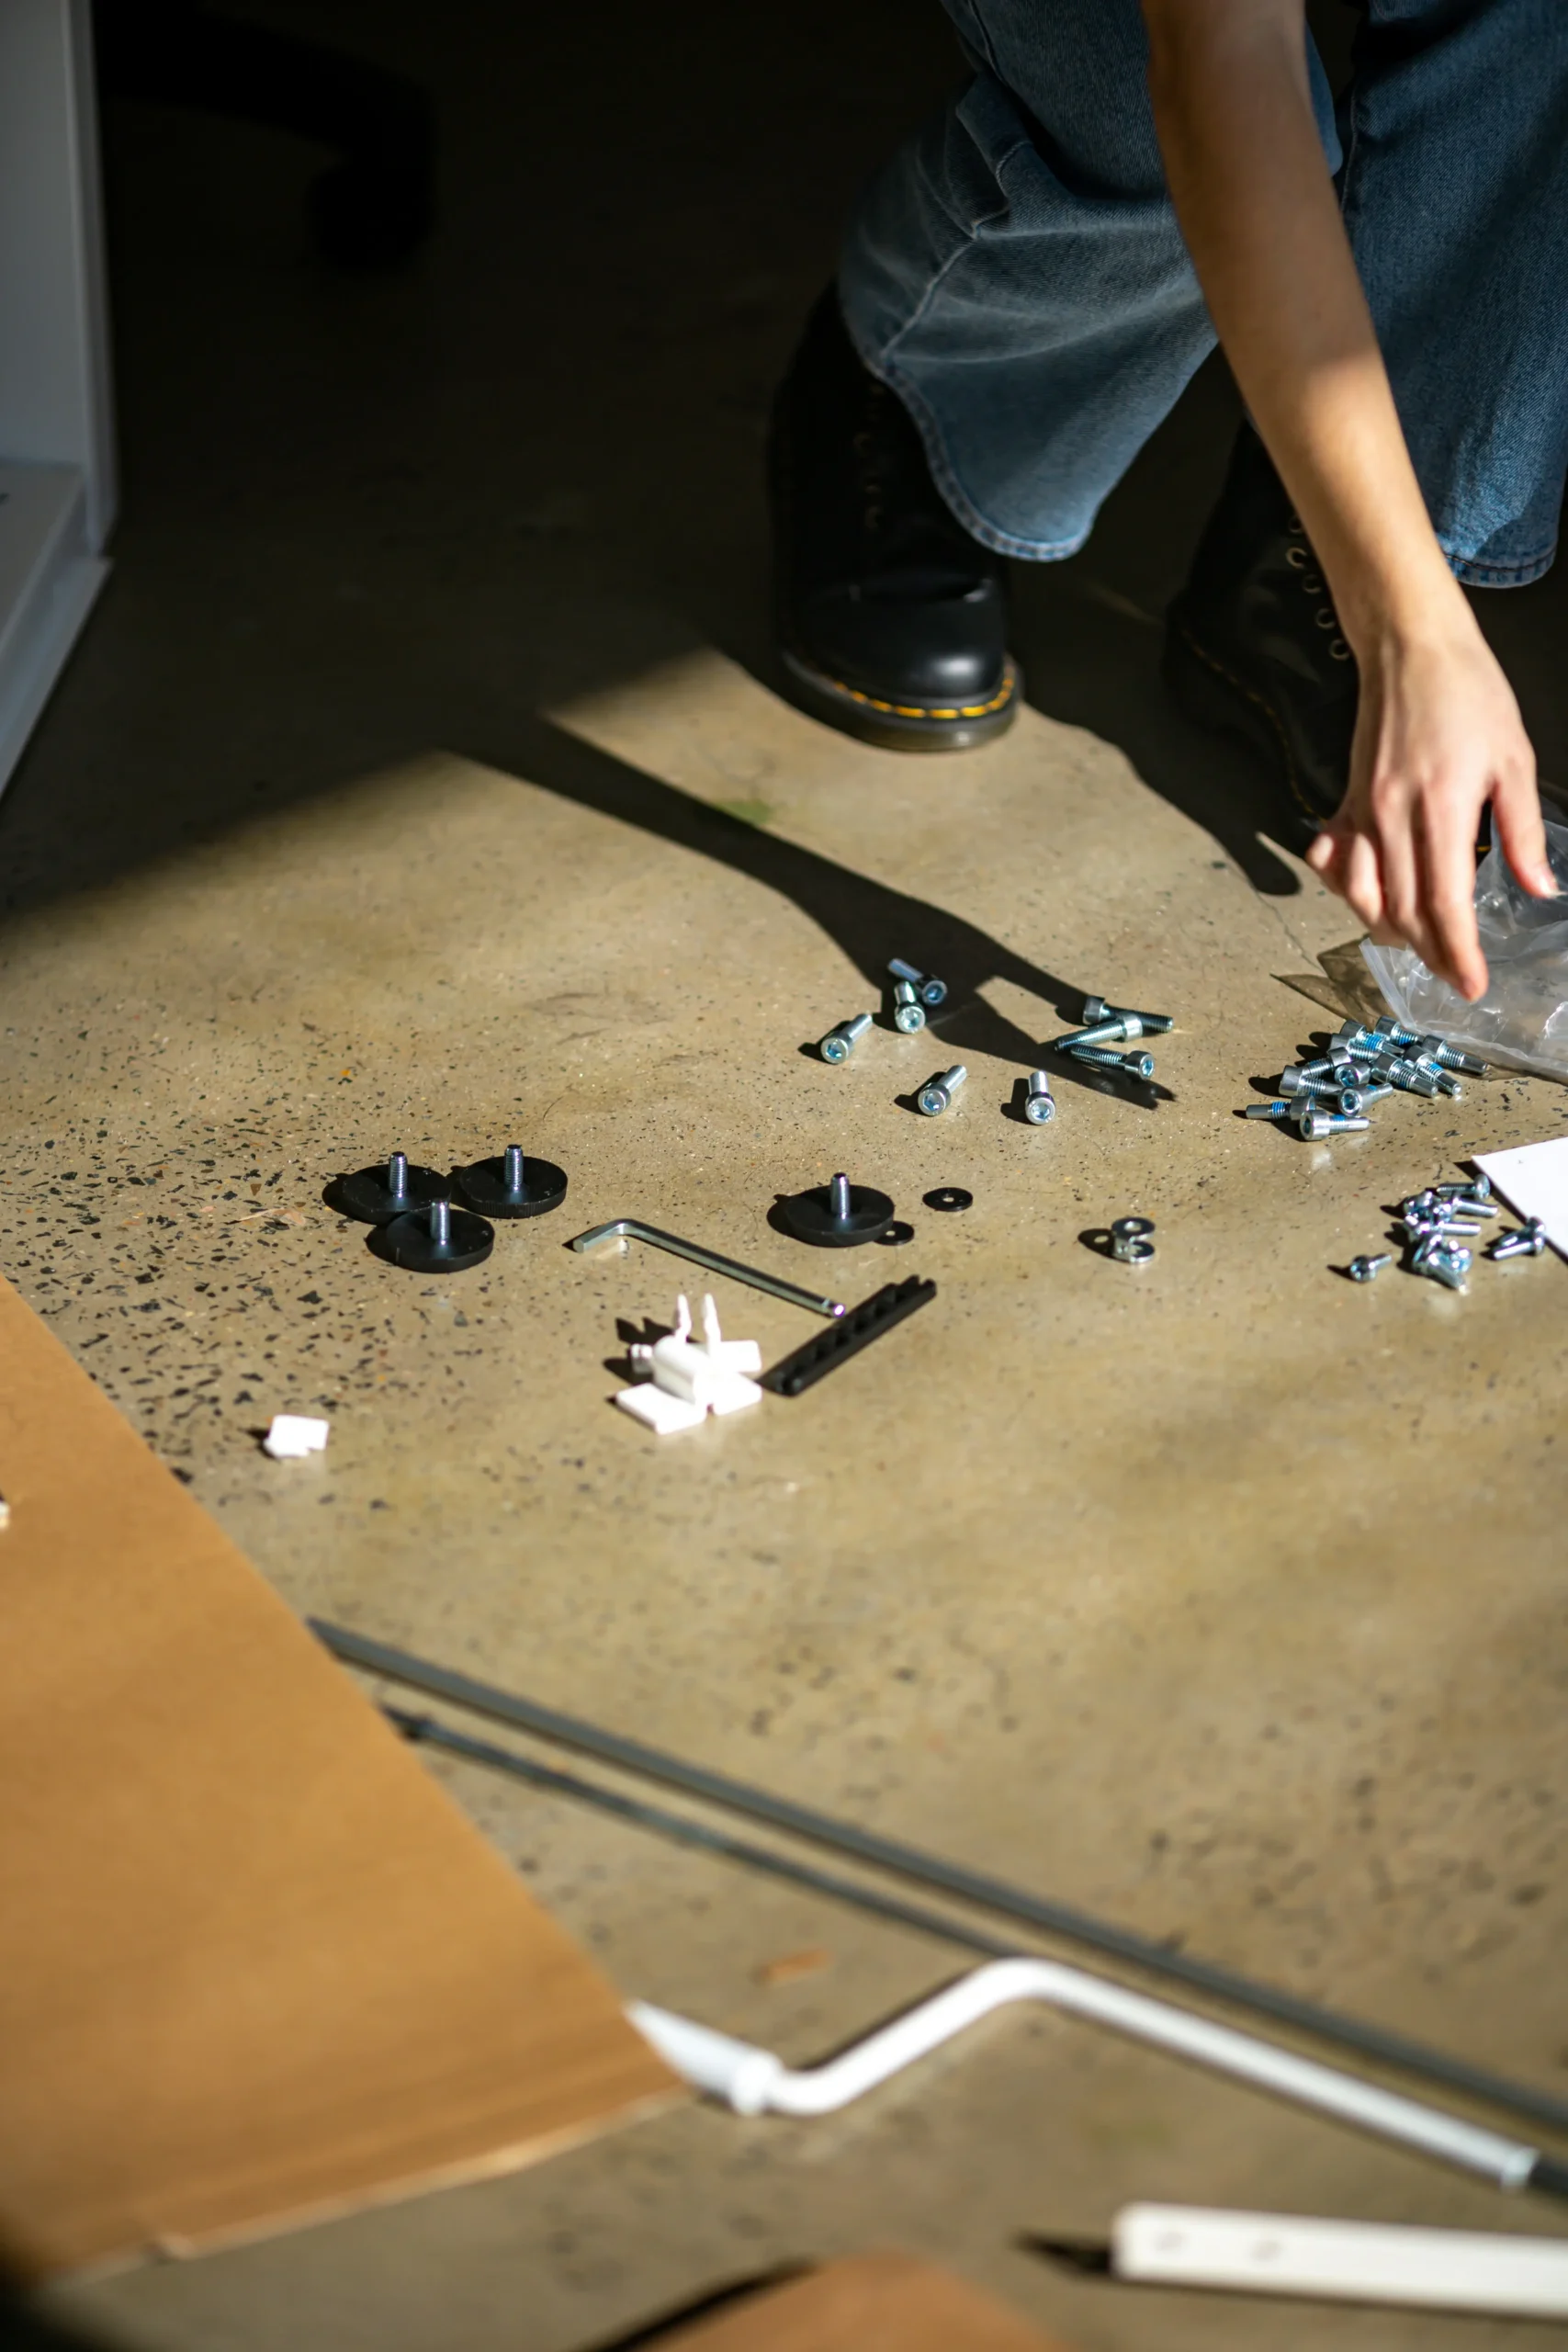
The most common error in flat-pack stable assembly is misaligned bolt holes. When a kit arrives with undrilled frame members, your crew drills freehand. Even a 2mm offset at one joint multiplies across the structure, causing doors that won’t latch and roof panels that gap. DB Stable ships every frame with holes pre-drilled to ±0.5mm tolerance using CNC jigs. This guarantees the first bolt slides in without rework. For a 5-bay conjoined stable, pre-drilling saves roughly 45 minutes of alignment time per bay — that’s nearly 4 hours of labor saved on a single install.
- Pre-drilled spec: All structural bolt holes are CNC-positioned to ±0.5mm. No field drilling required. Frame sections are numbered to match the assembly sequence.
- Color-coded packing: Each panel and frame member is labeled with a color tag that corresponds to the installation step. This eliminates the ‘which panel goes where’ guessing game that causes sequencing errors and rework.
- Warranty verification: Ask your supplier: does the structural warranty remain valid if the stable is assembled by a non-certified crew? Many manufacturers void coverage if you use standard zinc bolts instead of stainless steel 304 or 316. DB Stable’s 10-year structural warranty covers DIY assembly provided the supplied bolt kit (304-grade stainless) is used and the torque spec of 25-35 Nm for frame connections is followed.
- Pre-assembly CAD drawings: Demand a full set of CAD drawings showing every bolt location and panel dimension before the container ships. This lets you verify alignment on paper. DB Stable also provides model-specific video guides that walk through the entire erection sequence — from bottom rail anchoring to roof panel installation.

Aluminum Feeders & Rust Prevention: Smart Accessories
Standard steel feeders fail in 18 months from ammonia corrosion.
The ammonia concentration in a horse stall—from urine breakdown—is aggressive enough to pit standard zinc-plated or painted steel feeders within 12 to 18 months. Once the coating breaches, rust accelerates rapidly, creating rough edges that can cut a horse’s tongue or lips. For an equestrian center running 20+ horses, replacing a bank of feeders every two years becomes a recurring maintenance line item that eats into your margin.
- Ammonia-induced rusting mechanism: Ammonia vapor (NH₃) combines with moisture to form ammonium hydroxide, a mild alkali that attacks zinc coatings. On standard electro-galvanized steel, this reaction pinholes the coating within months. Hot-dip galvanized steel (42+ microns per AS/NZS 4680) resists longer—typically 3-4 years in a high-ammonia stable—but still degrades. Aluminum forms a self-passivating oxide layer that ammonia cannot break down, giving it an indefinite service life in the same environment.
- Why aluminum swivel feeders are the fix: Rust-free aluminum swivel feeders eliminate the corrosion pathway entirely. They weigh roughly 40% less than steel equivalents, reducing hinge wear. The swivel mechanism allows the feeder to pivot away from the horse during kicking or leaning, preventing the mounting bolts from loosening over time. This directly addresses the ‘sharp bolt edge’ hazard that causes shoe catches and leg lacerations.
- Preventing shoe catches on sharp bolt edges: A horse catching its shoe on a protruding bolt head or feeder bracket edge can rip the hoof wall or cause a fall. The risk is highest when standard steel feeders are retrofitted with zinc-plated bolts that corrode and snap, leaving a jagged stub. Aluminum feeders from DB Stable use countersunk 304-grade stainless steel bolts (torqued to 15–20 Nm) with domed caps. No exposed threads, no sharp edges, no corrosion-driven failure points.
- Ensuring assembly manuals cover accessory installation: Generic assembly guides often treat feeders as an afterthought—a single line like ‘attach feeder to wall’ with no torque spec or bolt grade. That omission is a warranty risk. DB Stable’s manual includes a dedicated accessory section with step-by-step photos, bolt torque values (15–20 Nm for feeder brackets), and a note to use stainless steel washers to prevent galvanic corrosion between the aluminum feeder and the hot-dip galvanized frame. If your kit’s manual lacks this, demand an addendum before shipping.
The math is straightforward: an aluminum swivel feeder costs about 60% more upfront than a standard steel unit. But over a 10-year facility lifespan, you avoid two or three replacement cycles, eliminate vet bills from mouth cuts, and remove the labor cost of swapping corroded hardware. For a professional equestrian center where downtime and injury risk are non-negotiable, aluminum is the only material that passes the 10-year KPI.
Conclusion
Proper stable kit assembly is the difference between a ten-year asset and a safety hazard. You must specify 10mm HDPE panels with 5mm expansion gaps, anchor bottom rails to a 100mm x 300mm concrete footing, and use stainless steel bolts to prevent galvanic corrosion. These steps eliminate the structural racking and kick-through risks that void warranties.
Frequently Asked Questions
What should be arranged at the assembly station?
Prepare a level, compacted base with treated-pine sleepers or concrete haunches to prevent bottom rail shifting. Ensure all stainless steel fasteners and 10mm HDPE panels are sorted and protected from direct sun exposure. Secure a level perimeter base before starting frame erection.
Is faulty equipment a source of error?
Using non-stainless hardware or improper torque tools risks stripping threads in HDPE or corroding galvanized steel. Always use manufacturer-specified stainless steel fittings and calibrated torque settings to maintain structural integrity. Use only specified stainless steel hardware and proper torque.
What are the 5 stages of the production process?
The process involves frame fabrication, hot-dip galvanizing, HDPE board extrusion, flat-pack engineering, and final quality inspection. These stages ensure the 42-micron coating and UV-resistant panels meet export standards. Verify factory QC reports for galvanization thickness and material specs.
What are the three main kinds of errors in a program?
This question pertains to software development and is unrelated to physical stable kit assembly. Please refer to our installation guides for structural assembly protocols. Consult installation guides for structural assembly protocols.
How long does a DIY stable kit assembly take?
Assembly typically takes 2-4 days for a standard single stall with two experienced helpers. Time varies based on site preparation readiness and crew familiarity with flat-pack systems. Plan for 2-4 days with two experienced helpers.