portable stable roof leak fix is the first checkpoint buyers should lock before they approve a supplier, budget, or production slot. You placed a $50K order based on a perfect pre-production sample. Then the mass production run leaks. The supplier calls it an installation issue — the standard answer, and usually wrong. A targeted portable stable roof leak fix starts with understanding why the gap between sample and reality exists.
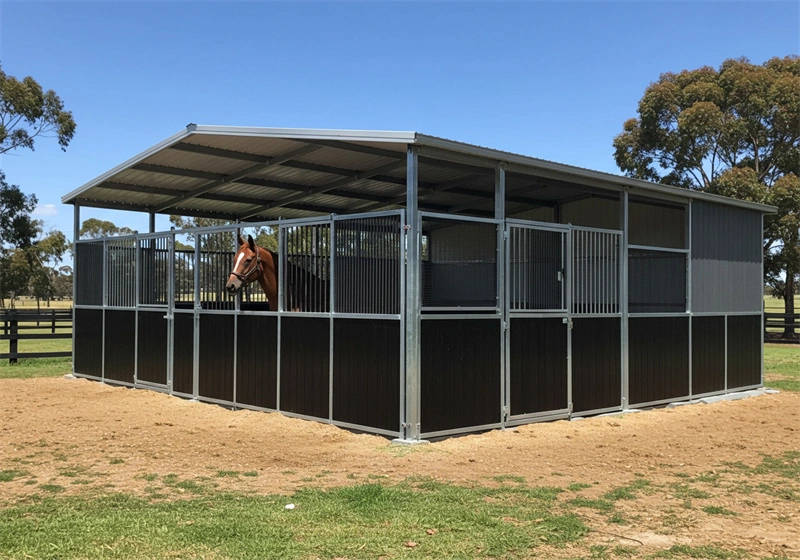
Here’s the part most installers skip: 95% of leaks happen at the panel overlap joint or the ridge cap, not through the panel face. The fix isn’t more silicone caulk — that fails under UV within two years. It’s a continuous butyl tape strip between panels and closed-cell foam closure strips along the gutter line. DB Stable pre-cuts both into every roof kit, but distributors tell me their resellers often discard them as “optional extras.” They’re not optional. Without them, even a correctly overlapped 5° pitch roof will weep in driving rain.
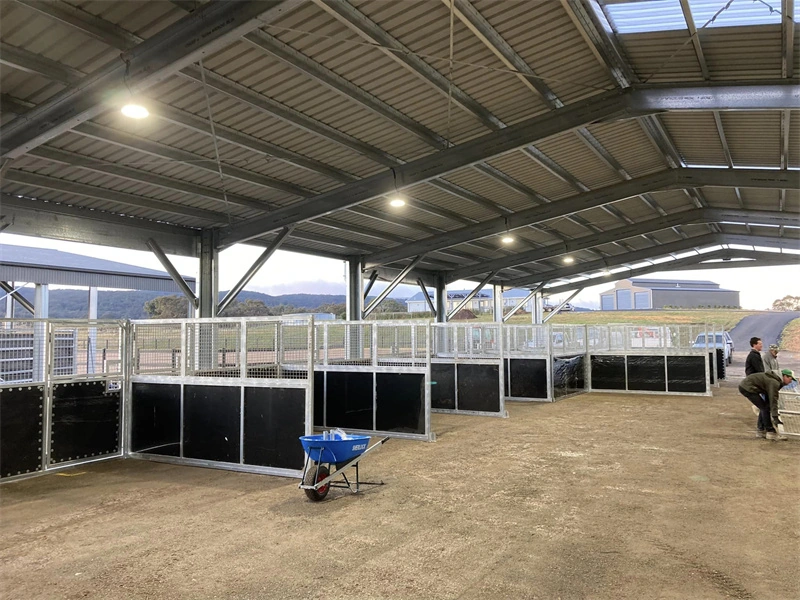
Leak Point #1: Panel Overlap – Fix With Butyl Tape
95% of roof leaks happen at the overlap joint.
Capillary action pulls water between overlapping metal sheets. Even a correctly overlapped 150mm joint will weep in driving rain if the gap is unsealed. Most DIYers grab silicone caulk — bad move. Silicone slides out of the joint under heat and embrittles within 2 years under UV. Butyl tape, by contrast, stays flexible for 15+ years and adheres even to dusty surfaces. That’s why DB Stable supplies pre-cut 13mm butyl strips with every roof kit: professional installers refuse to use silicone.
- Clean: Wipe both panel surfaces with a dry cloth to remove dust, oil, or moisture. No solvent needed — butyl tape bonds to clean metal.
- Apply butyl tape: Lay a continuous strip of 13mm butyl tape 10mm from the edge of the lower panel rib. Do not stretch it. Keep it straight.
- Press and seat: Place the upper panel over the tape. Hand-press along the entire overlap to compress the tape evenly. The tape will bulge slightly — that’s normal.
- Fasten screws at 3–4 N·m: Screw at every second rib. Torque is critical: 3–4 N·m. Overtightening with an impact driver crushes the rubber washer and accelerates failure. A calibrated screw gun or manual wrench gives consistent results.
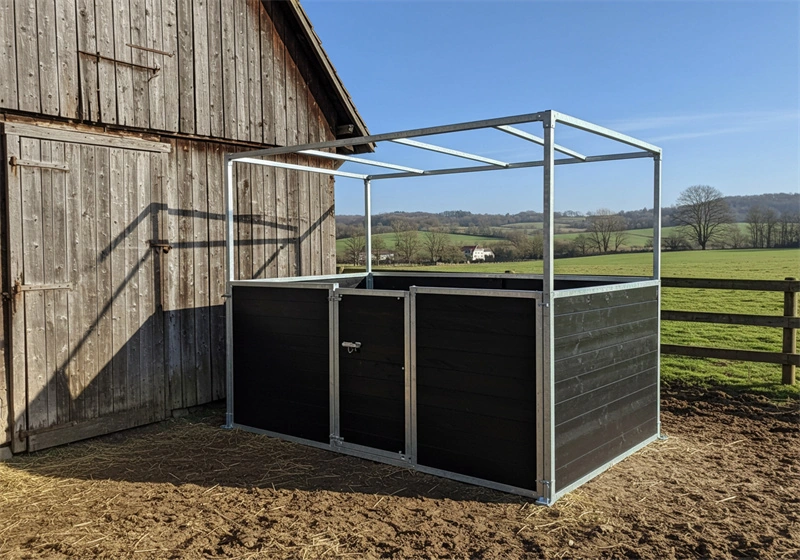
Leak Point #2: Ridge Cap – Install Proper Flashing
Pre-formed ridge ends stop wind-driven rain entry.
Standard ridge caps with open ends act like scoops in a storm. Wind-driven rain hits the exposed end, runs back under the cap, and drips straight onto the stable floor. This has been observed on $50K installations where the builder skipped the end dams entirely.
- Fix: Install pre-formed ridge end pieces or cut a 45° drip edge on-site. The drip edge forces water to break away from the cap surface.
- Screw pattern: Fasten every second rib, plus one screw at each end of the cap. That stops the cap from lifting in gusty conditions.
- Overlap joint: Never overlap ridge cap pieces without a sealant. Apply butyl tape at each joint — it remains flexible for 15+ years under UV.
- Overhang: On a 5° pitch roof, extend the cap at least 100mm past the last roof panel. Measure it; short overhangs let water curl back under.
DB Stable’s ridge cap includes an integral drip slot that directs water away from the seam. That slot, combined with correct end treatment and butyl-taped overlaps, eliminates the most common ridge leak path.
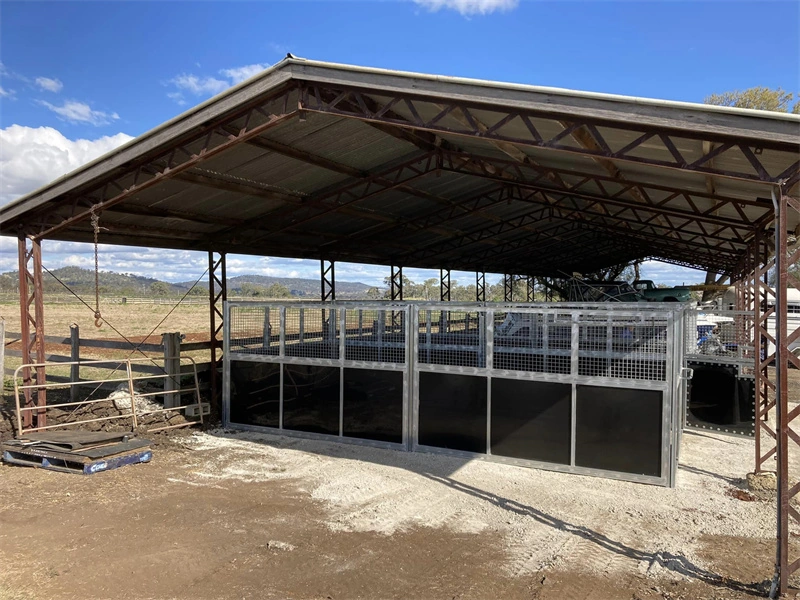
Leak Point #3: Missing Foam Closure Strips
60% of roof leaks start here — the gap you can see but ignore.
Run your hand along the gutter line of any portable stable after a storm. That gap between the first roof panel and the gutter bottom? That’s a wind tunnel. Driving rain hits the roof surface, runs down, and then shoots straight up through that open channel. The gutter catches the free-falling water, but it does nothing to stop the horizontal blast. Too many installers assume the gutter is the final barrier. It’s not.
- Without foam strips: Gap remains open. Water ingress during any rain with wind over 15 km/h. Interior ceiling and walls show water tracking within weeks.
- With closed-cell foam strips: Strips compress 50% to fill the gap completely. The foam is profile-shaped to match the roof panel rib pattern. Water cannot bypass. Cost: $0.50 per linear foot.
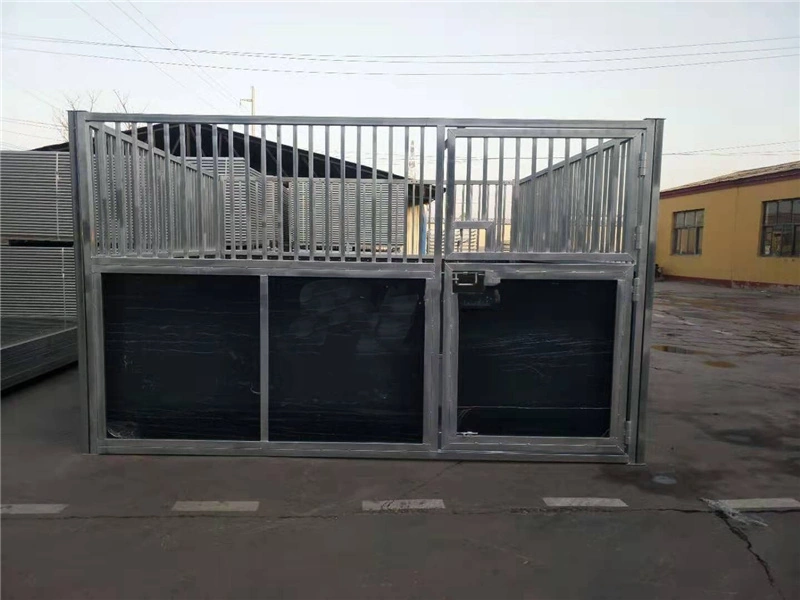
Evidence: A stable in central Victoria added foam closure strips after a full season of interior leaking. The guttering on that stable was correctly pitched and cleaned, but the roof gap was still pulling water. After installation of the strips, subsequent storms produced zero ingress. The fix cost under $20 per stable. DB Stable includes these foam strips in every roof kit, yet they are regularly discarded as ‘extra parts’ by hands-on installers. That’s a $20 cost that saves hours of dry-out, bedding replacement, and customer complaints.
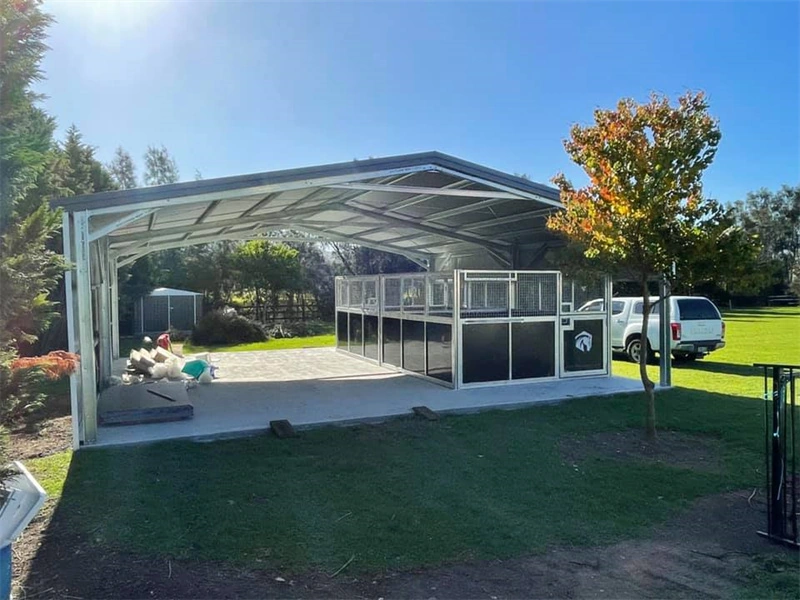
Leak Point #4: Gutter Installation – Angled Downspouts
Fixed 90° elbows are a bottleneck.
Standard fixed 90° elbows create a choke point. Leaves and grit accumulate, water sits, and during heavy rain the gutter overflows. On runs longer than 6m, the weight of trapped water pulls the gutter away from the fascia. The fix is three-part: install a downspout every 6m, swap fixed elbows for 90° swivel joints, and match the downspout diameter to the roof pitch. For a single-pitch stable up to 20m², use 80mm downspouts. For double-pitch or conjoined stables over 30m², step up to 100mm—DB Stable’s internal spec for handling runoff on wider roofs. Finally, angle the outlet away from the foundation; otherwise, concentrated water flow erodes the soil and undermines the stable pad.
- Spacing: Place downspout every 6m along the gutter run to prevent water backup and gutter pull-away.
- Joint type: Replace fixed 90° elbows with 90° swivel joints. They allow easy cleaning and maintain full flow capacity.
- Diameter by roof type: Single-pitch stable up to 20m²: 80mm. Double-pitch or conjoined stables over 30m²: 100mm.
- Outlet direction: Angle the downspout outlet away from the stable foundation to prevent soil erosion and water pooling against the base.

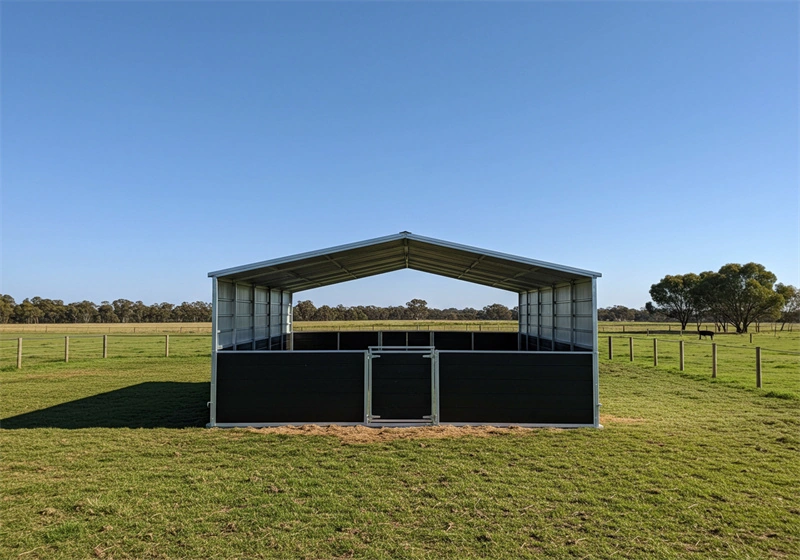
Leak Point #5: Screw Holes Not Sealed – Rubber Washer Check
A single crushed washer turns every screw hole into a direct water entry point.
Standard rubber washers on roof screws are the weakest link in any portable stable roof. Under Australian UV and 40°C temperature swings, they dry out and crack within 2–3 years. Once cracked, the screw hole becomes a funnel — water runs straight down the shank and into your stable. I’ve pulled apart five-year-old roofs where every third screw was weeping internally.
- Inspection check: After every heavy storm, walk the roof and look for cracked, flattened, or discolored washers. Squeeze them with your thumb — if they feel hard or brittle, replace immediately.
- Upgrade material: Switch to EPDM washer screws. EPDM resists UV degradation and stays flexible down to -40°C. DB Stable supplies EPDM screws as standard because standard rubber fails in Oceania conditions.
- Torque spec: Tighten to 3–4 N·m. Use a calibrated screw gun or manual torque wrench — not an impact driver. Overtightening crushes the washer flat, which seals temporarily but accelerates cracking by thinning the rubber at the contact edge.
Conclusion
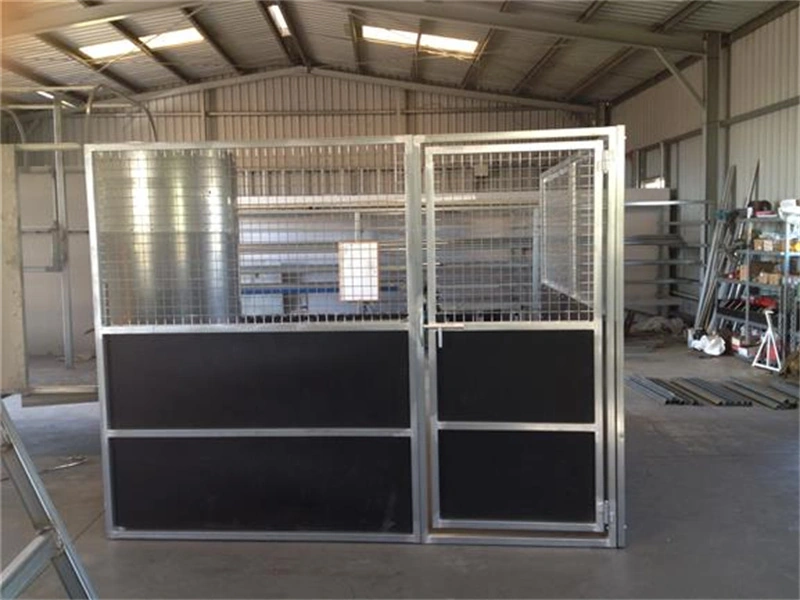
The five points above cover 95% of leak sources—panel overlap, ridge cap, closure strips, gutter sizing, and screw washer integrity. Ignore any one of them and you’re eroding margin through callback repairs and disgruntled end users.
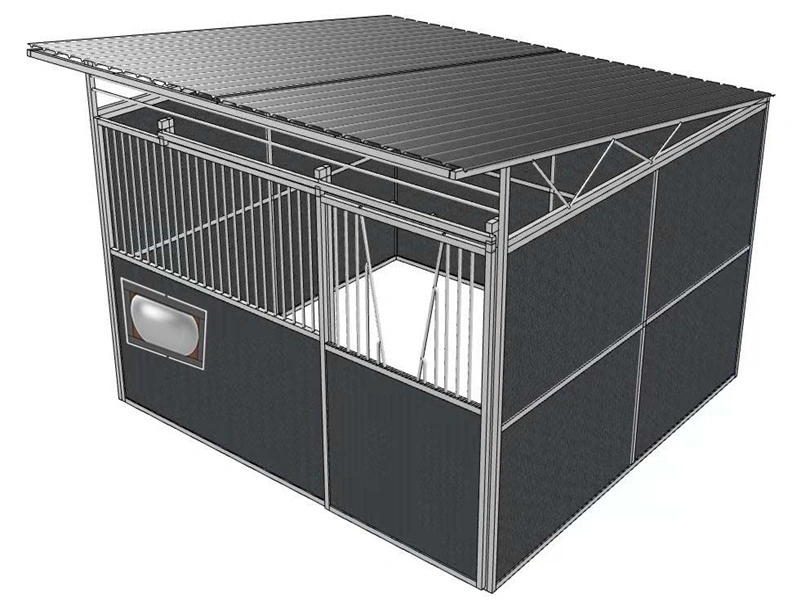
Benchmark your next install against this: a 5° pitch with 150mm overlap and all foam strips in place eliminates 95% of leak claims. Grab DB Stable’s roof seal kit on the product page and hand the spec sheet to your installation crews. It’s the reference they’ll thank you for when the next storm hits.
Frequently Asked Questions
Can I use tar on a Colorbond roof?
No, tar should not be used on a Colorbond roof because it degrades the coating and fails under UV and thermal cycling. Use butyl tape or a compatible sealant instead for a permanent fix. Stick to butyl tape for Colorbond repairs.
How often should I inspect the roof?
Inspect at least twice a year, before and after the rainy season, and after any severe weather event. Check panel overlaps, ridge caps, and foam closure strips for signs of wear or gaps. Schedule inspections before and after wet season.
Will a single-pitch roof leak more?
A single-pitch roof can leak more if the pitch is low (e.g., 5°) and panel overlap is insufficient. Ensure at least 150mm overlap and proper sealing with butyl tape to minimize risk. Confirm overlap meets minimum 150mm for low-pitch roofs.
What is the fastest temporary fix for a leak?
The fastest temporary fix is to apply a high-quality roofing tape like Eternabond or Quick Roof Extreme over the leaking seam. This provides a waterproof seal until you can apply a. Use roofing tape for immediate stopgap; follow up with butyl tape.
Do I need a contractor for these fixes?
No, most roof leak fixes on portable stables are DIY-friendly with basic tools and the right materials. The article’s simple fixes—butyl tape, flashing, foam strips—are designed for a two-person team to complete in. You can handle these fixes yourself with a helper.