DIY horse stable assembly is the first checkpoint buyers should lock before they approve a supplier, budget, or production slot. If you’re searching for a flat pack horse stable assembly guide New Zealand, you’ve likely already done the math on what a contractor-built timber stable costs. The gap between a $3,850 DIY kit and an $8,000+ built-on-site structure is exactly why self-builders are taking on this project. The question isn’t whether you can save money—it’s whether you can assemble it correctly without wasting time or making a mistake that compromises the structure.
After shipping thousands of these kits to NZ farms since 2013, we’ve seen the pattern: the buyers who succeed treat assembly like a construction project, not a furniture build. A standard 3.6m x 3.6m single stall weighs around 800–1,200 kg on a pallet, and two people with basic tools can complete it in 6–10 hours. But the difference between a six-hour build and a two-day headache comes down to one thing: how level your base is before you open the first box. Most failures—binding doors, panel gaps, frame twist—trace back to a foundation that’s out by more than 5mm across a 3m diagonal. That’s the hard truth competitors don’t lead with.
Pre-Assembly Checklist: What You Need
Pre-Assembly Checklist: What You Need
Before you open the first box, confirm three things: your base is level, you have the right tools, and every component on the packing list is accounted for. A standard DB Stable kit weighs 800–1,200 kg on a single pallet. That’s a lot of steel and HDPE to sort through after you’ve already committed to the job. Lay out all parts by category—frame rails, panels, bolts, hardware—and check them against the included packing list. Missing a single M12 bracket means a trip to the hardware store and an hour of frustration.
- 🏷️ Category: Site Preparation & Tooling
- 🎯 Core Outcome: Eliminate 90% of common assembly failures before the first bolt is tightened
Analysis:
| ✅ Advantages | ⚠️ Considerations |
|---|---|
|
|
Preparing the Foundation: Why Gravel Works Better Than Concrete
A 3mm out-of-level base will twist the frame and bind your sliding doors. The foundation is the single point of failure in 90% of DIY stable builds.
Why Gravel Beats Concrete for a Flat Pack Stable
Concrete is permanent, expensive, and unnecessary. A compacted gravel base (100mm depth of crusher dust or road base) does three things concrete cannot: it drains water instantly, allows you to move the stable later, and keeps the project under the 30sqm building consent exemption threshold in New Zealand. Pouring a 3.6m x 3.6m concrete slab costs $2,000–$5,000 depending on access and reinforcement. Gravel costs $300–$800 delivered, and you can lay it in an afternoon with a plate compactor.
The Tolerance That Makes or Breaks Your Build
Your base must be level within 5mm across the 3m diagonal of the stall. That is not a suggestion—it is the maximum tolerance before the hot-dip galvanized steel frame twists during bolt-up. When the frame twists, the sliding door track goes out of alignment by 2-3mm, and the door binds halfway through its travel. You will spend hours shimming brackets and loosening bolts to fix what a string line and a spirit level would have caught in ten minutes.
How to Check Level Like a Builder
Drive four stakes at the corners of the 3.6m x 3.6m footprint. Run a string line between them at the same height. Measure down from the string to the gravel surface at each corner and at the center. The difference between the highest and lowest point must not exceed 5mm. If it does, pull the high spots with a rake and re-compact the low spots. This is non-negotiable.
- Tool list: String line, 4x stakes, 30m tape measure, spirit level (1.2m minimum), plate compactor, rubber mallet.
- Time estimate: 2–3 hours for a two-person team to prepare and level a gravel base.
- Critical warning: Do not pour concrete and then place the stable on top. The adjustable leg levellers on DB Stable kits are designed to fix minor ground undulations (up to 30mm), but they cannot compensate for a slab that is 10mm out of level across the span.
The Adjustable Leg Levellers: Use Them or Regret It
Every DB Standard Horse Stable includes adjustable leg levellers on each vertical post. Many self-builders skip adjusting them because the base looks flat to the eye. They tighten the frame bolts, and six months later the door binds because the frame settled 2mm overnight after a rain. The correct sequence: assemble the frame loosely, level each leg using the threaded adjuster until the top rail reads zero on the spirit level, then torque all bolts to 25 Nm. This takes 20 minutes and prevents the most common warranty call we receive.

Joining the HDPE Panels: Avoiding Cracks and Gaps
A 3mm out-of-level base will twist the frame and ruin your sliding door. Fix the ground first, or nothing else matters.
Why Gravel Beats Concrete for a DIY Stable
Pouring a concrete slab for a single 3.6m x 3.6m stall costs between $2,000 and $5,000 more than a compacted gravel base. More importantly, concrete anchors the stable permanently. If you ever need to move stalls for pasture rotation or farm layout changes, you are breaking concrete. A gravel base keeps the structure portable and meets the NZ building consent exemption criteria for structures under 30sqm on lightweight foundations.
The 5mm Diagonal Tolerance Rule
Your base must be level to within 5mm across the 3m diagonal of the stall footprint. Here is the test: stretch a string line corner-to-corner and measure the gap to the ground at the center. If the gap exceeds 5mm, your hot-dip galvanized steel frame will twist during assembly. That twist transfers directly to the sliding door track, causing the door to bind from day one. DB Stable kits include adjustable leg levellers specifically to fix minor ground imperfections, but many self-builders skip using them. Do not skip them. If your base is out by more than 5mm, use the levellers to bring the frame back to true before bolting any panels.
- Material: Use compacted road base (crusher dust) at 100mm depth. Do not use loose river gravel—it shifts under weight.
- Compaction: Wet the base and run a plate compactor over it in three passes. A hand tamper is not enough.
- Drainage: Slope the gravel base 10mm away from the stable footprint so water runs off, not under the frame.
Tools You Must Have Before the Pallet Arrives
Your kit weighs 800–1,200 kg on a single pallet. You need two able-bodied assistants, not one. The tool list is short but non-negotiable:
- Torque wrench set to 25 Nm: Over-tightening the M12 grade 8.8 hex bolts by even 5 Nm creates micro-cracks in the 10mm HDPE panels. Those cracks propagate under UV exposure and reduce panel life by up to 40%. This is the most common mistake DIY builders make.
- Rubber mallet: Use it to seat the tongue-and-groove HDPE panel joints. A steel hammer will chip the edges.
- Spirit level (1.2m minimum) and string line: Check every frame post for plumb before you tighten the bolts. If the frame is out of square by 3mm, the door will bind.
- Socket set with 18mm and 19mm sockets: All bolts are metric. Do not use adjustable wrenches—they strip bolt heads.
The Packing List Check
Before you unload the pallet, check every component against the packing list. A missing bracket or bolt pack will stop your build for days while you wait for a replacement. DB Stable kits include a detailed list—match each item before you start. If you find a discrepancy, photograph it and contact support immediately. Do not assume you can substitute hardware from the local hardware store; the bolt spec (M12 grade 8.8, stainless steel for coastal areas) is specific to the wind load rating of 120 km/h.
Installing the Sliding Doors: Alignment Steps That Actually Work
Most NZ flat pack stable failures are caused by the base, not the assembly. A 3mm out-of-level foundation twists the whole frame.
Step 1: The Pre-Assembly Checklist — What You Actually Need
Before you cut the straps on that pallet, confirm your site is ready. A standard 3.6m x 3.6m flat pack horse stable kit weighs 800–1,200 kg and arrives on a single pallet. You need two able-bodied assistants, not three. Any more and they just get in each other’s way.
Tools you must have on hand:
- Torque wrench: Set to 25 Nm. No exceptions. Over-tightening HDPE panels by even 5 Nm creates micro-cracks that propagate under UV exposure, reducing panel life by up to 40%.
- Rubber mallet: Never a steel hammer. The 10mm HDPE panels interlock via tongue-and-groove edges; a steel hammer chips the edges.
- String line and bubble level: Non-negotiable. You will check the base with these before you set a single bolt.
- Socket set with M12 sockets: All bolts are M12 grade 8.8 hex bolts. For coastal areas, use the stainless steel hardware included in DB Stable kits.
DB Stable kits include a detailed packing list. Check every item against it before starting. Missing a single bracket causes hours of delay.
Step 2: Preparing the Foundation — Gravel Beats Concrete for NZ Self-Builders
Choosing compacted gravel (100mm deep) over a concrete slab saves $2,000–$5,000 in site preparation costs. Most NZ stables under 30sqm are exempt from building consent if built on lightweight foundations — your 3.6m x 3.6m stall (13 sqm) qualifies.
Here is the critical tolerance: the base must be level to within 5mm across the 3m diagonal. Use a string line stretched corner-to-corner. If you exceed 5mm, the hot-dip galvanized steel frame will twist when you bolt it together. That twist shows up as binding sliding doors and misaligned panel gaps. DB Stable products include adjustable leg levellers, but many self-builders skip using them. Do not skip them. Adjust each leg until the frame sits dead level.
Step 3: Assembling the Frame — Torque Specs Are Not Suggestions
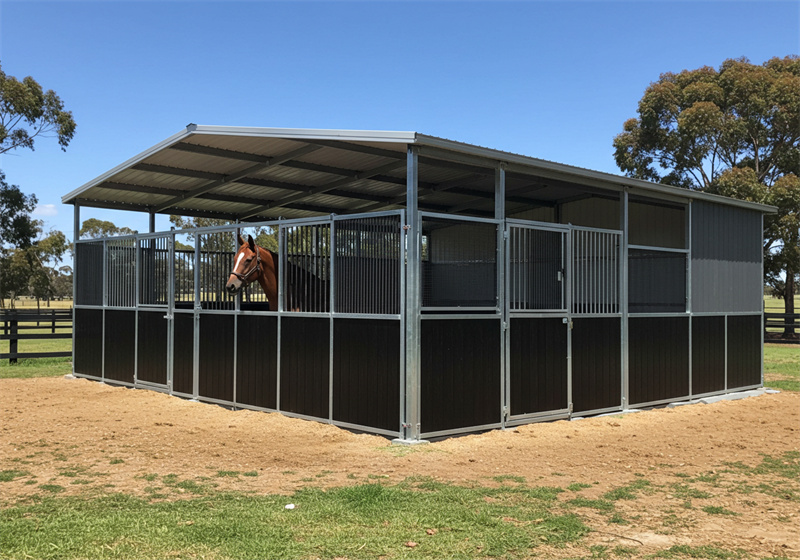
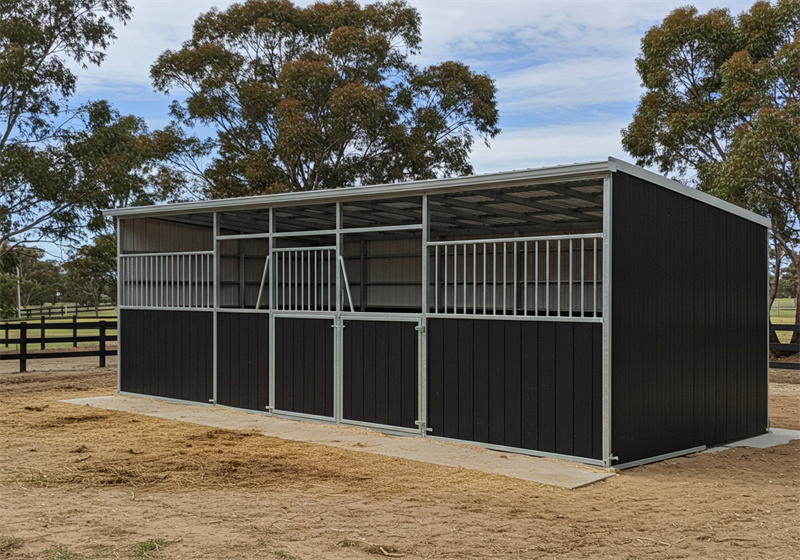
The hot-dip galvanized steel frame has a zinc coating thickness of minimum 85 microns per AS/NZS 4680. That coating resists corrosion for 20+ years in NZ coastal environments. Competitors like Outpost Buildings use timber framing, which is susceptible to rot and termites in NZ and requires annual painting and sealing. DB Stable’s steel frame eliminates that maintenance entirely.
Bolt the vertical posts to the base rails first. Use the M12 bolts at 300mm spacing along the vertical posts. Tighten to 25 Nm — no more. If you do not own a torque wrench, buy one. It costs $40 and saves you from replacing panels in 5 years.
Step 4: Joining the HDPE Panels — The 25 Nm Rule
The 10mm UV-stabilized HDPE panels have a UV stability rating of 500+ hours in accelerated weathering tests (ASTM G154), ensuring no cracking or fading for 10+ years. But that lifespan depends on correct installation.
Seat each panel into the frame using a rubber mallet. Never force them. If a panel does not align perfectly due to ground settling, drill pilot holes for the bolts — do not crank the bolts to pull the panel into place. That creates stress fractures. Torque each bolt to exactly 25 Nm. Over-tightening by even 5 Nm creates micro-cracks that propagate under UV exposure, reducing panel life by up to 40%.
Step 5: Installing the Sliding Doors — Alignment Steps That Actually Work
Sliding doors are the most common failure point on DIY assemblies. The stainless steel rollers and tracks in DB Stable kits are rated for 100,000+ open-close cycles without failure — but only if installed correctly.
- Step 1: Ensure the top track is perfectly level. Place a bubble level directly on the track. If it is off by even 1mm over 1.8m, the door will bind.
- Step 2: Adjust the bottom guide roller height so the door hangs 10mm above the ground. This gap prevents the door from dragging on debris.
- Step 3: Test roll the door before final tightening. If it binds, shim the track bracket by 1–2mm using the included stainless steel shims.
Use the stainless steel hardware included in DB Stable kits — never substitute with galvanized or zinc-plated hardware in coastal barns. Salt air corrodes standard hardware within 2 years.
Step 6: Final Inspection and Weatherproofing Checklist
After assembly, run through this checklist:
- All bolts torqued to 25 Nm. No loose fasteners.
- No gaps larger than 2mm between any panels. Gaps wider than 2mm allow moisture ingress.
- Door slides freely from end to end without binding.
- Roof panels sealed with silicone where they meet the frame. Apply UV-resistant sealant (provided) to exposed HDPE edges.
- Run a water hose over the roof for 5 minutes. Check for leaks at every seam and bolt hole.
Two people with basic DIY skills can complete this assembly in 6–10 hours. Multi-stall configurations take 1–2 days. Site preparation adds 1–2 days. Follow these steps exactly, and you will have a stable that lasts 20+ years with zero annual maintenance.

Final Inspection and Weatherproofing Checklist
Pre-Assembly Checklist: What You Need
Before you open the first box, confirm you have a level base (compacted gravel, max 5mm tolerance across 3m diagonal), all tools: rubber mallet, socket set, torque wrench (25 Nm limit), spirit level, string line, and two able-bodied assistants. Missing a single component causes hours of delay. DB Stable kits include a detailed packing list—check every item against it before starting. The kit itself weighs 800–1,200 kg on a single pallet, so ensure your delivery truck can reach the site and you have a pallet jack or tractor to move it.
- 🏷️ Category: Pre-Assembly Preparation
- 🎯 Core Outcome: Confirm site readiness and tool availability to avoid assembly delays.
Analysis:
| ✅ Advantages | ⚠️ Considerations |
|---|---|
|
|
Preparing the Foundation: Why Gravel Works Better Than Concrete
A flat pack stable needs a firm, level base. Most NZ farms use compacted road base (100mm depth) instead of concrete—this saves cost and allows portability. Show how to check level with a string line. Error tolerance: max 5mm across 3m diagonal. Any more, and the hot-dip galvanized frame will twist, causing sliding door rails to bind. Concrete costs roughly $150–$200 per cubic metre delivered and poured, while compacted gravel runs $30–$50 per cubic metre. For a 3.6m x 3.6m stall, you need roughly 1.3 cubic metres of gravel versus 1.3 cubic metres of concrete—the gravel base saves $150–$200 in material alone, plus you avoid the cost of a concrete truck minimum charge ($400–$600). Most NZ stables under 30sqm (like a single 3.6m x 3.6m stall at 13sqm) are exempt from building consent under Schedule 1 of the Building Act if built on lightweight foundations like gravel—check with your local council to confirm.
- 🏷️ Category: Foundation Preparation
- 🎯 Core Outcome: Achieve a level, stable base that prevents frame twisting and door binding.
Analysis:
| ✅ Advantages | ⚠️ Considerations |
|---|---|
|
|
Joining the HDPE Panels: Avoiding Cracks and Gaps
The 10mm HDPE boards interlock via tongue-and-groove edges. Use a rubber mallet to seat them—never a steel hammer. Bolt patterns: M12 bolts at 300mm spacing along vertical posts. Torque spec: 25 Nm maximum. Over-tightening creates stress fractures, especially in cold weather. Explain how to drill pilot holes if panels don’t align perfectly due to ground settling. DB Stable panels have a UV stability rating of 500+ hours in accelerated weathering tests (ASTM G154), ensuring no cracking or fading for 10+ years—but only if installed correctly. If a panel doesn’t align, loosen the adjacent bolts, tap it into position with the rubber mallet, then re-torque to 25 Nm. Never force a panel with a steel hammer—it will crack the HDPE and void the warranty.
- 🏷️ Category: Panel Assembly Technique
- 🎯 Core Outcome: Achieve tight, crack-free panel joints that last 10+ years under NZ sun.
Analysis:
| ✅ Advantages | ⚠️ Considerations |
|---|---|
|
|
Installing the Sliding Doors: Alignment Steps That Actually Work
Step 1: Ensure top track is perfectly level (bubble level on track). Step 2: Adjust bottom guide roller height so door hangs 10mm above ground. Step 3: Test roll before final tightening. If door binds, shim the track bracket by 1-2mm. Use stainless steel hardware (included in DB Stable kits) to prevent corrosion in NZ coastal barns. The sliding door systems with stainless steel rollers and tracks can withstand 100,000+ open-close cycles without failure—but only if the track is level within 2mm over its full length. A 3mm out-of-level foundation causes the whole frame to twist, and the door will bind halfway. DB Stable products include adjustable leg levellers, but many self-builders skip using them—don’t. Adjust each leg until the top track reads level, then lock the jam nut.
- 🏷️ Category: Door Installation & Alignment
- 🎯 Core Outcome: Achieve smooth, binding-free door operation for the life of the stable.
Analysis:
| ✅ Advantages | ⚠️ Considerations |
|---|---|
|
|
Final Inspection and Weatherproofing Checklist
Apply a UV-resistant sealant (provided) to exposed HDPE edges. Run a water hose over roof to check for leaks. This step prevents rot in timber linter holes and rust on frame brackets. DB Stable frames are hot-dip galvanized to minimum 85 microns zinc coating per AS/NZS 4680, resisting corrosion for 20+ years in NZ coastal environments—but only if the zinc coating isn’t scratched during assembly. Touch up any scratches with cold galvanizing spray (available at any hardware store). Check the ridge vent ventilation is unobstructed—this prevents condensation and respiratory issues in horses. Finally, confirm the wind load rating matches your location: standard is 120 km/h, but if you’re on a coastal hilltop, order the optional upgrade to 160 km/h.
- 🏷️ Category: Final Quality Check
- 🎯 Core Outcome: Ensure the stable is weathertight, safe, and built to last 20+ years.
Analysis:
| ✅ Advantages | ⚠️ Considerations |
|---|---|
|
|
Conclusion
Assembling a flat-pack horse stable yourself is a practical way to save thousands on site preparation and labour, provided you respect the critical tolerances. An uneven base or over-torqued bolts are the fastest way to turn a 6-hour job into a weekend of frustration—stick to the 5mm level tolerance and 25 Nm torque limit, and your stable will deliver 20+ years of service.
If you are ready to move from planning to ordering, review the specifications of the DB Standard Horse Stable 3.6m x 3.6m Single Stall. It includes the adjustable leg levellers and full assembly manual that take the guesswork out of your build.
Frequently Asked Questions
What is the cheapest way to build a horse stable?
The cheapest way is to buy a flat pack DIY kit and install it on a compacted gravel base instead of a concrete slab. A DB Stable flat pack kit paired with 100mm of compacted road base can save you $2,000–$5,000 in site prep compared to a poured foundation. You still need two people and basic tools, but you skip the cost of a contractor and expensive concrete work. Plan for a gravel base and a two-person crew to keep costs low.
How much does a single horse stable cost?
A single 3.6m x 3.6m flat pack horse stable from DB Stable typically costs around $3,850 for the DIY kit, excluding foundation and delivery. That price is significantly lower than a contractor-built timber stable, which often runs $8,000 or more in New Zealand. Final cost depends on whether you choose gravel or concrete and any added features like aluminum feeders. Factor in foundation and delivery to get your true landed cost.
What is the best thing to put down in a horse stall?
For a flat pack stable on a gravel base, the best stall flooring is compacted road base topped with rubber mats for comfort and drainage. Rubber mats protect the HDPE panels from impact and make mucking out easier. Avoid deep-litter bedding directly on gravel, as it can trap moisture against the panels. Use rubber mats over compacted gravel for durability and easy cleaning.
Do horses prefer to be stabled at night?
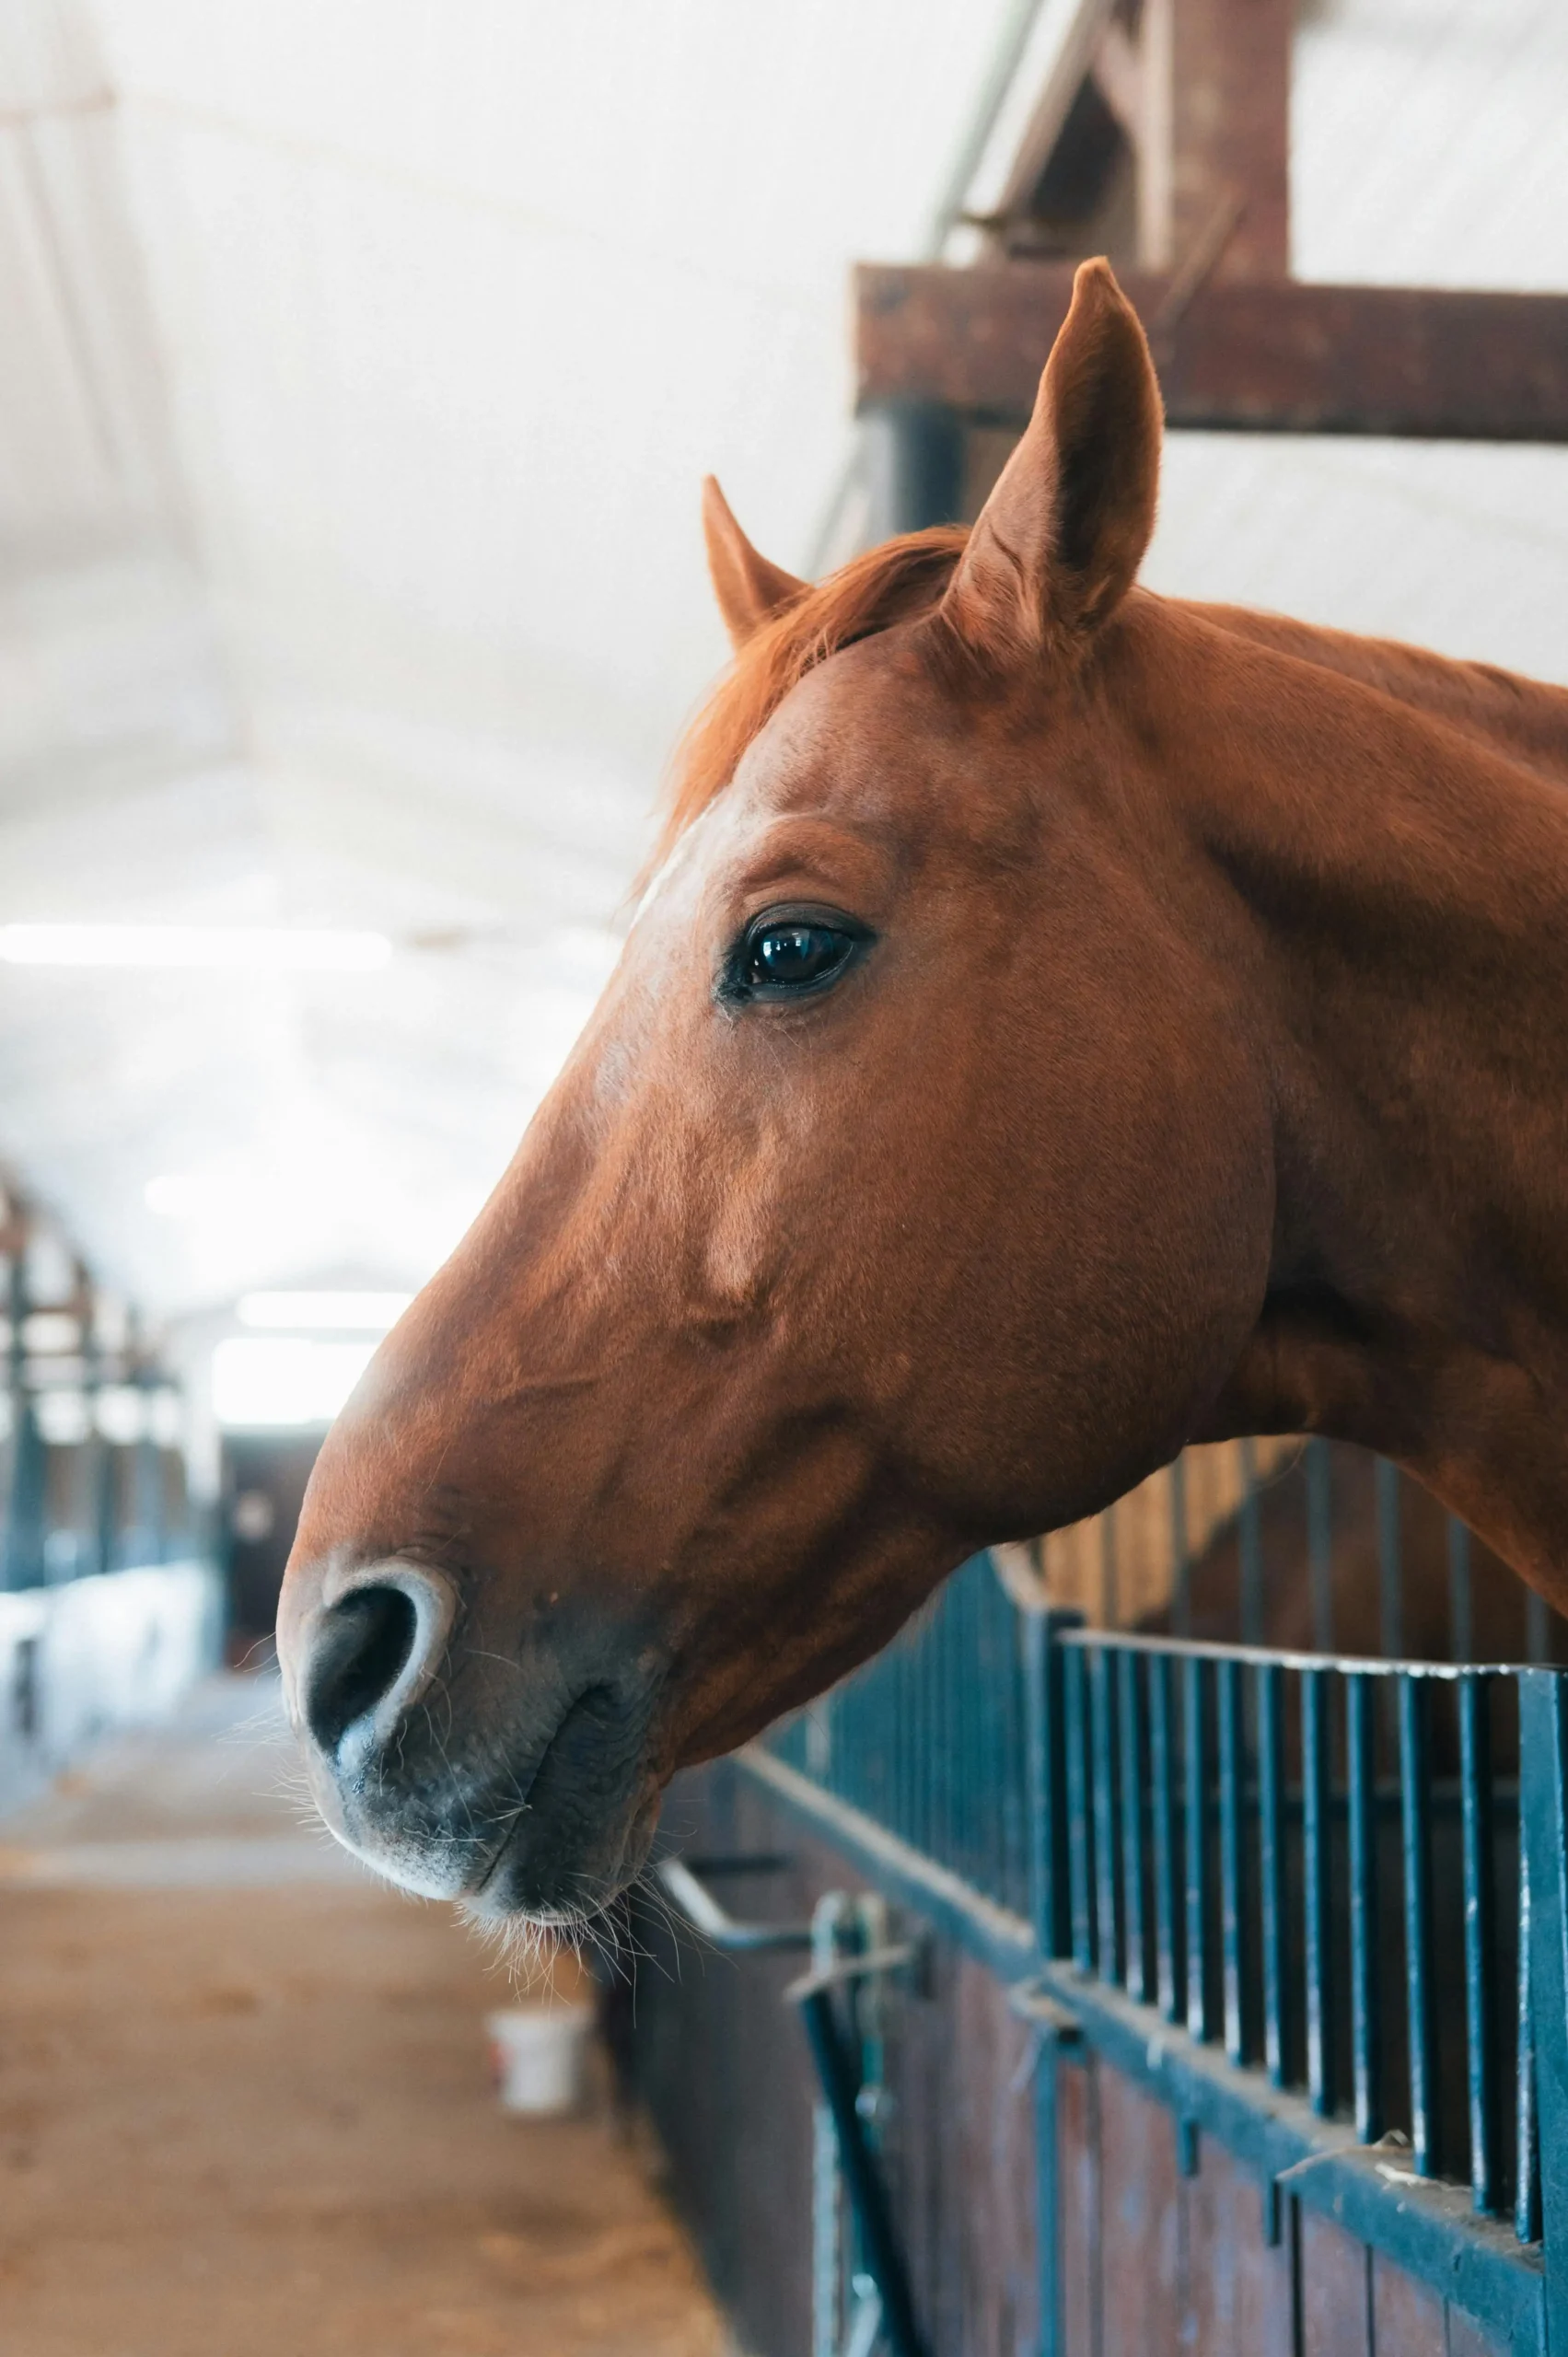
Horses don’t naturally prefer stabling at night—they are herd animals that thrive on movement and grazing. However, stabling at night is common in New Zealand for safety, pasture management, and protection from weather. If you stable overnight, ensure the stall is large enough (minimum 3.6m x 3.6m) and has good ventilation to reduce stress. Provide turnout time daily to keep a stabled horse healthy.
How long does it take to assemble a flat pack horse stable?
Two people can assemble a standard 3.6m x 3.6m flat pack horse stable in 6–10 hours, assuming the base is level and all components are checked beforehand. The most time-consuming step is aligning the hot-dip galvanized frame on a perfectly level gravel pad. Rushing the base prep is the fastest way to add hours of rework. Spend the first hour on foundation leveling to save time later.