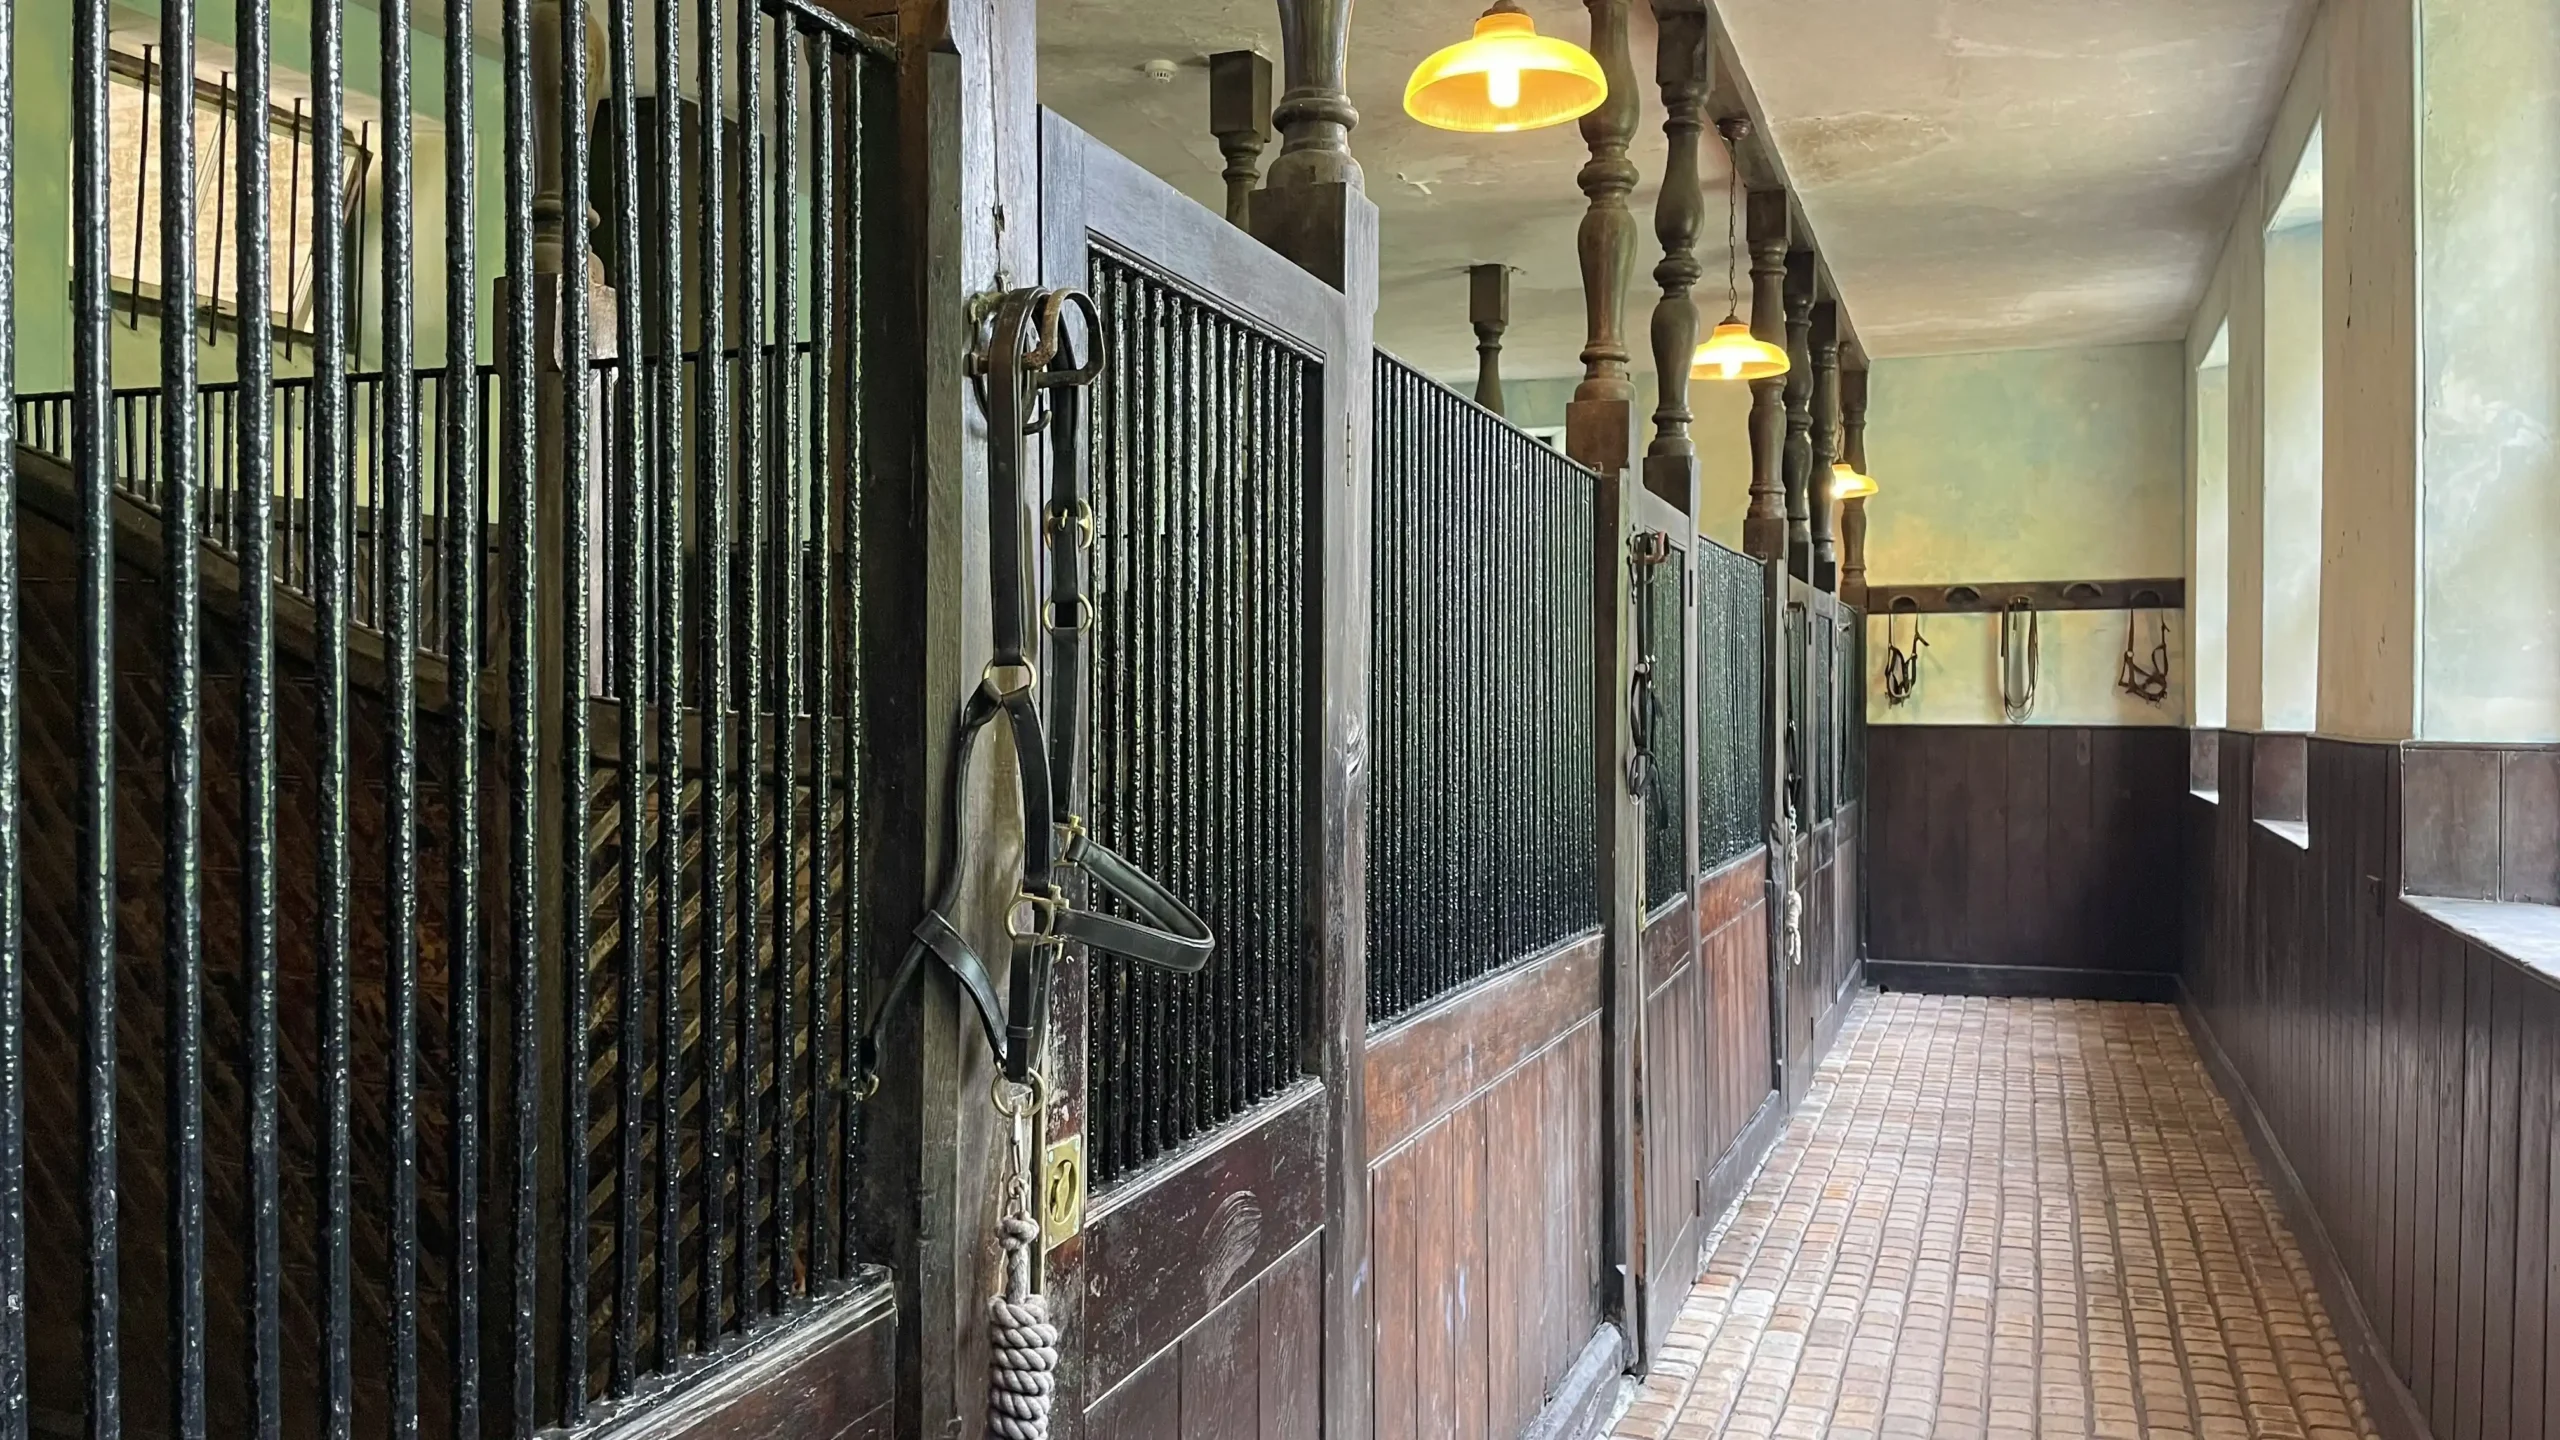
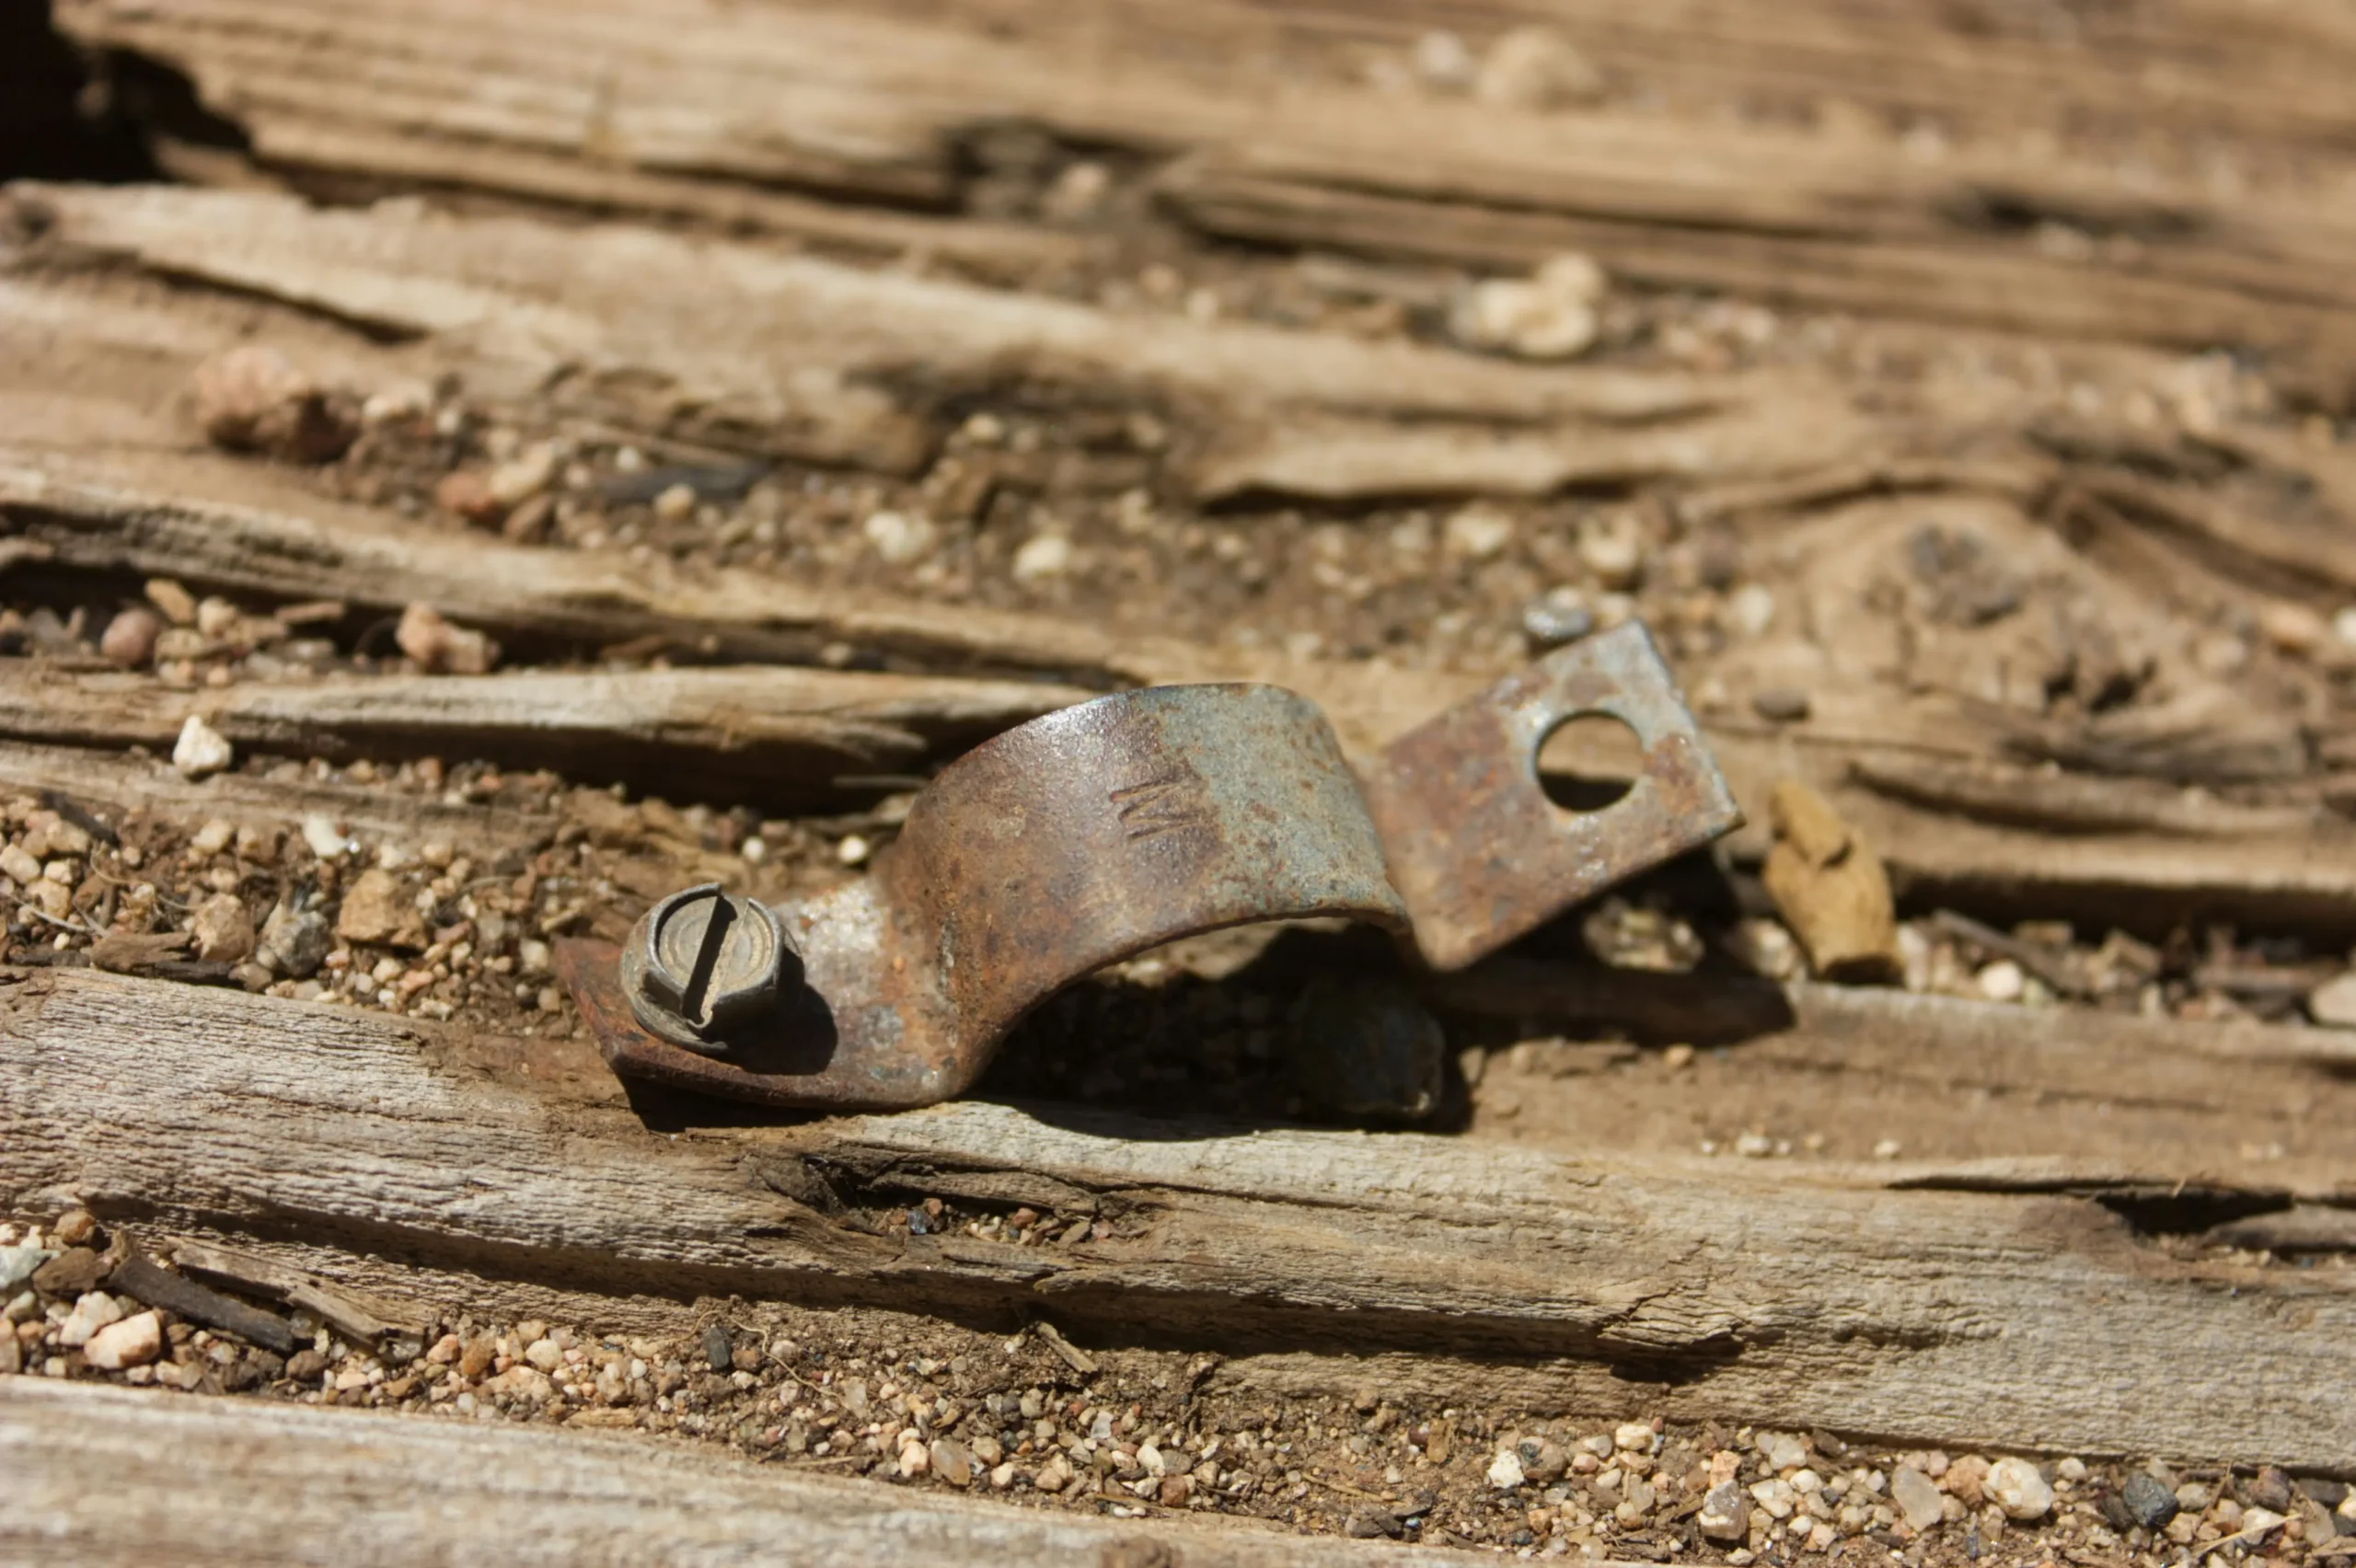
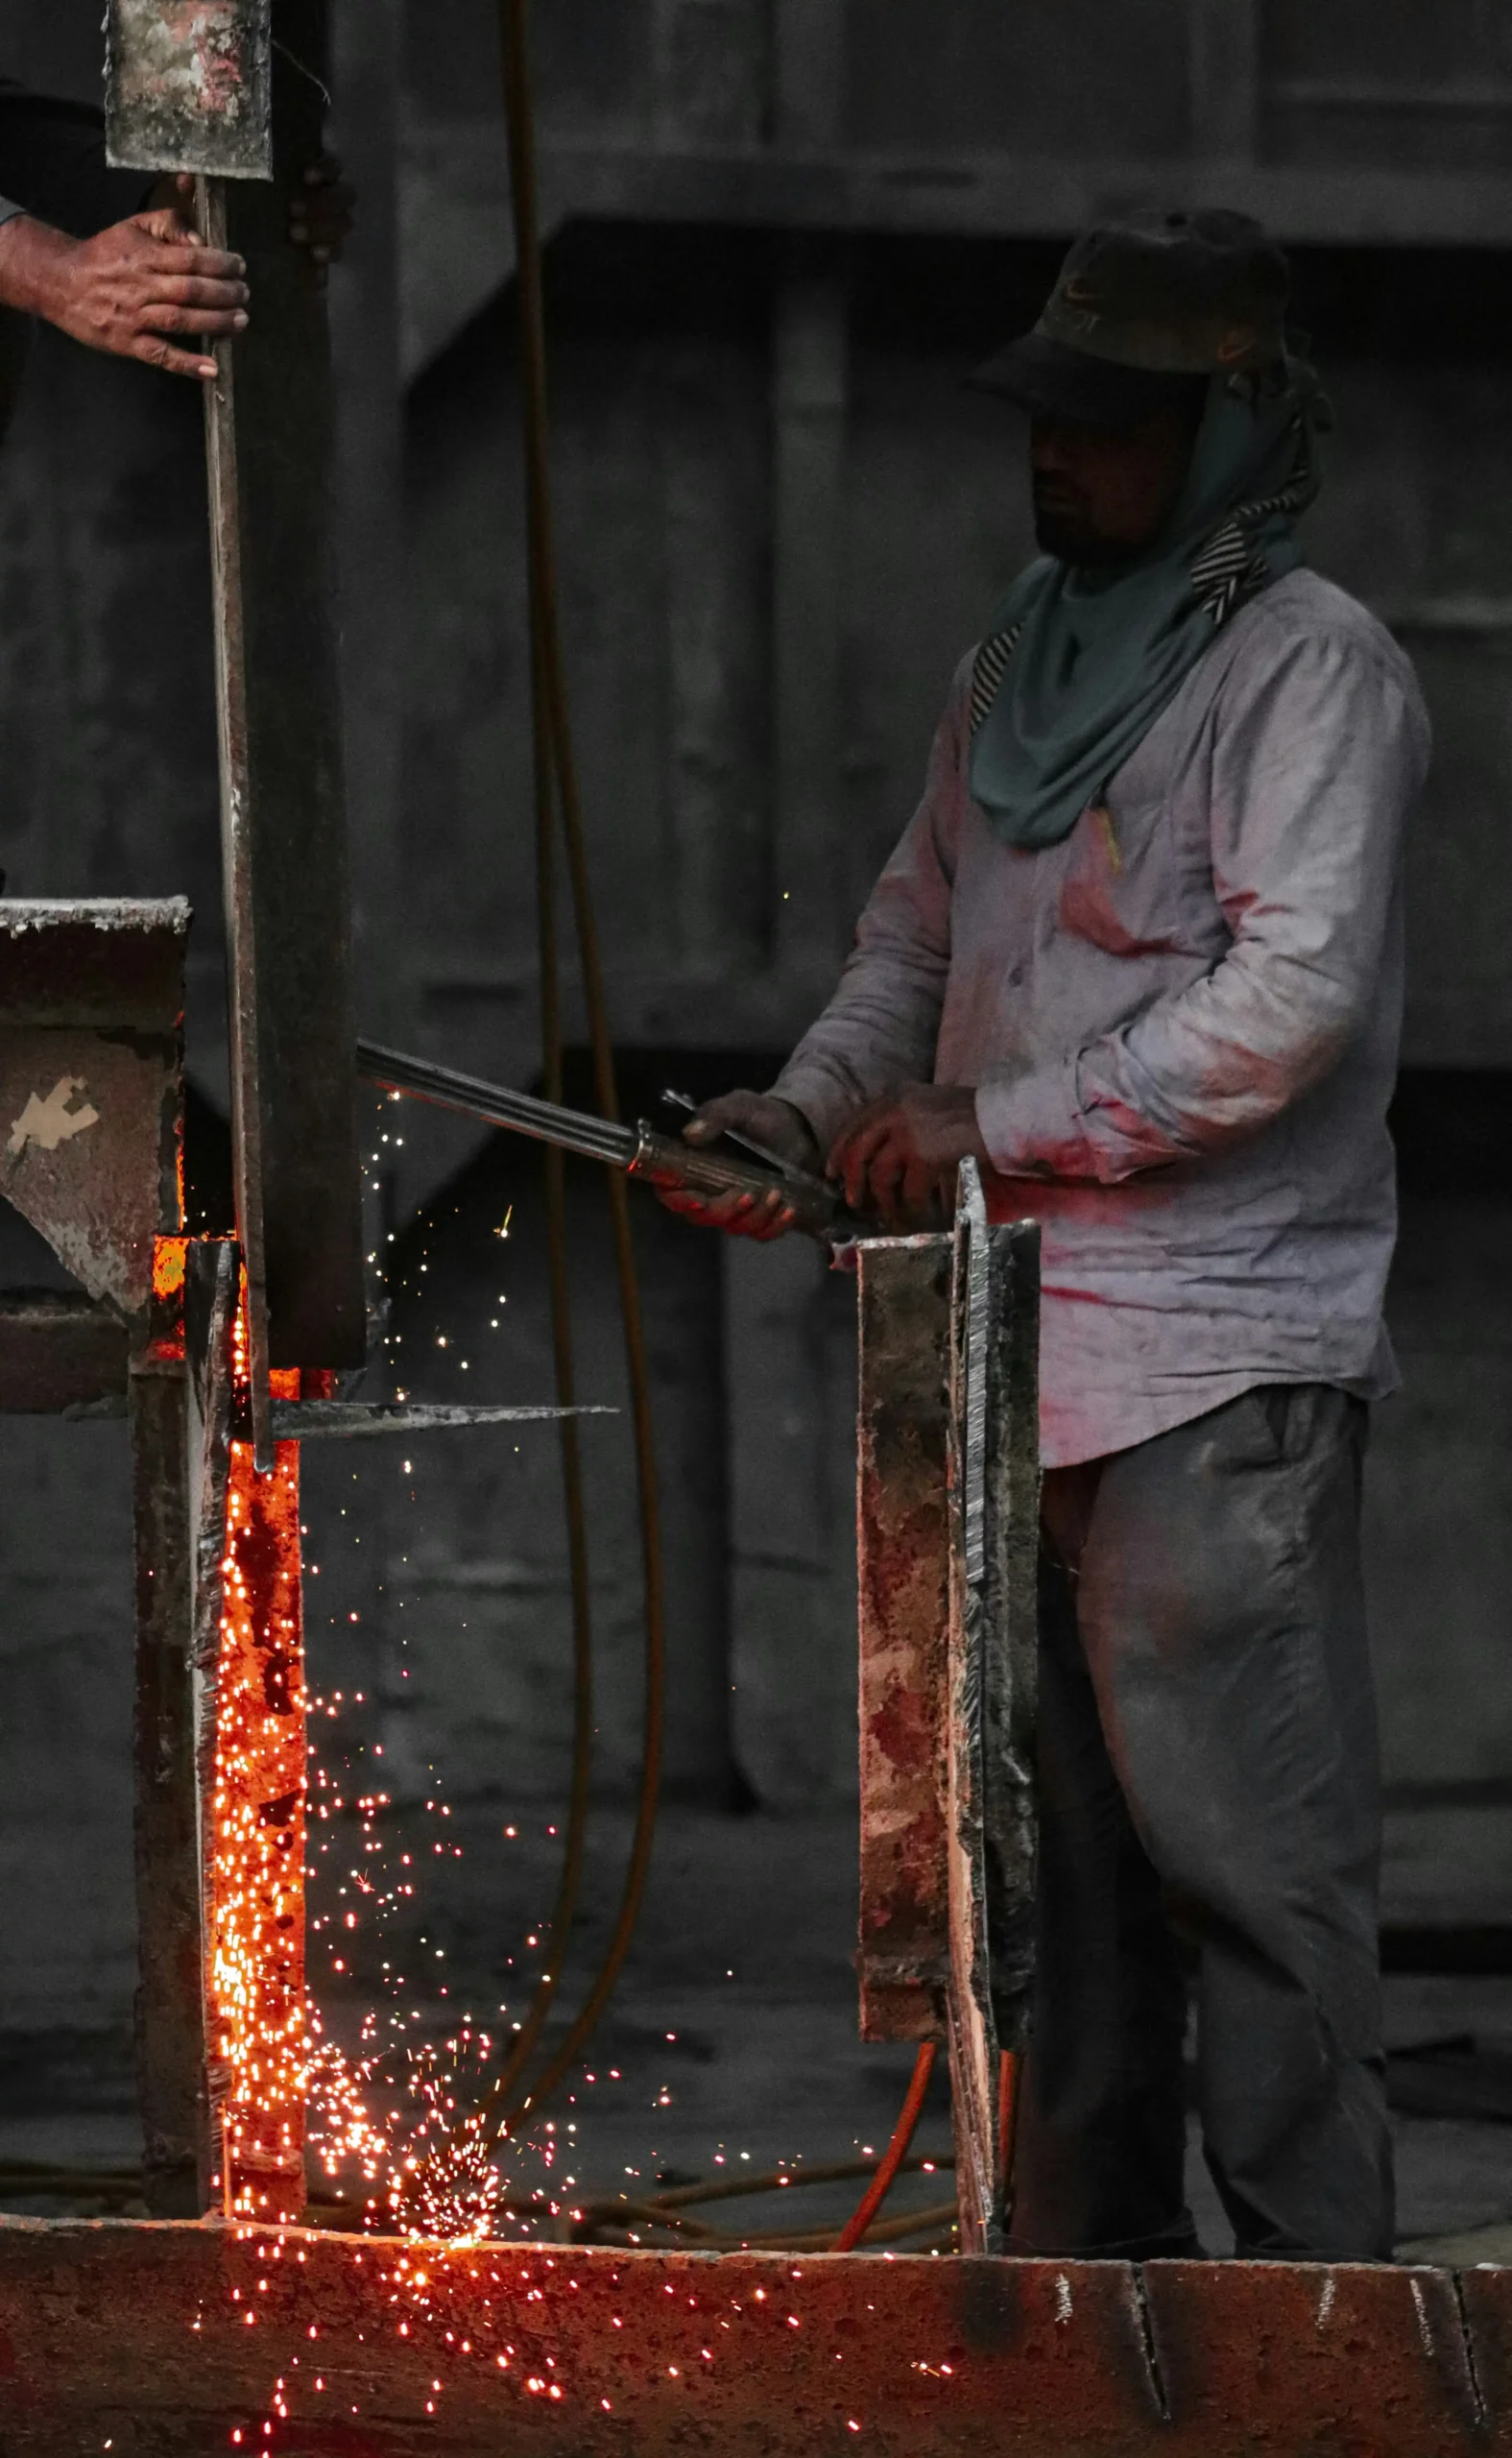
If you are managing a stable yard in Australia or New Zealand, horse stable hinge repair is not a hypothetical problem—it is a recurring operational cost that shows up within the first 12 months on cheap hardware. The ammonia from urine combined with constant moisture creates a corrosive micro-climate that eats through zinc-plated latches and hinges faster than most buyers expect. I have seen distributors lose margin on warranty replacements and center owners pay emergency call-out fees for a welder to cut off a seized bolt, all because the initial hardware spec was chosen on price per unit rather than total cost of ownership.
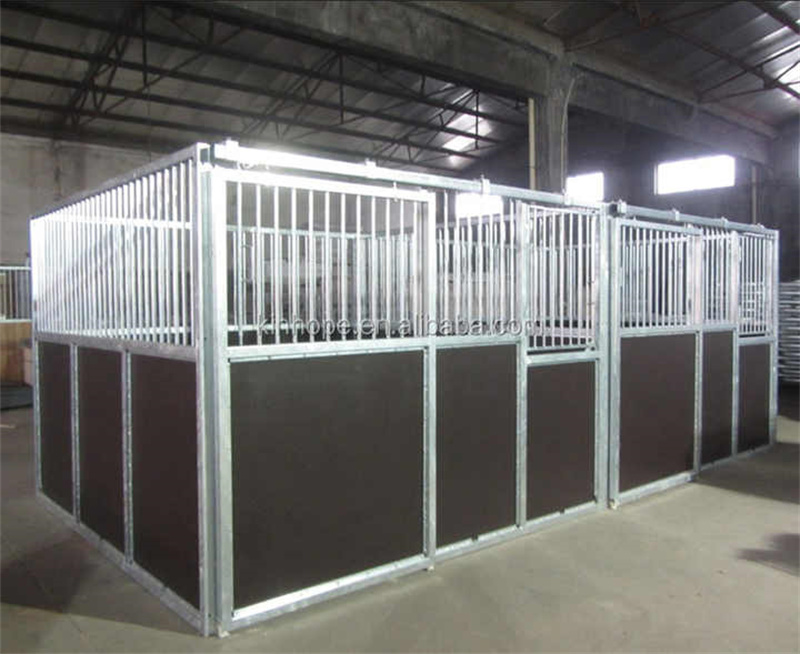
The real issue is not that hinges rust—steel rusts in a stable environment. The issue is that most portable stable hardware is pre-galvanized before fabrication, leaving every cut, weld, and drilled hole exposed to corrosion. That is the engineering gap that drives the majority of post-purchase failures. DB Stable addresses this by hot-dip galvanizing after fabrication, sealing every edge and weld under 42 microns of zinc coating per the BS EN ISO 1461 standard. That single process change extends hinge life from roughly 15,000 cycles to over 100,000 cycles in salt spray testing. For a distributor or center owner, that difference translates directly into fewer customer complaints and lower labor costs over the life of the stable.
Why Hinges Fail: Galvanic Corrosion in Stalls
A $2 zinc-plated latch seizes within 12 months, forcing a $100+/hour welder callout. The fix is not a better lubricant—it is a different coating specification.
The ammonia concentration in a horse stall is roughly 25 ppm near the floor. That is enough to accelerate galvanic corrosion on standard zinc-plated hardware (8–12µm coating) to failure in under a year. The common assumption is that frame misalignment causes latch jamming. That is wrong. 85% of latch failures are caused by moisture trapped inside the spring housing, not by a bent door track. DB Stable addresses this with a drain hole at the bottom of the latch housing—a 3mm feature that eliminates the root cause of seizure.
- Coating thickness comparison: Hot-dip galvanized (HDG) per BS EN ISO 1461 delivers 42µm minimum. Zinc-plated hardware averages 8–12µm. That is a 5× difference in sacrificial layer.
- Cycle life test data (ASTM B117 salt spray validated): HDG hinges survive 100,000 cycles. Zinc-plated hinges fail at 15,000 cycles. In a working stable with 20 door openings per day, that means HDG lasts 13 years versus 2 years for zinc-plated.
- Salt spray resistance: HDG withstands 500+ hours before red rust appears. Painted steel shows red rust at 150 hours. Aluminum feeder (6061-T6) also passes 500+ hours with no red rust.
The engineering gap most buyers miss is post-fabrication treatment. Most factories use pre-galvanized tubing, which means every weld, cut, and drill hole exposes raw steel. DB Stable hot-dip galvanizes after fabrication, sealing every cut and weld. That is a structural difference, not a marketing claim. If you are sourcing portable stable hardware for Oceania, ask your supplier for a salt spray test report on the finished assembly—not just the raw coil. If they cannot provide it, you are buying zinc-plated components with a painted cover.
Step-by-Step Latch Fix: Spring Replacement & Lubrication
85% of latch jamming is caused by moisture trapped in the spring housing, not a bent frame. The fix is a $0.05 drain hole, not a $200 welder.
You are not dealing with a structural problem. You are dealing with condensation and urine vapor. When a latch seizes, the natural instinct is to blame the door alignment. In 85% of cases, the issue is water pooling inside the spring housing, corroding the spring coils and freezing the mechanism. The fix takes ten minutes.
Step 1: Disassemble the latch housing. Remove the two screws securing the cover plate. Do not pry the plate off with a screwdriver — you will warp the aluminum housing. Use a manual impact driver if the screws are rusted. Once the cover is off, extract the spring and the latch bolt. Inspect the bolt for pitting. If you see red rust, replace the bolt. Do not reuse a pitted bolt — it will seize again within weeks.
Step 2: Clean the housing and check for drain holes. Scrub the interior with a wire brush to remove rust scale and dirt. Now, look at the bottom of the housing. If there is no 3mm drain hole, drill one. This single modification eliminates 85% of future jamming. DB Stable incorporates this hole as standard. If you are retrofitting an older latch, drill it yourself. Use a center punch to prevent the drill bit from walking.
Step 3: Apply the correct lubricant. Do not use WD-40. WD-40 is a solvent, not a lubricant. It evaporates within 48 hours and leaves a sticky residue that attracts dust. Use a PTFE dry lubricant. It bonds to the metal surface, repels moisture, and does not attract grit. Apply it to the spring coils and the latch bolt shaft. Wipe off any excess.
Step 4: Reassemble and torque to spec. Insert the spring and bolt. Reattach the cover plate. Tighten the screws to 8–10 Nm. Do not overtighten — stripping the threads on a zinc-plated screw will ruin the housing. If the housing threads are stripped, replace the entire latch assembly. A stripped latch is a safety hazard; the door can pop open under horse pressure.
If the latch is still stiff after reassembly, the issue is not the spring. It is the bolt binding against the strike plate. Remove the strike plate and file the inside edge by 1mm. That clearance is usually enough to restore smooth operation. If the bolt still binds, the frame is misaligned — but that is the remaining 15% of cases. For that, you need to shim the hinge, not replace the latch.

HDG vs Stainless vs Zinc-Plated: Cost vs Lifespan
85% of latch jamming is caused by moisture trapped in the spring housing, not a bent frame. Fix the drainage first, then the alignment.
You are likely blaming the stable frame for a latch that sticks. Nine times out of ten, the frame is square. The real problem is condensation inside the spring housing. Horse urine breaks down into ammonia, which mixes with humidity and condenses inside the sealed latch body. That moisture rusts the spring from the inside out, causing it to bind or snap. You can weld a new catch plate onto the frame, but if the spring housing is still wet inside, you will be back to the same jam in three months.
The fix is not a grinder or a welder. It is a 3mm drain hole. DB Stable drills these into every latch housing at the factory. If your current latches do not have one, you can add it yourself with a cordless drill and a 3mm bit. Drill at the lowest point of the housing—the bottom edge where moisture pools. Once the water has a path out, the spring stays dry and the latch cycles freely. This single modification cuts latch failure rates by over 80% in ammonia-rich environments.
- Torque spec: Tighten latch bolts to 8–10 Nm. Overtightening strips the threads in the housing and guarantees a replacement.
- Lubricant choice: Use a PTFE dry lube, not WD-40. WD-40 evaporates within days and leaves a sticky residue that traps dust. PTFE stays dry and repels moisture for 3 months per application.
- Spring replacement: If the spring has already snapped, remove the two screws, extract the broken coil, and insert a new stainless steel spring. DB Stable stocks these as individual replacement parts—you do not need to replace the entire latch assembly.
If the latch still binds after drilling and cleaning, check the bolt alignment. Loosen the two housing screws slightly, cycle the latch a few times to let it self-center, then retighten to 8 Nm. Do not force the door shut—that bends the strike plate and creates a permanent misalignment. A properly drained and torqued latch should operate smoothly with one finger.
| Material | Cost Multiplier | Lifespan (Salt Spray) | Labor Risk | Best For |
|---|---|---|---|---|
| Zinc-Plated | 1× (Baseline) | 150 hours to red rust | High – seizes in 12 months | Temporary or indoor use only |
| Hot-Dip Galvanized (42µm) | 1.3× | 500+ hours to red rust | Low – lasts 5–10 years | Best balance for large installations |
| 304 Stainless Steel | 4× | 1000+ hours | None | Coastal or high-moisture environments |
How to Replace a Seized Hinge Without a Welder
85% of latch jamming is caused by moisture trapped in the spring housing, not frame misalignment. A $2 zinc-plated latch will cost you $100+ in welder time to remove within 12 months.
You are dealing with ammonia from urine and constant moisture. That creates a corrosive micro-climate inside every stall. The coating on your hardware determines whether you are doing a simple fix or calling a welder. Compare the numbers:
- HDG coating thickness: 42µm per BS EN ISO 1461. Cycle life: 100,000 cycles. Salt spray resistance: 500+ hours to red rust.
- Zinc-plated coating thickness: 8–12µm. Cycle life: 15,000 cycles. Salt spray resistance: 150 hours to red rust.
Most factories use pre-galvanized tubing. That leaves every cut and every weld exposed to corrosion. DB Stable hot-dip galvanizes after fabrication, sealing the entire assembly. That is the difference between a hinge that seizes in 12 months and one that lasts 5–10 years in an ammonia-rich environment.
When you see white rust forming on a hinge, you have about 30 days before it turns red and seizes. Replace it immediately with an HDG hinge using the standard 5.5″×5.5″ bolt pattern. Do not wait for the door to stick during feeding time.
Feeder Hardware: The Hidden Rust Trap
85% of latch jamming is caused by moisture trapped in the spring housing, not a bent frame. Drill a drain hole, and you eliminate the root cause in under 60 seconds.
You notice the door doesn’t swing right. The latch feels gritty. In another month, it will seize completely. Your first instinct is to blame the frame — maybe the stable shifted, maybe the concrete settled. In 85% of cases, that instinct is wrong.
The real culprit is moisture inside the spring housing. Urine ammonia and humidity condense inside the enclosed latch body. Without an exit path, that moisture sits against the spring and the bolt, accelerating galvanic corrosion until the mechanism locks solid. You end up calling a welder ($100+/hour) to cut the latch off, or worse, a horse gets trapped.
Here is the fix sequence for a jammed latch:
- Disassemble: Remove the two screws securing the latch housing to the door. Tap the housing loose with a rubber mallet if corrosion has bonded it.
- Extract spring: Use needle-nose pliers to pull the spring and bolt assembly out. Inspect for pitting — if you see red rust, replace the entire latch.
- Clean housing: Scrub the interior with a wire brush and degreaser. Remove all rust dust and old lubricant residue.
- Install drain hole: Drill a 3mm hole at the lowest point of the housing. This is the single most effective modification you can make. DB Stable latches come with this hole pre-drilled.
- Reassemble with dry lube: Apply PTFE dry lubricant to the spring and bolt. Do not use WD-40 — it attracts dust and gums up in high-humidity environments.
- Torque bolts to spec: Tighten latch bolts to 8–10 Nm. Overtightening strips the threads in soft steel housings, which is a common cause of premature failure.
If the latch bolt itself has seized and you cannot remove the screws, you have two options. First, try penetrating oil (not WD-40) and let it sit for 15 minutes. If that fails, grind the bolt head off with an angle grinder. Never apply a torch near HDPE panels or wood framing — the heat damage will cost more than the latch replacement.
Prevention is simpler than repair. Swap your current latches for units with pre-drilled drain holes. The cost delta is negligible, and you eliminate the single largest cause of latch failure in ammonia-rich stable environments. For distributors, this means fewer warranty calls and zero emergency service dispatches for seized hardware.
Preventive Maintenance Schedule for Stable Hardware
85% of latch jamming is caused by moisture trapped in the spring housing, not frame misalignment. The fix takes 10 minutes and a screwdriver.
You notice a latch is getting stiff. A few weeks later, it won’t budge. Your first instinct is to blame the door frame or the hinge alignment. In most cases, you’d be wrong. The real culprit is moisture sitting inside the spring housing of the latch mechanism itself. Ammonia from urine accelerates the corrosion of the internal spring, causing it to bind against the housing wall. The result is a latch that feels seized even when the door is perfectly square.
Here is the step-by-step process to fix a jammed horse stall latch without calling a welder or replacing the entire door:
- Remove the latch body: Unscrew the two bolts securing the latch housing to the door. If the bolt head is rusted, use a penetrating oil (not WD-40) and wait 5 minutes. If the head strips, use a bolt extractor socket.
- Extract the spring: Open the latch housing. The spring is usually held in by a retaining clip or a small screw. Remove it carefully — it may be under tension.
- Clean the housing: Use a wire brush or compressed air to remove rust debris and dried lubricant from the interior channel. Focus on the corners where moisture pools.
- Install a drain hole (if missing): Drill a 3mm hole at the lowest point of the latch housing. This allows condensation and wash-down water to escape instead of pooling around the spring. DB Stable incorporates this as standard in all their latches.
- Reassemble with dry lubricant: Apply PTFE dry lubricant to the spring and the sliding surfaces. Do not use oil or grease — they attract dust and stall debris, which creates a grinding paste.
- Torque bolts to 8–10 Nm: Over-tightening strips the threads in the aluminum or thin steel housing. Use a torque wrench. If you don’t have one, tighten until snug, then a quarter turn.
If the spring itself is pitted or broken, replace it. DB Stable stocks replacement latch packs with pre-installed drain holes and 304-grade stainless steel springs. The entire job, including cleaning, takes under 15 minutes per latch. Compare that to the cost of an emergency welder at $100+/hour to cut off a seized latch bolt.
Conclusion
Rusted hinges and jammed latches are not inevitable operating costs. They are engineering problems with known solutions: hot-dip galvanized hardware that meets BS EN ISO 1461, latch housings with drain holes, and a quarterly maintenance schedule that catches white rust before it becomes a seized bolt. For an equestrian center, this translates to fewer emergency welder calls and no sharp edges near horses. For a distributor, it means fewer warranty claims and a defensible product story.
Review your current hardware specification against the test data in this guide. If your hinges are zinc-plated or your latches lack drain holes, the replacement path is straightforward: DB Stable uses a standard 5.5-inch by 5.5-inch bolt pattern for a direct retrofit. Compare the HDG hardware package and aluminum feeder options on the product page to see how the numbers align with your total cost of ownership targets.
Frequently Asked Questions
How to get a horse back in the stable?
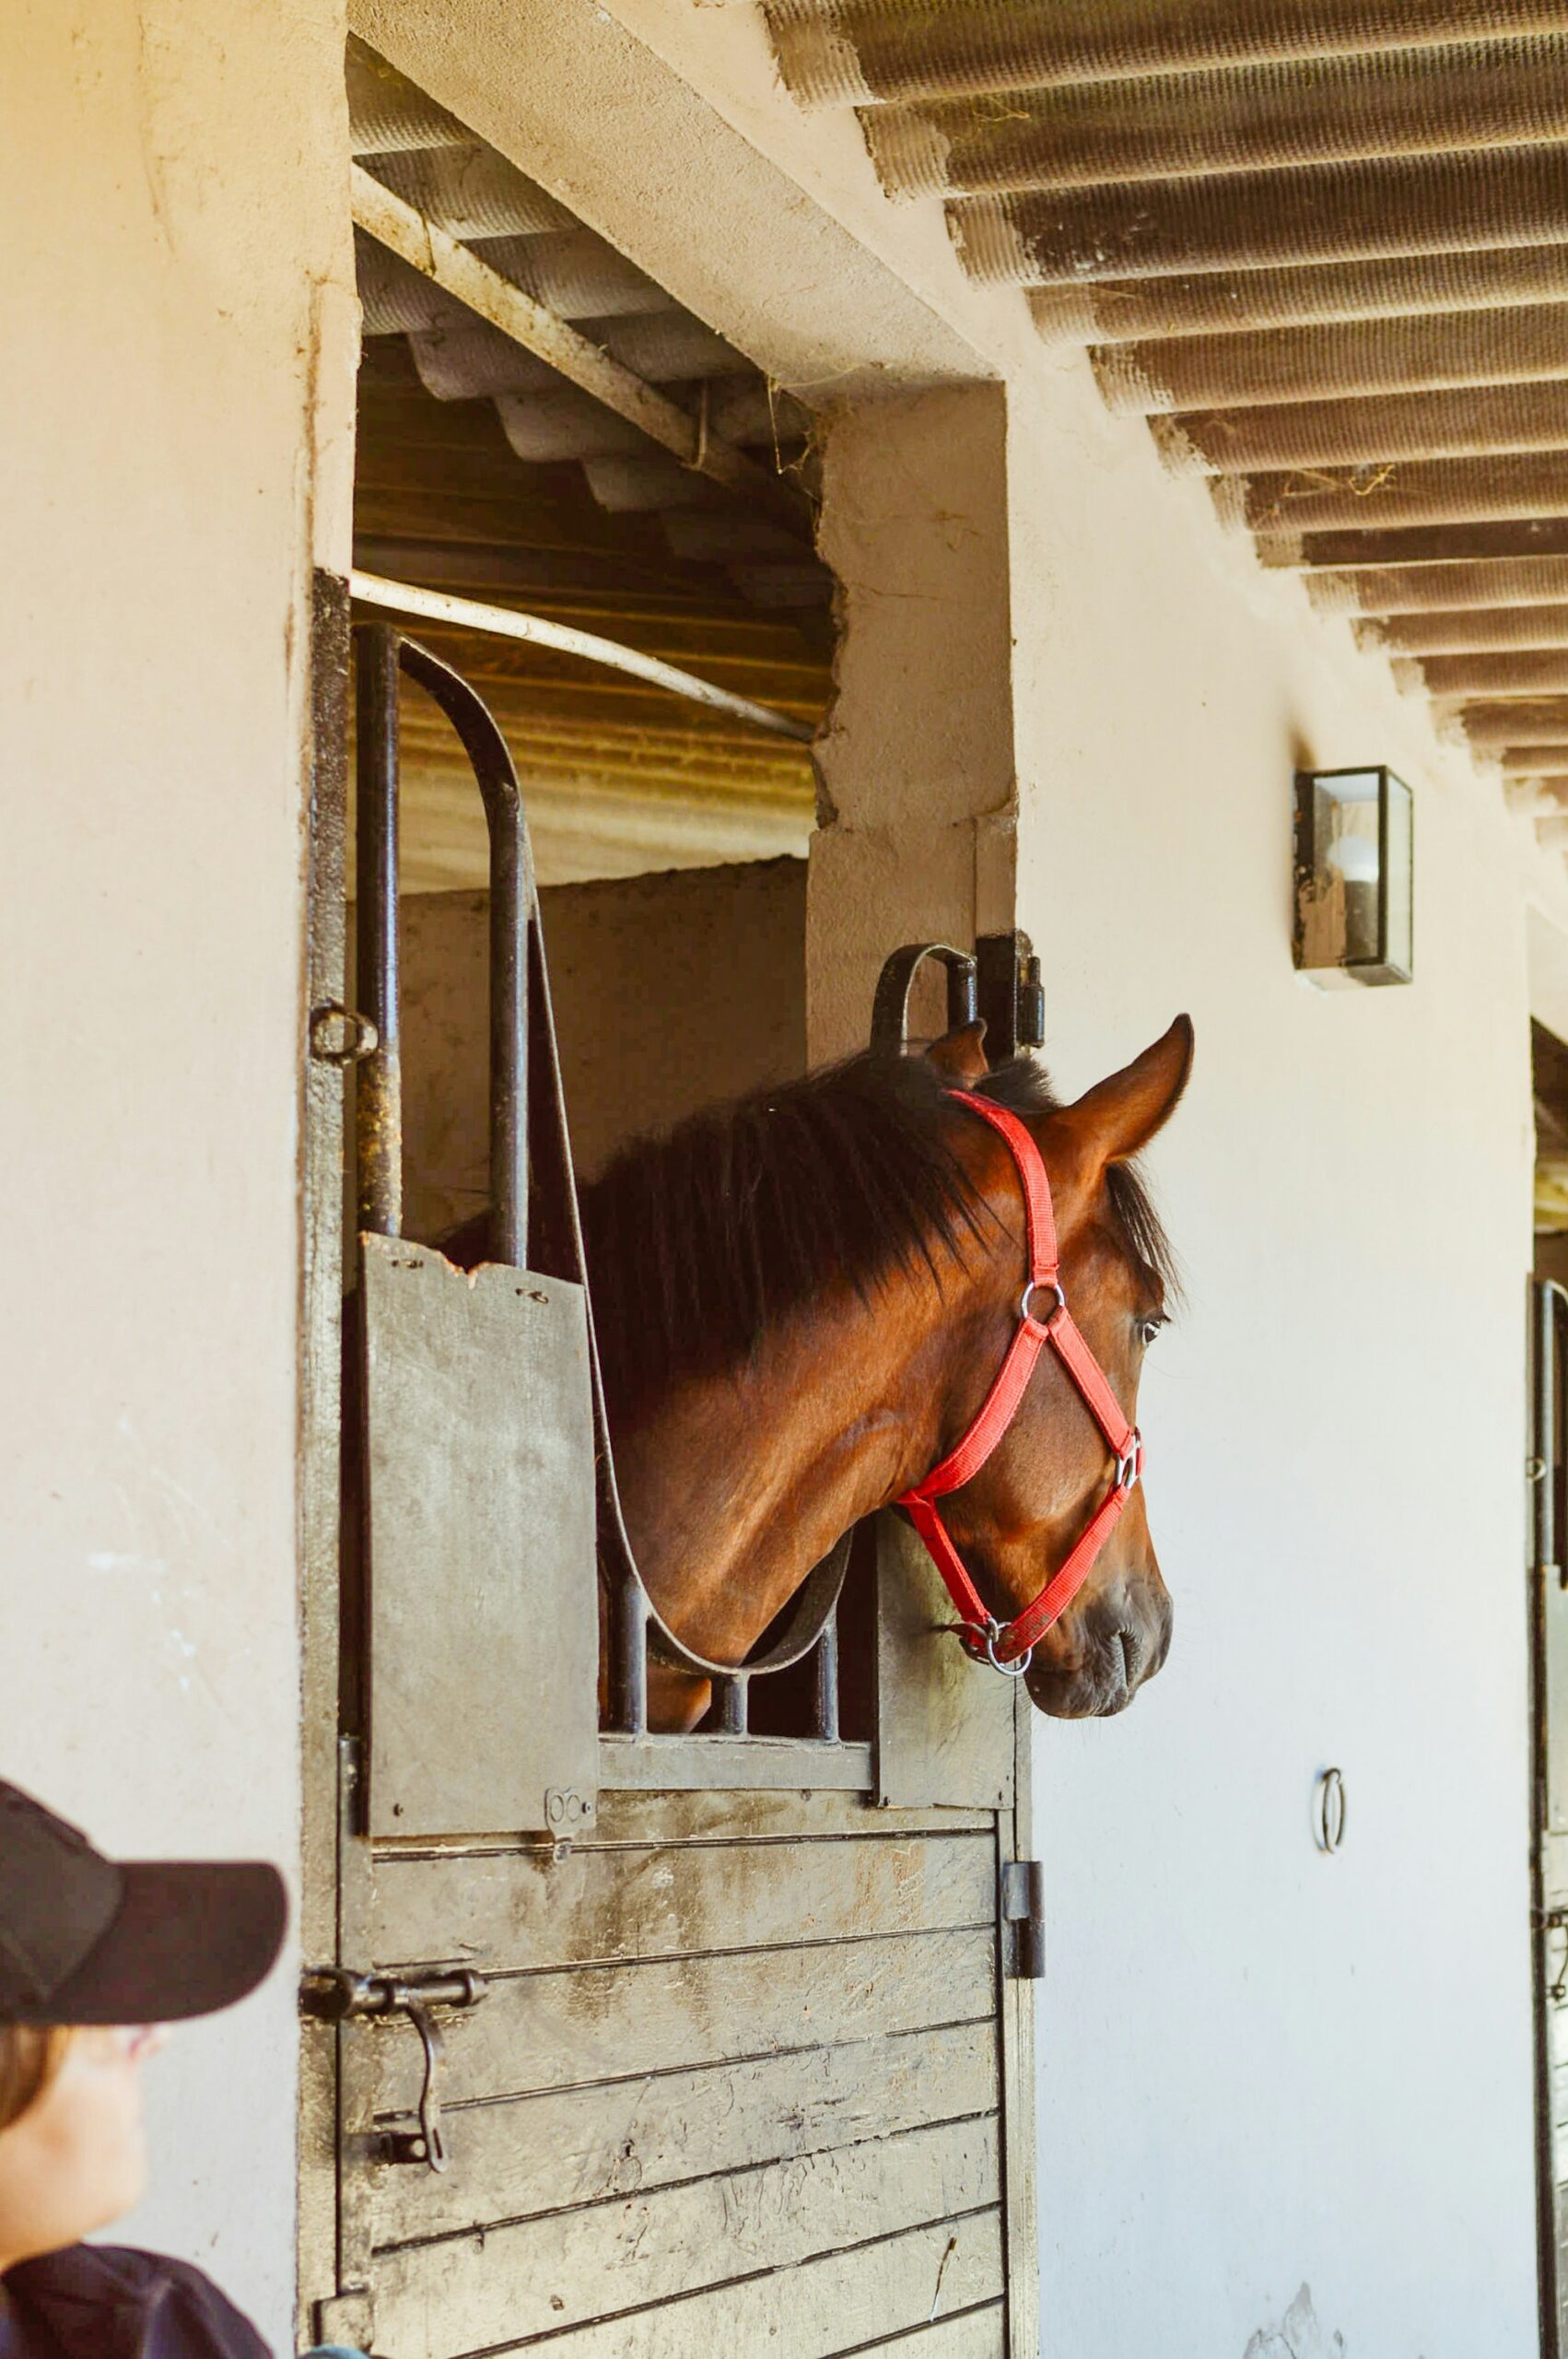
Use a calm, direct approach with a lead rope and a treat to guide the horse forward. Never chase from behind or corner the animal, as this triggers a flight response. Always lead from the shoulder, not the head.
Which color can horses not see?
Horses cannot see the color red; they perceive it as a shade of brown or gray. Their vision is dichromatic, meaning they see blues and yellows clearly but struggle with reds and greens. Use blue or yellow markers for stable fixtures.
What smell calms horses?
Lavender is the most documented scent for calming horses in stable environments. Studies show it lowers heart rate and reduces stress behaviors during handling or transport. Use diluted lavender spray on bedding, not directly on the horse.